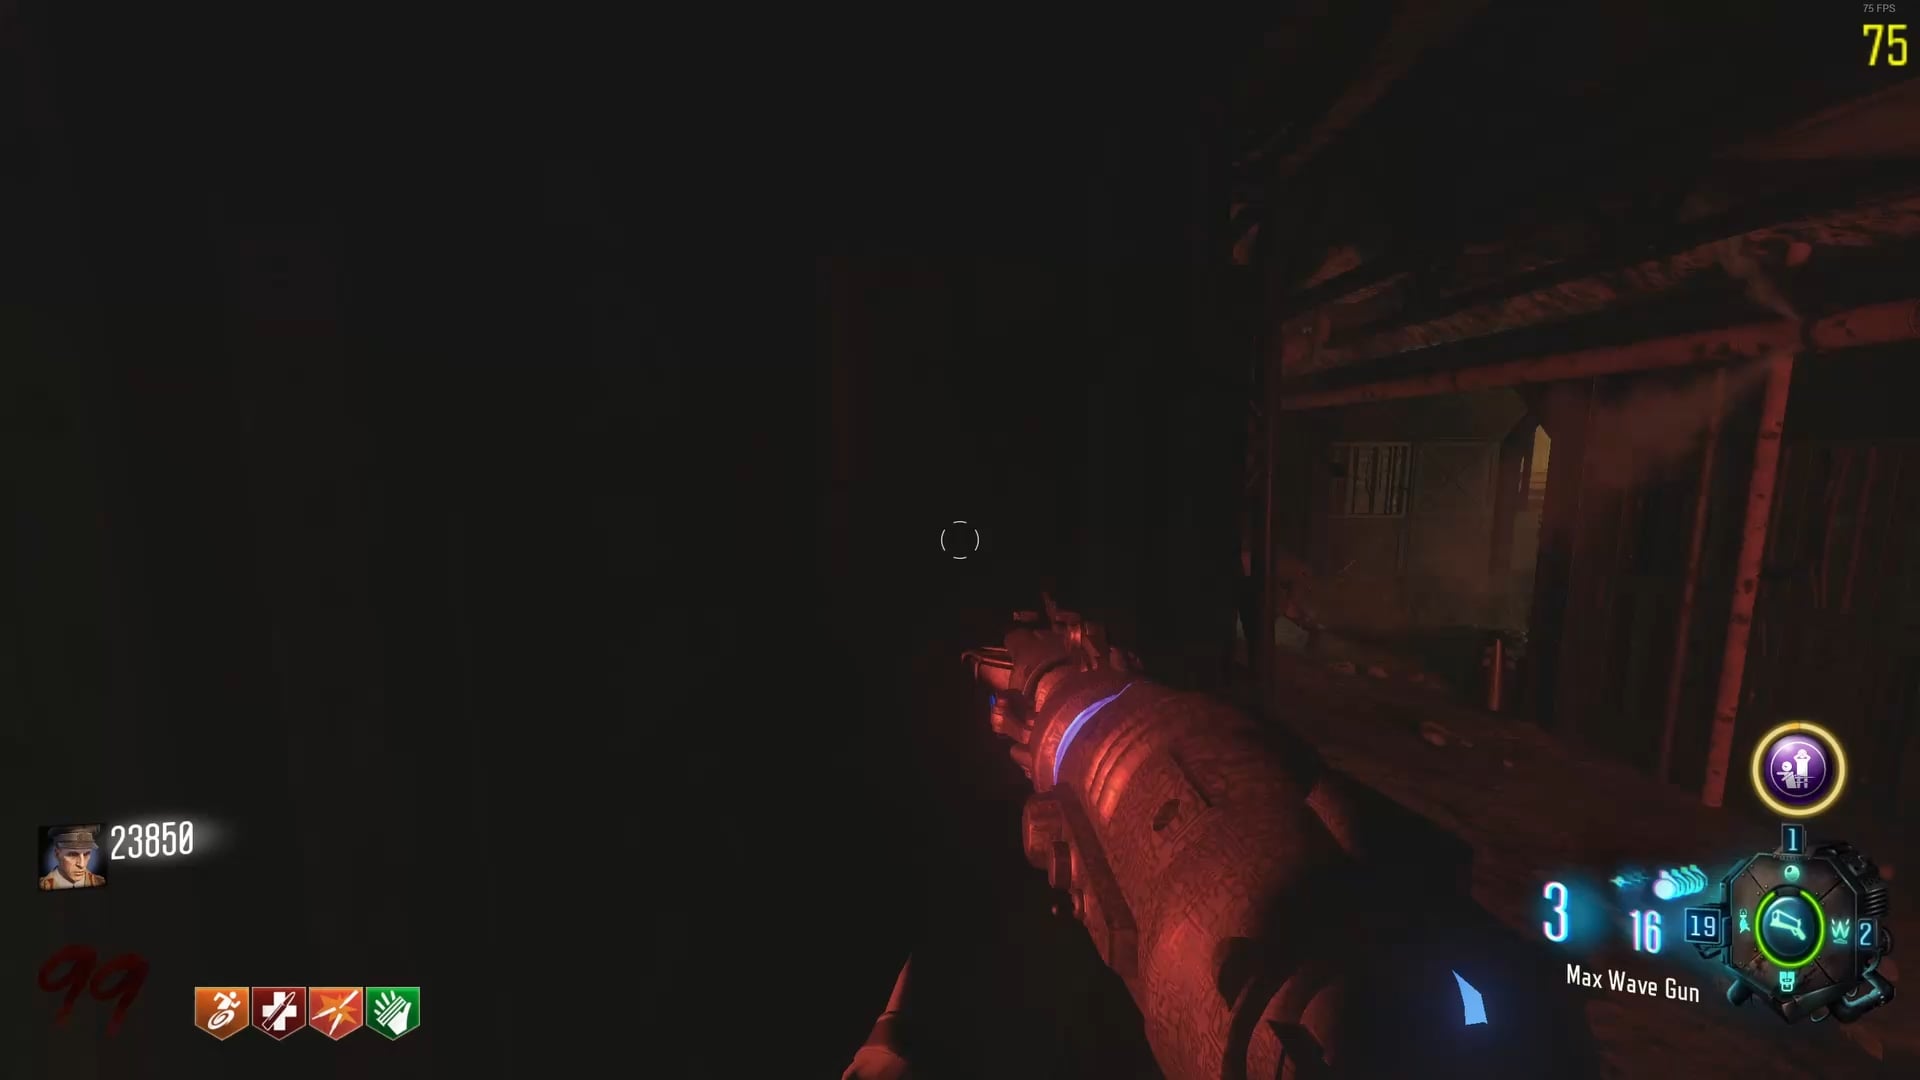
After more than a week of grinding, I have finally reached round 100 on my third map – Moon. [After reaching round 100 on The Giant a few weeks ago](https://old.reddit.com/r/CODZombies/comments/15g1wh8/after_years_of_attempts_ive_finally_slain_the/), I attempted Ascension first but switched over to this after losing a promising run to a disconnect on round 90 and figured that Moon would be faster. I then went on to spend a week and a half trying this map, including two game crashes on rounds 80 and 87 and then a down on round 80 when I wasn’t using Quick Revive.
I took two downs towards the end, one on 89 and one on 96 because I’d hacked a drop for a max ammo and was moving back over to the window to start camping again, but there were so many zombies there that I didn’t see a Death Machine powerup sitting there, which I accidentally picked up and got trapped in the corner. The rest of that round was extremely scary, luckily I had set up the Earth to spawn Jug in case something like this happened. The run took me about 4 hours as it took me ages to get Gershes out of the box.
Next step for me is going back to Ascension and finally getting to 100 on that. I can definitely do it flawless if I keep trying, that round 90 run was flawless before I disconnected and I had the strategy down pat. After that I want to do DE and Origins, maybe Kino if I feel like it.
Some important strategy tips for this run for anyone else who wants to try it:
* Gun setup: Wave Gun + Kuda w/ Dead Wire, and KN44 w/ Turned if you’re using Mule Kick (I did not).
* Perk setup: I used Quick Revive, Jug, Staminup and Speed Cola, then added Double Tap when I was on my last life. Mule Kick isn’t necessary unless you’re going for a flawless run (and thus don’t need QR), but it does speed up the strategy since you can use Turned. I chose not to use it at the end of my run because I didn’t want to risk getting caught swapping weapons and figured I was almost done anyway so it wouldn’t really save much time. That said, if you’re planning to go further than round 100, Mule Kick is needed.
* Tunnel 11 is by far the best spot to camp, it’s extremely fast and very safe as long as you have ammo in the Wave Gun. Just shoot a shot at the wall between the two spawns every few seconds.
* Because you are using Tunnel 11, you need to prevent it from being excavated at all costs. I didn’t let a single excavator drop in my run, but worst case scenario you can let the biodome get breached. To easily deal with the excavators (note that they always start at the start of a round), just run from the camping spot through Tunnel 6 up to spawn, throw a Gersh and then hack the excavator. You can also run through the labs and teleport to Earth if you want, it is slower but safer (and helps if you need to go there for something else). Make sure to have your Kuda out in case the astronaut’s in your way, since Dead Wire instakills him.
* Place trip mines in the stairway between Tunnel 11 and Power, so that you can hear the astronaut coming.
* When you get down to 4/0 shots in your Wave Gun, throw a Gersh down if you have three left and see if you get a drop. If you do, hack it into a max ammo, otherwise start training in Tunnel 11 with Dead Wire. Make sure to shoot your Dead Wire gun when you’re at the top of the stairs in front of the closed door, and run a semicircle to avoid getting trapped.
* Never throw your last Gersh unless there’s a drop you’re about to hack.
* Make sure to cycle your gobblegums for Alchemical, especially once you get past round 70-80.
* As a last resort, you can train in the Biodome (e.g. you went down, went to Earth and couldn’t get Jug), but it is much slower there, so only do this if you’re desperate.

1 Comment
After more than a week of grinding, I have finally reached round 100 on my third map – Moon. [After reaching round 100 on The Giant a few weeks ago](https://old.reddit.com/r/CODZombies/comments/15g1wh8/after_years_of_attempts_ive_finally_slain_the/), I attempted Ascension first but switched over to this after losing a promising run to a disconnect on round 90 and figured that Moon would be faster. I then went on to spend a week and a half trying this map, including two game crashes on rounds 80 and 87 and then a down on round 80 when I wasn’t using Quick Revive.
I took two downs towards the end, one on 89 and one on 96 because I’d hacked a drop for a max ammo and was moving back over to the window to start camping again, but there were so many zombies there that I didn’t see a Death Machine powerup sitting there, which I accidentally picked up and got trapped in the corner. The rest of that round was extremely scary, luckily I had set up the Earth to spawn Jug in case something like this happened. The run took me about 4 hours as it took me ages to get Gershes out of the box.
Next step for me is going back to Ascension and finally getting to 100 on that. I can definitely do it flawless if I keep trying, that round 90 run was flawless before I disconnected and I had the strategy down pat. After that I want to do DE and Origins, maybe Kino if I feel like it.
Some important strategy tips for this run for anyone else who wants to try it:
* Gun setup: Wave Gun + Kuda w/ Dead Wire, and KN44 w/ Turned if you’re using Mule Kick (I did not).
* Perk setup: I used Quick Revive, Jug, Staminup and Speed Cola, then added Double Tap when I was on my last life. Mule Kick isn’t necessary unless you’re going for a flawless run (and thus don’t need QR), but it does speed up the strategy since you can use Turned. I chose not to use it at the end of my run because I didn’t want to risk getting caught swapping weapons and figured I was almost done anyway so it wouldn’t really save much time. That said, if you’re planning to go further than round 100, Mule Kick is needed.
* Tunnel 11 is by far the best spot to camp, it’s extremely fast and very safe as long as you have ammo in the Wave Gun. Just shoot a shot at the wall between the two spawns every few seconds.
* Because you are using Tunnel 11, you need to prevent it from being excavated at all costs. I didn’t let a single excavator drop in my run, but worst case scenario you can let the biodome get breached. To easily deal with the excavators (note that they always start at the start of a round), just run from the camping spot through Tunnel 6 up to spawn, throw a Gersh and then hack the excavator. You can also run through the labs and teleport to Earth if you want, it is slower but safer (and helps if you need to go there for something else). Make sure to have your Kuda out in case the astronaut’s in your way, since Dead Wire instakills him.
* Place trip mines in the stairway between Tunnel 11 and Power, so that you can hear the astronaut coming.
* When you get down to 4/0 shots in your Wave Gun, throw a Gersh down if you have three left and see if you get a drop. If you do, hack it into a max ammo, otherwise start training in Tunnel 11 with Dead Wire. Make sure to shoot your Dead Wire gun when you’re at the top of the stairs in front of the closed door, and run a semicircle to avoid getting trapped.
* Never throw your last Gersh unless there’s a drop you’re about to hack.
* Make sure to cycle your gobblegums for Alchemical, especially once you get past round 70-80.
* As a last resort, you can train in the Biodome (e.g. you went down, went to Earth and couldn’t get Jug), but it is much slower there, so only do this if you’re desperate.