
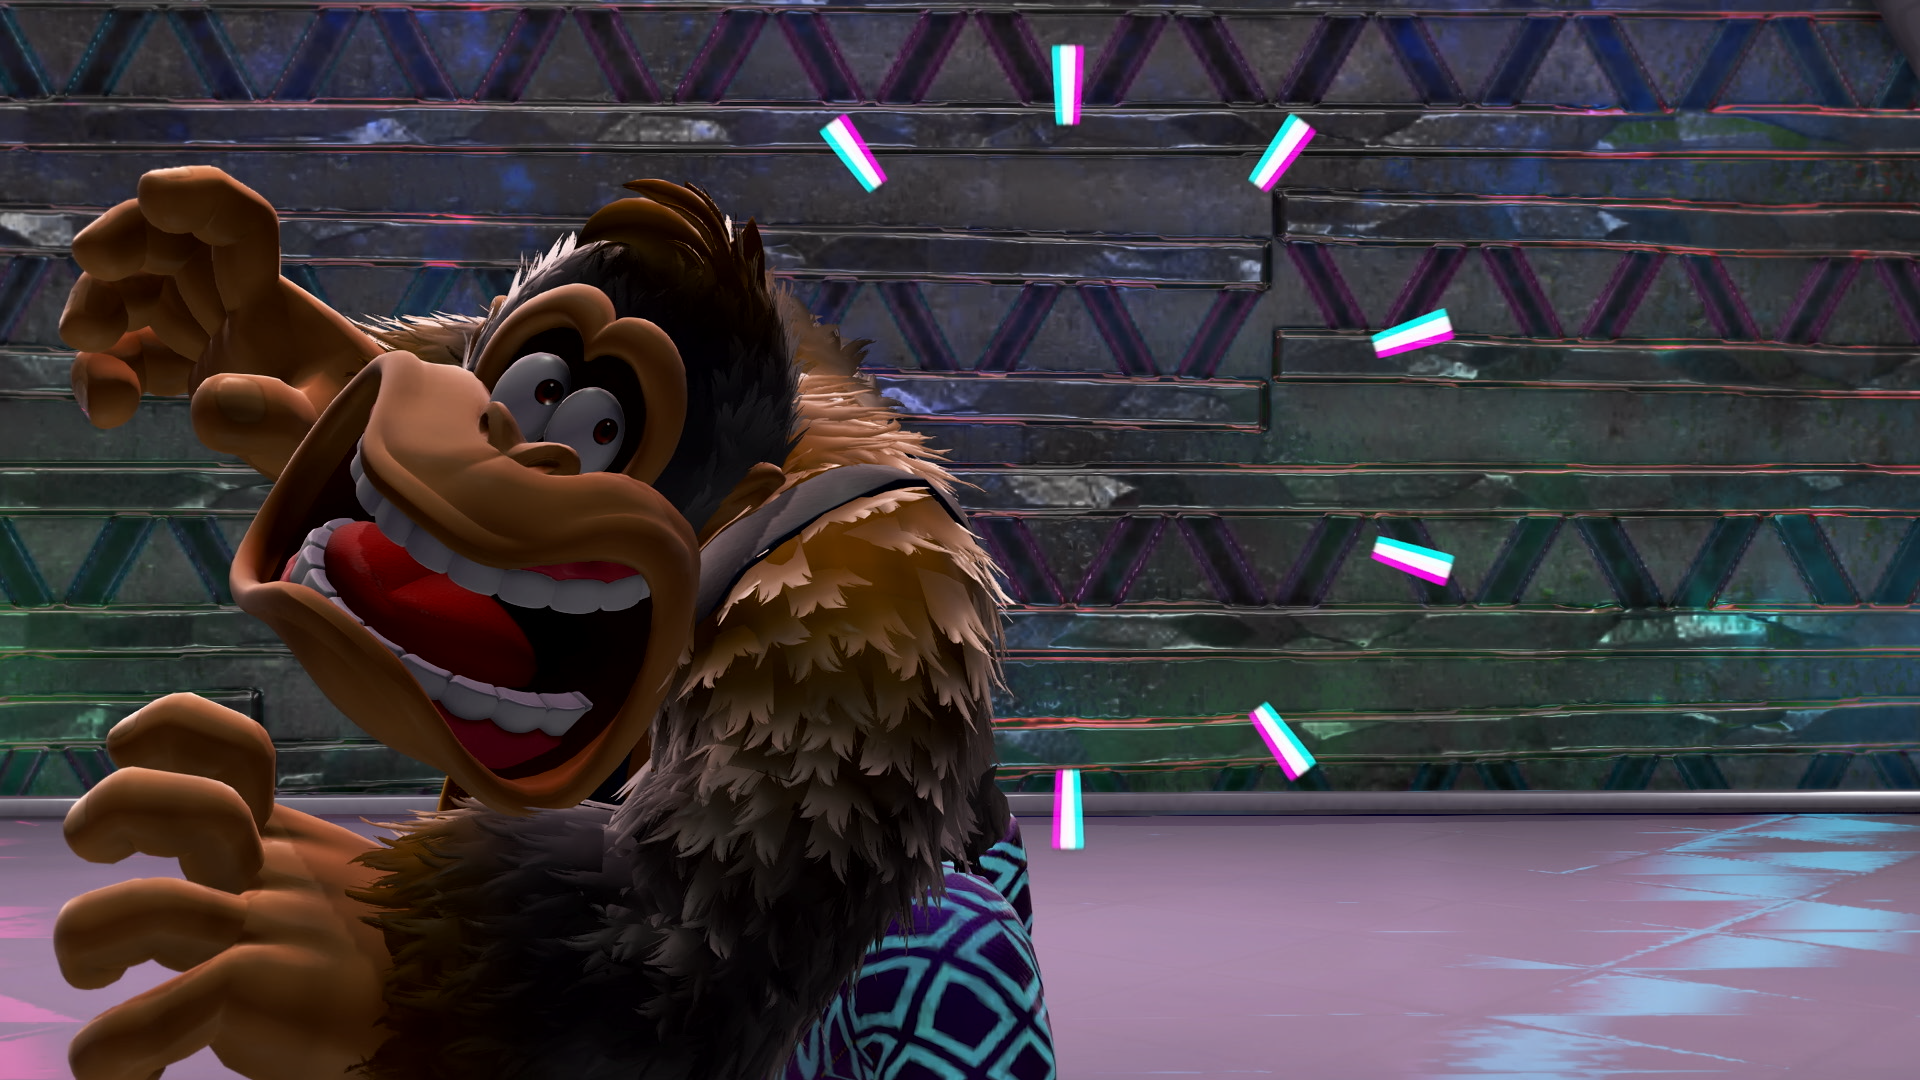
After defeating Poppy and Grumpy Kong once again in the Radiance Layer, DK and Pauline’s celebrations were cut short by the arrival of a giant eel that swallowed Pauline whole! Separated from his partner, DK falls further down to the Groove Layer alone. This walkthrough will guide you through the main story of escaping from your jail cell and exploring the Groove Layer to bring music back to lure the giant eel and reunite with Pauline, as well as pointing out collectible Banandium Gems and Fossils along the way.
Total Banandium Gems to Find
Total Fossils to Find
Available Bananas – 27
Postgame Bananas – 3
Total Bananas – 30
Beaver (Alt Color) – 30

When DK awakens in a strange triangle-shaped jail cell, he’ll soon realize his favorite partner in crime is missing. You’re going to need to figure out what happened to Pauline, but you won’t be able to do anything trapped in jail.
The bars are made from some strange bouncy green material and cannot be destroyed, and the back of the room is coated in concrete — but you don’t have any Bananergy — nor a spunky little girl to help you transform. You can however talk to one of the Fractone guards. Turns out you’re being held under suspicion of wrecking their disco, and aren’t going to let you out anytime soon.
The other Fractone mentions to watch out for the weak flooring. What a helpful tip!
Start smashing downward, and you’ll breach a watery cavern below to escape to.
Follow the Banandium Roots through a tunnel passage under the jail, and into another watery cavern with a portion of rock wall you can climb up to re-enter the jail’s main hall.
Jail Hall (SubLayer 1300)
Once you’ve broken back into jail, you’ll find the guards are pretty much pure decoration and aren’t really up to stopping you. You can unlock a Checkpoint here, and then talk to one of the guards at your cell, who realizes you aren’t much of a bad guy.
He’ll direct you to a stop level in the jail cell where they stashed the female that was with you.
To reach it, watch as the green Fractone made of the same indestructible Rubber material as the jail bars flattens to offer you a way up. It’s a form of rubber that you can bounce off to reach the second level!
You’ll have to pass by another cell with a Banandium Gem for now, and run along the pathway to another guard that will let you bounce off them to reach the top level.
Once you reach the cell in the middle, you’ll find…. Poppy? Seems she was caught in all the commotion and thrown in a cell, too. However, Pauline remains missing.
You’ll learn from Poppy that Pauline has likely been taken by the Harmoneel, which has been brainwashed by Void Kong. Before Poppy can help you track her down, she wants out.
You still don’t have access to your Transformations without Pauline, but there is something else you can use.
Travel to the last jail cell on this level that has a broken bar section, and inside you’ll find a Fractone coated in Gold Ore. It’s not often told to you in Donkey Kong Bananza, but Gold Ore has a somewhat special explosive property when tossed at different materials – concrete included!
Try it out by tossing a chunk against the back wall of this cell to get 1 of the 30 Beaver (Alt Color) Fossils in this layer!
Take another chunk back to Poppy’s cell and throw it at her bars to free her. She’ll make her escape towards the door back down at the front of the Jail Hall, so you should do the same.
Before you do, be sure to grab one more Gold Chunk and return to the jail cell that had the concrete bars, and blow it open to get another Banandium Gem.
Return to the bottom floor and talk to the guard to get him to open the door, and you’ll finally be able to leave this area.
Disco Hall
Breaking down the wall past the door, you’ll find yourself in the main hall of the Groove Layer – the Disco Hall. There’s a Checkpoint here, as well as a Banandium Gem as a reward for your somewhat daring escape.
Before talking to Poppy Kong, be sure to take a look around this main hall. There’s Fractone nearby who will tell you about the main groove this layer is known for, but Void Co’s meddling has silenced the music at their source in different areas.
Off to the left, you can find a Chip Exchange, Stuff Shop, and Style Shop on the lower floor, featuring a few cosmetic options to purchase:
Name
Effect
Cost
Fractone Gradient FurGives DK’s fur a green and pale blue hue
2 Beaver (Alt Color) Fossils
Flower Gradient FurGives DK’s fur a pink and magenta hue
8 Beaver (Alt Color) Fossils
Monochrome Gradient FurGives DK’s fur a dark and light grey hue
8 Beaver (Alt Color) Fossils
Shiny Silver FurGives DK’s fur a sparkling shiny silver hue
12 Beaver (Alt Color) Fossils
Up on the higher ledge above the Style Shop, you’ll meet a Smashintone who will reward for you with a Banandium Gem once you’ve destroyed enough terrain in this level, plus a doorway leading to a Getaway you can build. Step out onto the balcony, and you can claim a Beaver (Alt Color) Fossil.
On the right, you can find the entrance to the Fossil Museum, where a Fractone has been collecting every single Fossil you’ve uncovered and traded away, and may have rewards for you if you find them all!
Next to the Fossil Museum, a Fractone is outside a sealed VIP entrance and will taunt you with their impervious iron form. However, since he only morphs into it when you draw close, you can toss a hunk of stone from the walls at him at a distance, and it will force him to open the door.
Inside, you’ll find Cranky Kong, and can listen to his ramblings to gain a Banandium Gem. You can also check the balcony outside for another Beaver (Alt Color) Fossil.
Now you can speak to Poppy Kong to get her take on things, and she’ll figure out what’s stopping the music from reaching the Disco Hall. With her tech, she’ll confirm that Void Co set up three Terravoider gizmos beyond each door to void out the terrain around the source of the Fractone’s music.
If all the music were to be restored, it may be enough to lure the Harmoneel back, and Pauline with it!
Head through the hall to the far left door with the pink lights to speak to a Fractone. They’ll inform you that this path leads to the Beat Source, which has gone quiet.
Beat Source Track
Enter the hall, and be wary as you make your way through. When you reach a large iron wall in your way, Void Kong’s own visage will appear before the wall tries to slam down on you, so quickly beat a retreat.
After it falls, scamper over it before it can return to its original position.
Do the same for the second wall you arrive at, and dart over to reach the voided room beyond.
The Beat Source Room has been tampered with, and you’ll need to find a way to restore it. Thankfully, this is as simple as following the purple trail in the room beyond.
Here you’ll find the Terravoider in a room with concrete and gold pillars (you can break the concrete ones with gold chunks, and find a Beaver (Alt Color) Fossil among one of the pillars).
With the Terravoider destroyed, return to the beat source and break the remaining goop to restore the music.
Unfortunately, those enemy walls bearing Void Kong’s face are still blocking the flow of music, so you’ll need a new path.
Talking to the Fractone by the exit, they’ll have anticipated this, and open a dirt floor for you to dig through.
When you fall down to a cavern below, simply punch your way through the dirt (the path is narrow so you can’t really get off track) until you reach the far side. Break open the final wall, and the Beat will return to the Disco Hall! Grab your Banandium Gem reward, and get ready for the next path.
This time, head up the middle pathway with the green lights to find Poppy and another Fractone introducing you to the Bass Source.
Bass Source Track
Much like the last hall, you’ll need to be on guard for the damaging walls that will try to collapse in your face. They’ll be a bit more tricky to spot this time, as the walls are made of dirt and will slide up out of the ground.
However, that also means dirt walls can be punched away before they slam down!
Watch out for another damaging wall on the right as you pass through the middle, and then dodge over the iron wall at the end to reach the Bass Source.
Follow the voided trail into the back room to find its on the other side of a jail cell with green indestructible rubber bars.
This time however, you can find a harp in the middle of the room bearing both gold and rubber icons. Hitting the Swap Harp will cause all rubber and gold materials in the immediate area to swap — including both the Fractone, the pillars, and the jail cell bars!
Destroy the one gold pillar in the room first to get a Beaver (Alt Color Fossil) before hitting the harp a single time. Once swapped, destroy the rest of the pillars to get another Beaver (Alt Color) Fossil, and then destroy the bars to get to the Terravoider.
Once destroyed, return to the Bass Source and destroy the last bit of terrain to restore the music.
Once again, you’ll have to repeat the process of digging into the tunnel below to guide the music back to the main chamber.
Once you drop down, you’ll find a bit of rubber/gold you can swap out with a nearby Swap Harp to destroy some terrain holding a Beaver (Alt Color) Fossil, and then bounce off a rubber Fractone to reach a high ledge to dig through.
Keep punching through the dirt tunnel until you run into a barrier of rubber, and then dig left to find another Swap Harp to turn it all to gold, and keep digging forward until you need to swap again.
On the left side, be sure to look for a small concrete pillar with a Beaver (Alt Color) Fossil to destroy with a gold chunk before moving on.
When you reach a second, wider concrete pillar on the right side of the tunnel, throw another gold chunk at it to reveal a Banandium Gem!
Keep punching forward to find the final wall leading back to the Disco Hall, and you’ll get another Banandium Gem as a reward.
Note that at this point, you can return to the main hall and jail area to find Constructones willing to install more Swap Harps so you can access areas you couldn’t earlier!
Sticking with the main path, you have one last tunnel to get through on the far right side with the blue lights that Poppy Kong has moved to.
Meoldy Source Track
Like the previous halls, this one is lined with enemy walls bearing Void Kong’s likeness, waiting to appear and slam down on you, but with a few twists.
You’ll find a Swap Harp in front of a large wall with a Beaver (Alt Color) Fossil that’s an enemy in diguise, and you can turn the wall into gold to easily break it down before it slams down on you, and collect the fossil.
Take a Gold Chunk with you as you move down the hall, and toss it at another Beaver (Alt Color) Fossil along the right.
Just past the fossil, the next wall on the right will come alive, but as its made of stone you can bash it quickly. Behind the wall is a giant Apple encased in terrain you may need to swap first to break open.
The next wall on the right is also a trap, and also has another Beaver (Alt Color) Fossil you can break apart.
Behind the false wall, there’s a Banana on a high ledge, and the tiles you step on will turn into gold tiles. Walk around but don’t break them, and go back to the Swap Harp to turn the tiles to rubber so you can reach the Banandium Gem.
The last several walls are all one terrain type, which you can convert to gold first before moving up to the left and right to destroy two angry false walls — one of which is holding yet another Beaver (Alt Color) Fossil.
Move straight and jump over the last metal attacking wall to enter the Melody Source, and move to the back room.
Much of the room here is covered in Voided Terrain, including a wall you need to climb over, and you’ll find the Terravoider on a high ledge past some columns.
An angry wall will appear between the final two columns, but don’t destroy it. Instead, dodge around it to hit the Swap Harp in the last room, turning it to rubber. You can then let the wall fall down when it tries to attack, and bounce off its back to reach the Terravoider to destroy the last voided terrain.
Be sure to destroy the now freed concrete pillar below where the Terravoider was to get a Beaver (Alt Color) Fossil, and then grab a chunk of gold to throw at the concrete wall (which will also try to slam down on you). Defeating it will reveal one more Beaver (Alt Color) Fossil on your way back to the Melody Source.
One last time, you’ll need to go about the task of guiding the music down a lower tunnel back to the Disco Hall. Talk to the Fractone by the exit to reveal the dirt path to dig through.
Be sure to perform a Dive Punch in the watery pool to reach a Beaver (Alt Color) Fossil, before climbing up to the nearby ledge to start digging.
The tunnel is a bit wider than the last one, so instead focus on punching toward the speech bubbles that appear from Fractones in small openings that will point you to the next pathway to take.
Once you reach an opening with two Fractones and a rubber wall, follow the right Fractone to punch to a Swap Harp, then return to punch forward through the now gold wall.
When you reach the next opening with a Fractone pointing onward, note the dirt-filled floor. You can bash downward here to find a Banandium Gem.
You’ll need to bait out one last giant angry wall and punch it from the back, and then perform a Dive Punch on the contraption to detonate the final wall back to the Disco Hall.
Your reward awaits in the form of a Banandium Gem.
With the Beat, Bass, and Melody all contained in the Disco Hall, it’s time to try and lure the Harmoneel that stole Pauline to the Groove Layer.
A Fractone just to the left of where you got the last Banandium Gem will tell you that Poppy Kong wants to meet you back at the entrance to the Disco Hall where you left the Jail Hall.
Poppy Kong will instruct you to step up to the mic and add DK’s own drumbeat to the mix, which will summon the Harmoneel to erupt right in the middle of the of the Disco Hall.
Thankfully, the act will destroy the golden mask that was brainwashing the creature, and it will begin to party hard. When you ask about Pauline, it will offer to let you jump into its mouth to find what you’ve lost.
Talk to Poppy Kong one last time before she makes her escape, and she’ll offer the parting gift of a Barrel Cannon aimed straight at the Harmoneel.
Hop on in to dive deep into the inter-dimensional portal that is the Harmoneel’s stomach.
Pauline has been re-encased in stone, and stuck to a giant stone panel that you’ll need to break apart quickly to rescue her.
If you recall during some of your descents between layers, there were certain sections with moving concrete rings that you could explode by dive punching into golden ore chunks. That same concept is how you’ll free Pauline!
Small gold ore chunks will continually drift up as you chase after Pauline, and your goal is to smash into them while angling the control stick in the direction you want to hit the purple VoidCo faces.
One to two hits on each section should be enough, but be ready to dodge around branching spiked vines, or alternate the direction of your input if the panel starts to rotate.
When all panels have been broken away, keep dive punching downward to close the distance on Pauline, and be sure to adapt to moving out of the way of any thorns that may appear around you.
Once you smash into Pauline, the two of you will be reunited! Thankfully, the Harmoneel’s teleporting ability will lead pair out of the Groove Layer, and onto the next major area, the Feast Layer!