
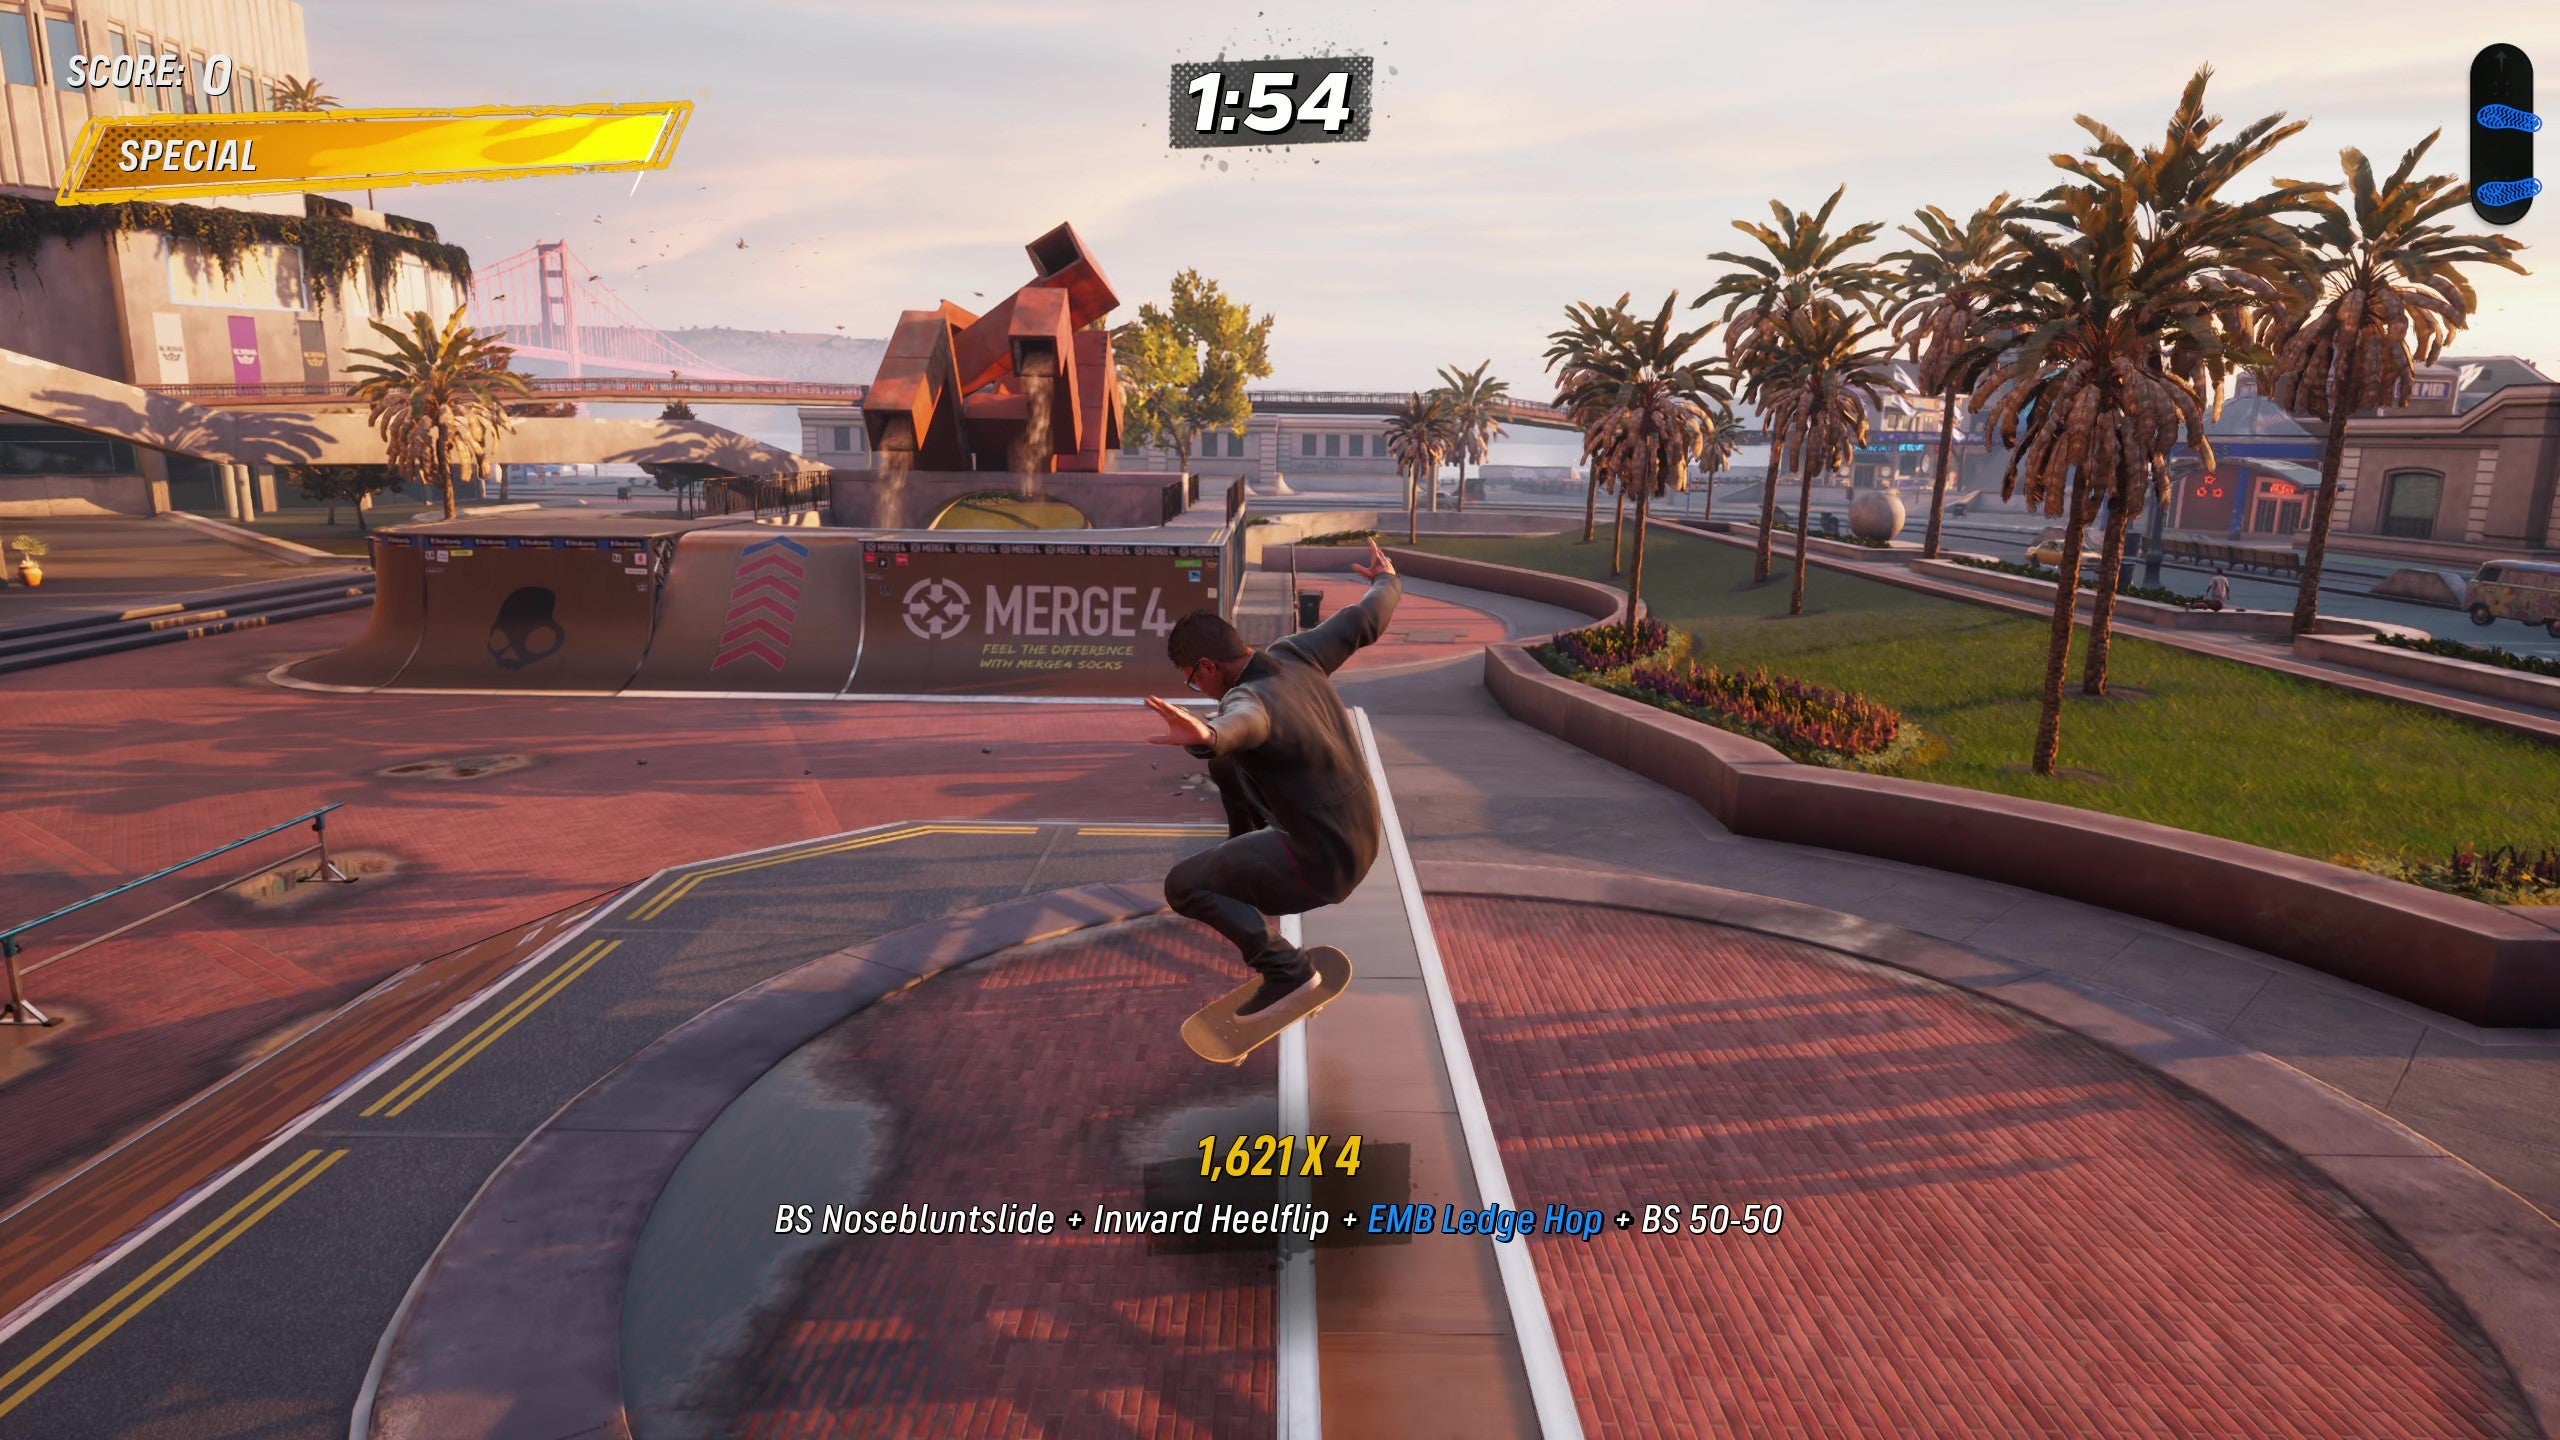
San Francisco is the second level in the THPS4 part of Tony Hawk Pro Skater 3 + 4. In it, you’ll kick it around one of the greatest cities in the world as you collect packages, skitch trollies, and pull off gnarly combos.
This San Francisco walkthrough explains where to find all the collectibles and how to complete every goal and challenge in the level, including how to BS Boneless the Pier Sign, Manual the overhead, Save Painter Neal, and much more.
Complete every goal in San Francisco with our comprehensive video walkthrough above, which covers all Goals, Collectibles, and Panda Plushies found across the San Francisco level.How to Complete All the Goals in San FranciscoTips for Achieving the High Score, Pro Score, Sick Score, and High Combo

San Francisco has plenty of great areas for combos that you can use to rack up a huge score. By far, the most fun area to pull off some tricks is the skatepark that makes up the central plaza. The rails all line up nicely, and there’s just enough room for manuals between pipes and rails that you can use to chain together some nice combos.
The bowl behind the art sculpture is tight, allowing for several flips and grabs in quick succession. It’s a good place to polish off your score without risking a fail.
You can also grind on every curb that runs along the street. Since they’re so straight, you can quickly chain together flips and grinds down the entire length of the street.
Collect S-K-A-T-E – Where to Find All Letters
Collecting all the letters of S-K-A-T-E in San Francisco takes you on a serpentine route back and forth through the level.
To start, turn left as soon as you begin a run and head up the spiral ramp that takes you to the second level of the Boardwalk View Hotel, which runs alongside the plaza.
Turn right when you reach the second floor, and use the quarterpipe at the end of the walkway, beneath the Birdhouse Skateboarding sign, to pick up the S and return to the ground floor.
Cut across the plaza diagonally to find a ramp, which features pink and blue arrows on it, that points directly toward the K. Pick it up and continue diagonally across the street toward the Ishmael’s Wharf building.
Use the quarterpipe on the left side of the entrance to the Ishmael’s Wharf building and Acid Drop (R2/RT) up to the roof. If you happen to land in just the right spot, you’ll pick up the A. If you missed it, you’ll still be on the roof, so skate up to the edge to nab it–don’t jump back down just yet, though.
Now, use the rail on the roof to get a good jump to the next roof towards the pier, and then get to the right side of that roof, in line with the wire between the street lights. Ollie and then grind across that wire to pick up the T. Continue across it to land on the next roof and put yourself in position to grab the E.
From that final roof, get onto the edge inline with the E and ollie off it to pick up the last letter for SKATE.
How to BS Boneless a Pier Sign
The Pier Signs are two wooden, long blue signs that are found at the far end of The Pier, where all the quarterpipes are blue. The signs are on the left and right sides of the area, so you can go back and forth on the quarterpipes trying to get this done.
Now, build some speed on the ramps, and then approach either of the two blue quarterpipes, which are directly below the Pier Signs. Once you get enough air to reach the top of the wooden sign, press Right+Y/Triangle to perform a BS boneless lip trick atop the sign.
It’s a good opportunity for a sweet screenshot, so use Photo Mode while you’re at it.
Collect the 5 Missing Packages – Where to Find All Packages
There are five missing packages spread throughout the San Francisco level, all in easily accessible locations. The difficulty comes in getting all five in one run. Here’s a fast route you can take to get all five before the clock runs out:
1. When you begin a run, continue straight down the street and turn right to head down the alleyway that goes behind the Ishmael’s Wharf building.
Use one of the ramps on either side of the first trolley car being worked on to get above it, where you’ll pick up the first package.
2. Get back out onto the road and skate down it toward the Pier 16 building. Grind across the ledge in front of it to pick up the next package.
3. Continue down the road to the far end of the map, where you can find the next package floating between two quarterpipes.
4. Head back into the plaza and make your way to the second floor of the Boardwalk View Hotel that runs alongside it. The spiral ramps near the main entrance of the building are a great way to get up there quickly. When reaching the second floor, turn left, and you’ll find the next package above a quarterpipe, in an outdoor area that’s surrounded by glass windows and tables
Grab the package and transfer to the quarterpipe below to put yourself in a position to get the last package.
5. Go to the center of the plaza, where you will find a sculpture surrounded by ramps. The last package is directly under the sculpture.
Manual the Overhead Walkway
The Overhead Walkway connects The Pier to the second floor of the Boardwalk View Hotel, which is found on the other side of the Plaza. To complete this goal, you’ll have to hold a manual that starts and ends with the cones on either side of the walkway.
Tip: Approaching the walkway with as much speed as possible helps reduce the time you need to hold the manual. This can be helpful if you’re having trouble balancing across the entire walkway.
How to Save Painter Neal
Painter Neal is hanging from a sign on a pier between Ishmael’s Wharf and Pier 14. To save him, you’ll need to loosen the large concrete ball along the outskirts of the Plaza, which is located directly between Pier 16 and Pier 14, and then kick it in his direction.
To loosen it, grind the wire around the ball to cut it.
After the wire is cut, get around behind the ball and perform a wallplant by pressing A/X in midair while up against it. The ball will roll down and through the pier to save the painter from the shark that’s leaping up at him.
How to Get the Secret Tape
The Secret Tape in San Francisco is located on a garden bed, high up on the Boardwalk View Hotel. To reach it, you’ll first need to head up to the second floor of the hotel, and then turn left and head towards the outdoor dining area–this is also where you’ll find one of the packages for Find the Packages.
From here, use the quarterpipe at the back of the area to jump up (and to the right) to reach the floor above.
Now that you’re on the same level as the Secret Tape, ollie and grind your way across the face of the building using the ledges and garden beds. As you near the end, you’ll have the chance to pick up the Secret Tape.
How to Collect All the Collectibles in San FranciscoHidden Deck Location
The Hidden Deck in the San Francisco level is above an art installation near the center of the map to your left when you begin a run. To reach it, you must take the central ramp to ollie up onto the sculpture, then ollie up off of it to reach the deck.
Iron Galaxy Logo Location
The Iron Galaxy Logo in the San Francisco level is in the Boardwalk View Hotel, which is immediately to your left when you begin a run. You need to grind up a long handrail from a large stair set–you’ll need a bit of speed to reach the top. Once you’re at the top, crash through the glass window to enter a hidden room, and you’ll be able to pick up the logo.
Skaterbucks #1 Location
The first stack of Skaterbucks in San Francisco is next to the sculpture near the center of the map. It’s to the left when you begin a run. To reach it, take the ramp up to the structure and grind the handrail underneath it.
Skaterbucks #2 Location
The second stack of Skaterbucks is on a wire above the trolley track. It’s straight ahead when you begin a run, near The Pier. The best way to get up to it is to first build up your Special so you get more speed. Then, you can use the make-shift concrete ramp near Pier 14 to reach the roof of the glass awnings above the trolley stop. You can then ollie straight up to the wire and grind across to collect the Skaterbuck.
Skaterbucks #3 Location
The third stack of Skaterbucks is on the roof of the Ishmael’s Warf building straight ahead when you begin a run. You can get on the roof by doing an Acid Drop from any of the quarterpipes along the entrance to the building.
Once you’re on the roof, skate to the center where you’ll find the Skaterbucks between two segments of the roof. From here, you might want to continue to the third stat point, which is only another roof away.
Skaterbucks #4 Location
The fourth stack of Skaterbucks is along a rail above the water behind the Ishmael’s Warf building, which is straight ahead when you begin a run. To reach it, take the alley behind the building where the trolleys park. You’ll find another alley that leads to the beginning of the rail.
Grind along the rail to pick up the Skaterbucks. If you ollie off at the end, you can grind the lip behind the next building and safely reach the pier on the other side.
Skaterbucks #5 Location
The last stack of Skaterbucks is on The Pier just above the sign for The Aquarium. It’s positioned between two handrails, which makes it harder to get while you’re up top. Instead, build up your Special to get plenty of speed and use the ramp on the ground level to get a big air ollie that’ll take you straight up to it.
Stat Point #1 Location
The first stat point is straight ahead of you when you begin a run. It’s above a glass awning alongside the trolley track. You’ll have to use a ramp to reach the top, which you can grind across to pick it up.
Stat Point #2 Location
The second stat point in San Francisco is along the rail at the entrance to The Pier, which you can reach by heading left down the trolley track when beginning your run. The best way to get it is to grind along the handrail above the entrance and ollie up to it.
Stat Point #3 Location
The third stat point in San Francisco is on the roof, just behind Ishmael’s Wharf, which is straight ahead when you begin a run. To get there, Acid Drop (RT/R2) from any of the quarterpipes near the entrance to get on the roof, where you’ll also find Skaterbucks #3.
Then, continue across the roof and ollie over to the roof of the next building, where you’ll see the stat point hanging in the air between two more quarterpipes.
How to Complete All the Challenges in San FranciscoOver the Top “In San Francisco, connect the Over the Walkway and TC’s Roof Gap Too Gaps in a single combo.”
Check back soon for more details!
San Francisco Par “Complete a Speedrun on San Francisco in under 4 minutes.”
Check back soon for more details!
Men at Work “Land a Flip Trick off the Mechanic Pop Gap in San Francisco.”
Doing the Mechanic Pop Gap means pulling off a trick over the head of any of the mechanics working on the trolleys behind Ishmael’s Wharf. To get there, take the alley down the street to the right when you begin a run.
When you get to the work area, line up with the mechanics and ollie over them with a flip trick to complete the objective.
San Francisco Gaps “Land a trick off every Gap in San Francisco.”
Below is a list of all gaps found in the San Francisco level, along with their scores. Perform each of these gaps, and you’ll complete the San Francisco Gaps challenge.
Other Secrets and CollectiblesPanda Plushie
The Panda Plushie in the San Francisco level can be found on the roof of the Pier 12 building, which is just to the left of The Pier shopping area.
The easiest way to reach the roof of the Pier 12 building is to use the quarterpipe along the side of the building and Acid Drop (R2/RT) to land on the top. If you take the pipe at an angle, the Acid Drop will land you on the roof rather than back down the pipe.
Once you’re on the roof, you’ll find the Panda Plushie between the two buildings at the very top. Skate over to the Panda Plushie to pick it up.