
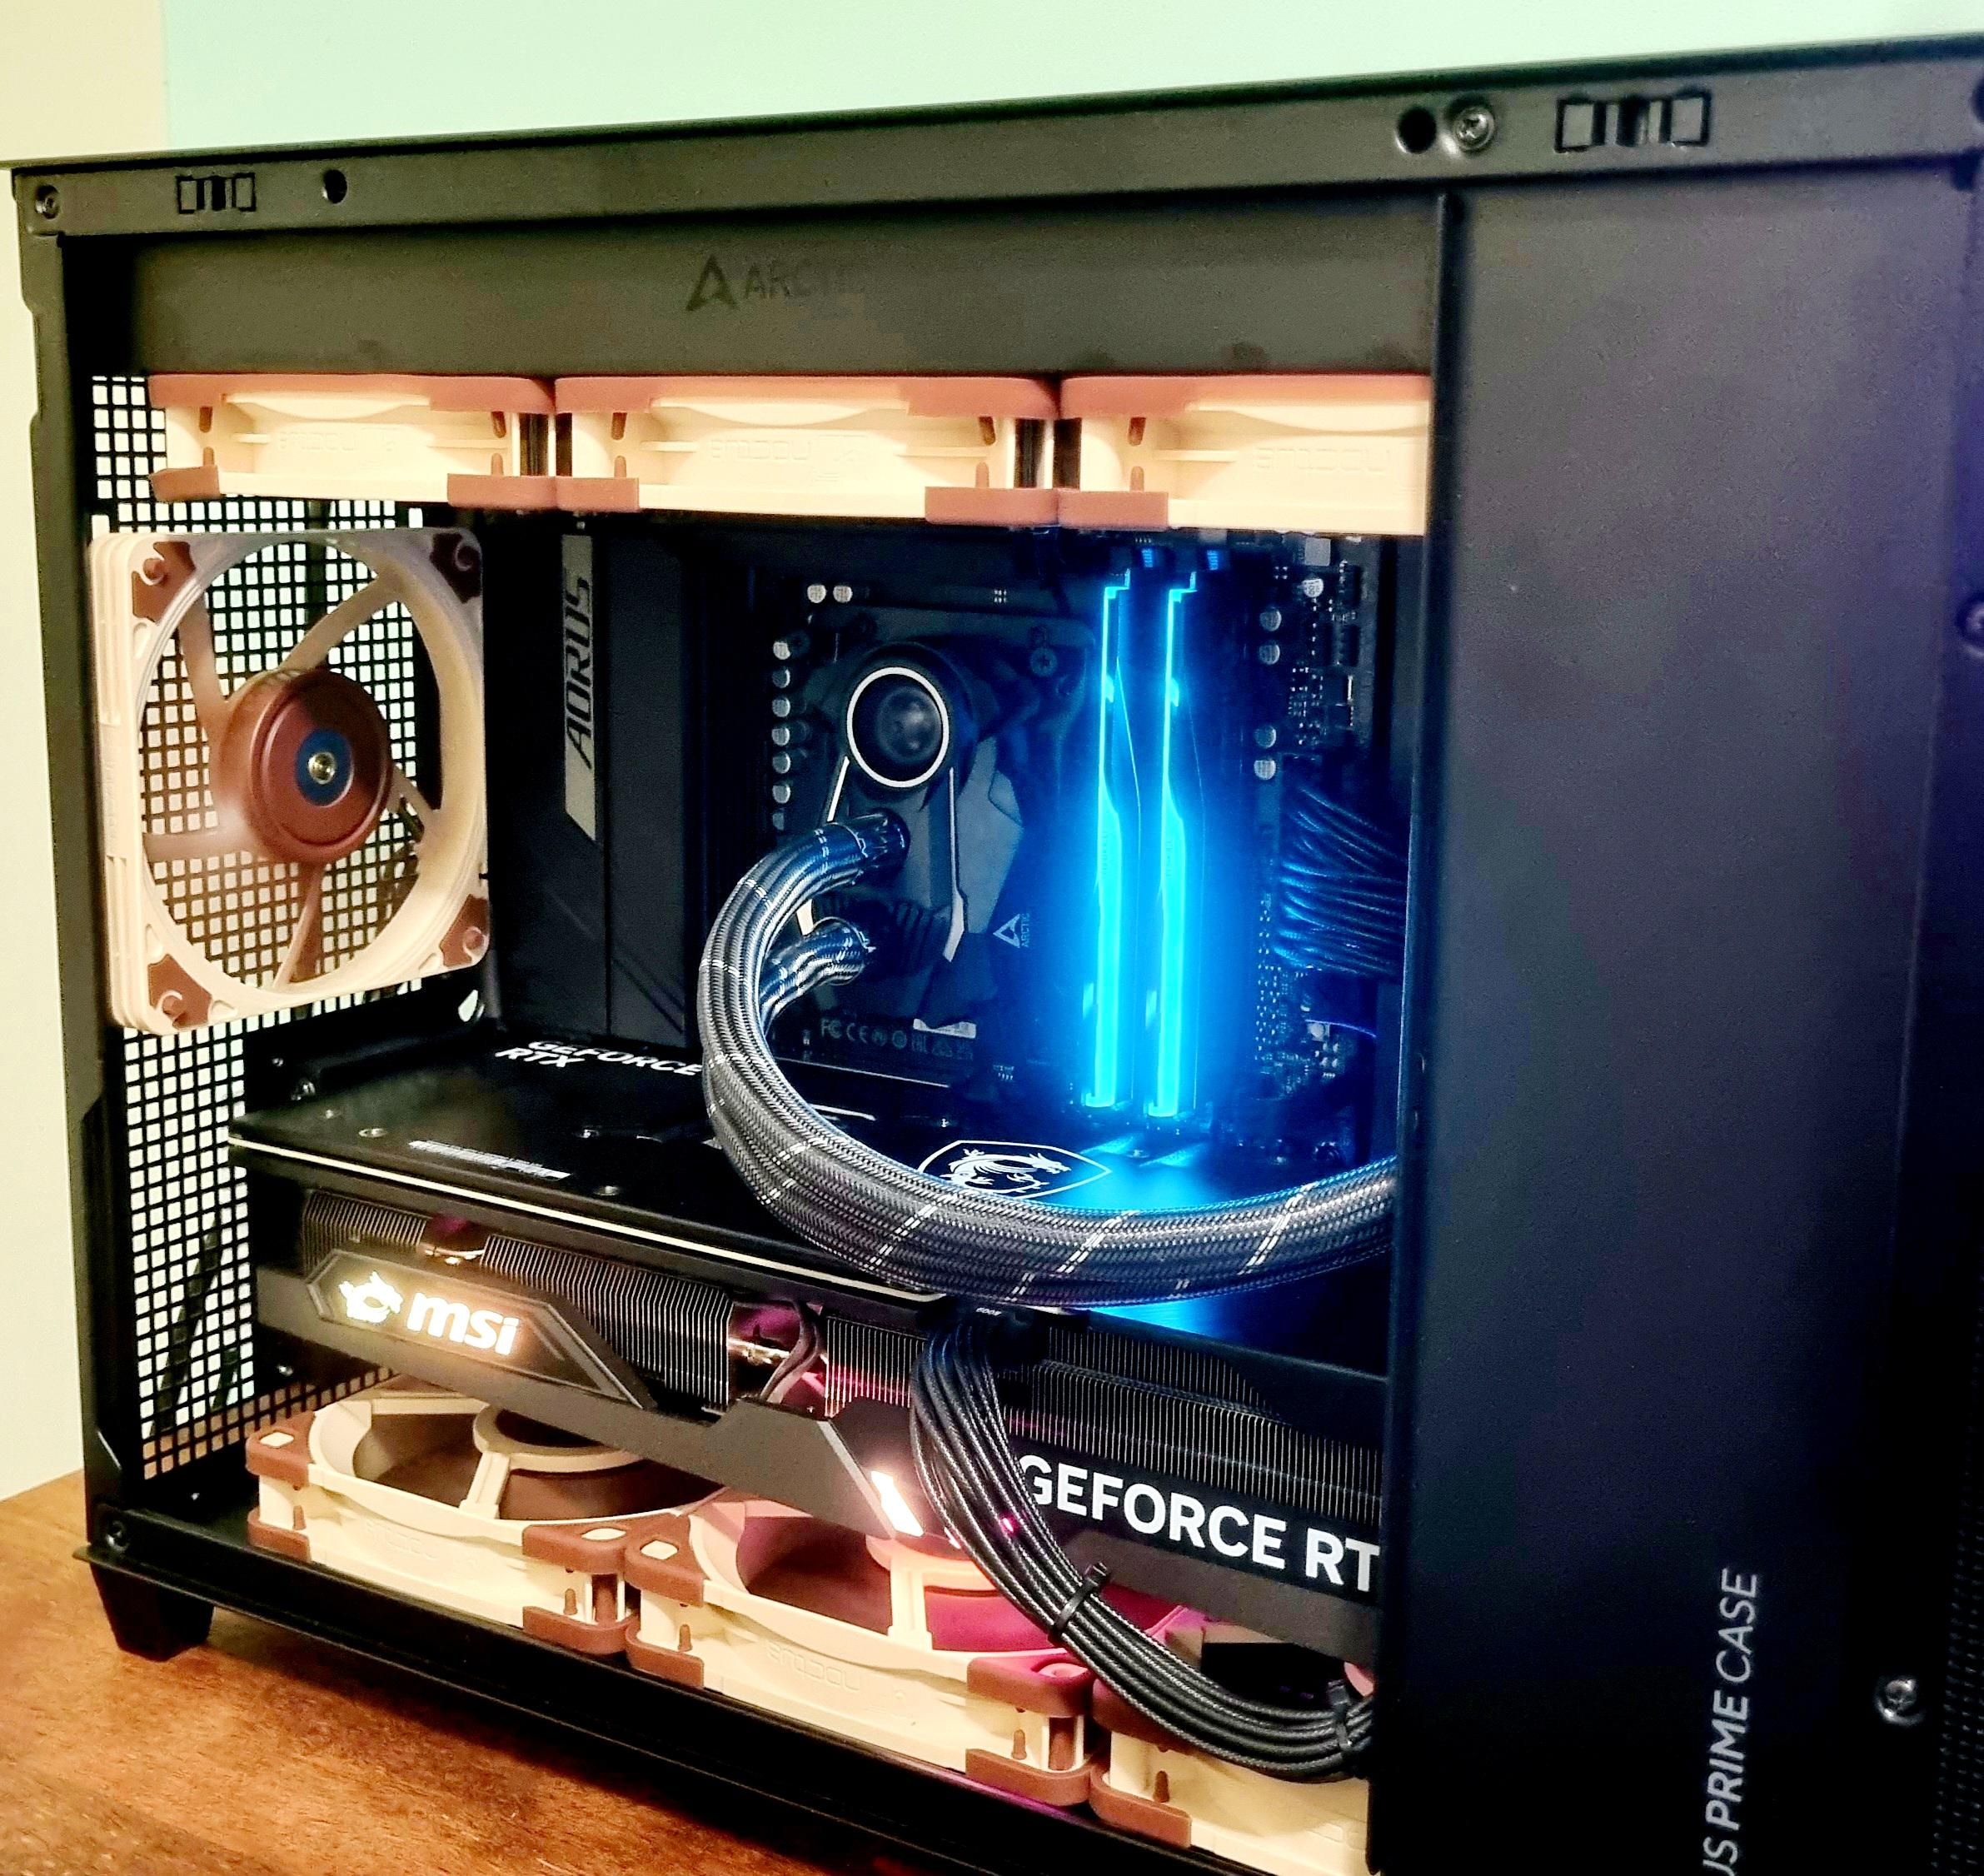
Specs –
Mobo – B650M Aorus Elite AX
PSU – ASUS Loki 850w
RAM – Gskill Trident Z5 Neo 6000mhz C36
CPU – 7800x3d
GPU – 4070ti
My airflow is excellent and yes the thermal paste is applied and sticker removed from the cooler, BIOS and all drivers are current, this isn’t my first rodeo.
Just need some advice as I’m new to AMD and it’s been 5 years since I actually overclocked an Intel CPU.
I haven’t touched anything other than XMP to get the ram running at 6000mhz.
My issue is my CPU temps, they seem crazy high. I have an ambient temp of about 28c and my GPU is only maxing out around 45-50c while gaming or in benchmarking, while my CPU is spiking to 90c while usually sitting in the 70s during gaming. My old 8700k @ 5200mhz was never going over 60c.
I have tried 3 different coolers and all get similar results with the current AIO being the best (PS120SE, DR4 and the current AF360).
Can anyone suggest how to get these temps down? Is this “PBO” and undervolting thing worth me looking into?
Cheers.
2 Comments
Ryzen 7000 is designed to boost until they hit the thermal limit 95c
Undervolting using PBO will allow your CPU to boost near to max clock speeds using less voltage (heat). My suggestions for a “quick and dirty” 7800X3D undervolt (one that is reasonably stable for most people that doesn’t take several days of effort) are to do the following:
* Boot into BIOS and set your CPU SOC to 1.15v. For my AORUS, this is under the Overclocking menu.
* Under PBO limits, set a temperature limit of 85c.
* Save and reboot.
* Ensure you have the latest chipset drivers from AMD installed. These may be found under Chipset / (your motherboard model) here – [https://www.amd.com/en/support](https://www.amd.com/en/support)
* Download HWInfo (monitoring software)- [https://www.hwinfo.com/](https://www.hwinfo.com/)
* OCCT (stress testing software) – [https://www.ocbase.com/download](https://www.ocbase.com/download)
* and Yruncher – [http://www.numberworld.org/y-cruncher/](http://www.numberworld.org/y-cruncher/)
Run Y-cruncher, option 1 (Component Stress Tester). Press enter to run all tests and let it cycle through them all for one hour. If this returns an error, make note of the “logical core” where the error occured for future reference. Then bump your SOC voltage up slightly and try again until it can complete an hour without errors.
If it passes without an error, run a 30 minute test using OCCT’s CPU Test (Large data set, AVX2 – Extreme.) Use the “Core Cycler” option and set it cycle through all cores with a 5 second interval. This will stress your CPU and memory together, and highlight if any cores fail with the existing settings.
If both tests pass without errors, you can start undervolting the CPU itself. To do so:
* Go into BIOS / Advanced CPU settings / Precision Boost Overdrive / Curve Optimizer.
* Set the curve optimizer sign to “Negative”
* Enter “20” for the “All Cores” offset number.
* Save and boot back into Windows.
In Windows, open Ryzen Master’s “advanced” tab, look under the Curve Optimizer settings, and confirm that you see the “All Core -20” offset in place. Assuming it is there, re-run the above two tests (90 minutes total).
If both pass with no errors, change the OCCT CPU test from “Large AVX2 – Extreme” to “Small AVX – Exteme” (also using Core Cycler), and run that for 30 minutes as well. If you receive errors or crashes, STOP, go back into BIOS, lower the negative offset by 5 (change 20 to 15), and try again. Keep reducing the offset until you can pass the three tests without errors.
Assuming you can get all three tests to pass around -20, you are in pretty good shape. The CPU has been successfully undervolted, which saves you money on power and allows the chip to boost to higher clock speeds before hitting its temperature limit.
At this point, you have a few options:
*Option 1* – If you are happy with the result, you can call it a day. I’d suggest doing some additional stability testing to give yourself confidence that the undervolt is “solid”. This means letting Y-cruncher run for 2 hours, running OCCT’s “Linpack” test for one hour, and possibly re-doing the large and small core cycler tests again.
If my system passes these tests and doesn’t crash during daily use, I consider it stable enough for my needs, but of course if you have a lower risk tolerance, you can conduct additional (longer) testing with different software, different variations of the OCCT tests, etc. to ensure the system is as close to 100% stable as possible.
*Option 2* – If you want to push the undervolt limits, after the initial Y-cruncher + OCCT tests pass, boot back into BIOS, increase the all-core offset by 5, then repeat the tests. This is essentially doing the opposite of what you do when you encounter a failure. Keep *increasing* the offset until you start receiving errors/crashes, then back off to the last values that passed everything.
For most people, assuming they can hit -20-ish stable, I think stopping there may be the biggest “bang for the buck” in terms of time spent vs benefit received from undervolting. However, if you enjoy tweaking and have the time, you can keep going. Keep running tests, using error logs to take note of which cores cause errors at specific offsets, and reduce the offsets for those cores to stabilize them. Once you stabilize your bad cores, you can slowly start to increase the offsets on the remaining cores until they start causing errors as well. This can take a significant amount of time without giving a big increase in performance compared to the “quick and dirty” method, but it is an option if you desire.
Have fun, and let us know how it goes.