
If you’re coming into Mina the Hollower expecting a traditional Zelda-like structure, think again. Sure there is a recommended order of exploration, but once you’re dropped into the starting town of Ossex, you’re basically free to go wherever you want, right from the start. That said, if you wanna have some recommendations of stuff to do first, you can read our tips on Things to Do First, or watch our video below.
Get Rich Quick

First off, let’s get some Bones. One of the easiest rewards to get early on in Mina the Hollower are Bonestones. These little gems are a valuable form of currency that persists even if you die. You’ll generally find these in blue treasure chests, many of which will be in plain sight, but may require a bit of puzzle solving to figure out how to actually get to them. Here are a handful that you shouldn’t miss right from the start that can be gotten with relative ease:
In the tutorial section when you’re on your way to Ossex, there are a handful of missable chests you can collect. The first one is on the right side of a room with all of the fences and gates shown above. Simply burrow under the top gate once you jump over the gap. In the top left corner of this room, burrow under the gap to reach a room with another Bonestone chest.When you reach the first Underlab checkpoint, climb up the rope and break the door to the left to enter another room with a Bonestone chest, guarded by a bunch of enemies. Then when you climb the next rope, go right instead of left to snag one more Bonestone before moving on.
There are a few more you can grab once you reach Ossex that you don’t want to miss early on:
Grab the chest inside the Couple’s Quarters by doing a burrow jump over the gap on the right side is a Bonestone chest.Be sure to grab an axe from the candle near the entrance to the Radiant Manor, then head through the Spark Door at the eastern part of town to reach the Strategy Center. Here you can throw the axe to break the Bonestone chest and then burrow under the table.Just to the south of the Strategy Center you’ll see two platforms separated by a waterway. If you can lure the big-nosed NPC down here and then hit him when he’s facing the water, his nose will extend, allowing you to walk on it and drop down into the waterway, where you can burrow through the opening to find another Bonestone chest.
If you need more bones to afford any of the things early in the game, a good farming spot is an area to the east of Ossex in Mourner’s Mile on the way to the first dungeon where enemies keep on jumping out of crypts. Just clear them out, return to the checkpoint one screen over to the left, and do it again.
Spark Upgrade
While you may want to rush to get a health upgrade from the Emporium consider holding off for now and spring instead for the Spark upgrade. With two sparks, you can open the door to the left of the pawn shop. Break the painting in the corner of the room and then burrow under the wall to be able to reach a bike.
Having a bike this early will be super handy for completing a few more challenges that will net you a Bonestone, including the one right next to where you found it. In addition to that, it will also allow you to cross gaps that are more than 2 squares wide, which will lead to even more riches.
Not only that, but having an extra spark this early will also save you from a lot of frustration when it comes to losing bones on death. Having an extra spark basically gives you an extra chance to reclaim your dropped bones when you die, and considering that this game is much harder at the start than it is deeper in, it’s good to get that spark early.
Metal Kears (Keys)
Another priority for you right out of the gate should be grabbing some Kears, Mina the Hollower’s version of Keys. Kears occasionally lead to some of the most rewarding optional areas in the game, and even when they don’t, they almost always lead to at least Bonestones, and potentially a time saving shortcut. The easiest way to get some Kears is to just buy them at the Kear shop next to the Emporium. They get more expensive with everyone you buy, so once you get two or three, you can probably call it there.
Some early Kear locations include:
Back in the tutorial section where you’re jumping across fiery platforms, at the end, bounce downwards to a screen where you’ll have to bounce over flames to reach the platform on the left, where you’ll fight two enemies in order to claim the Kear.
The telescope up the stairs north of the checkpoint in Ossex. Simply look for the planet in the top right corner and a Kear will come crashing down next to you.Inside the Hollower’s Guild just to the right of the entrance to Ossex, a place we’ll talk more about in just a moment!
See More Kear Locations With Our Guide Here
Unlock the Hollower’s Guild and Get a Map
The Hollower’s Guild is one of the first buildings you’ll see when you reach Ossex, but its entrance will be blocked off.
To open it, simply follow the building around to its right side, hop over the rock, break the crates, and work your way to the entrance. Inside you’ll get a Kear , and can talk to Muriel, who will send you southwards to chase after the hooligans that busted up the guild hall.
If you head directly south from the main entrance to Ossex, you’ll be able to use that key to open up the Rebel Barracks, and after you fight your way through, you’ll find Rhene, another Hollower that’s been held captive.
Escort her out, return to the Hollower’s Guild, and the two will start cleaning up the hall, revealing another NPC, Drillhardt (burrow under his antlers to free him).
He will sell you a variety of upgrades for the Underlab, and while it’s your choice what to spend your money on, I’d recommend grabbing the map for the low price of 500 bones. Between the newspapers, which always give you hints on where the next recommended dungeon is, and the map, you should never be totally lost on where you should go next.
Early Must-Have Trinkets
Similar to what Charms are to Hollow Knight and Silksong, Trinkets are special equippable items that can give you some amazing benefits, and you’ll eventually be able to get pouches to equip more than one at a time. To get you started off on the right foot, make sure you get these before you even hit the first dungeon:
The Steady Soles will allow you to move without any sort of speed penalty on water, grass, stairs, and ice, while also resisting knockback, and are virtually a necessity when it comes to the dungeon in the Bayou. You can get them by heading up the stairs to the left of the checkpoint near the eastern exit of Ossex.
Head left once you reach the next screen to reach a balcony overseeing the courtyard. Burrow under the right most opening to reach the attic of the residence below. Jump over the blocks as your make your way to the left side (making sure to collect the treasure chest along the way,) and once you exit through the stairs in the top left corner, you’ll find your trinket.
Steady Soles
Next up is the Chain Capacitor, which will boost your damage for each consecutive hit until you miss your target. To get it, head out the eastern exit of Ossex and one screen north, then use a Kear to open up the building surrounded by grass.
Inside there will be a Street Fighter-like minigame where you must destroy a car in just 30 seconds. The Iron Steed bike unlocked past the two-Spark Door in town makes this doable even at a low level, as crashing through the car damages all the parts at once, but if you’re struggling to make it in time, just come back when you have some levels under your belt.
Chain Capacitor
Finally, the Bell of Grace gives you a chance to hold on to your spark when you die, along with only taking half or even none of your bones when you die without a spark. It can be obtained by heading into the Station Underside on the west side of Ossex. Inside will be an NPC named Frayd who will have his eye on your valuables.
When you leave, he’ll start wandering the bowery, masquerading as a red NPC, and when he gets close, he’ll try to mug you. Slash at him to turn him away, then make sure you get in front of him and continue blocking his path as you wail on him until he yields. Head back into the Station Underside and talk to his remains, which will ask for 1,000 bones in order to restore himself. I know it sounds wild to give 1,000 bones to a thief you nearly just beat to death, but do it, and he’ll reward you with this Trinket.
Bell of Grace
Unlock the Trinket Shop
Your next stop should be unlocking the Trinket shop for even more useful trinkets. To do this, you must head west from the entrance of Ossex until you reach the Western Wilds. Note that the enemies here are pretty tough, so do your best to avoid them, and if it seems too tough, come back after getting some levels in you.
Continue all the way north until you reach a region with a bunch of lava rivers. Continue to the left upon entering this area, and you’ll notice these red explosive crates blocking your path. To get rid of these, you’ll need to burrow and connect a line between the lava river and the block, which will essentially act like a fuse that will blow up the crate.
You’ll need to blow the rocks blocking the staircase on the far left side, which will let you climb up the mountain to the north, work your way to the right, enter the Molten Foundry, and come out of the exit on the right. From there you can clear the rubble on the bridge to unlock a short cut, and head left to fight your way through some tough enemies for another Bonestone Gem.
Where you actually want to go from here though is to the right to reach the upper level of the Bowery. Drop the nearby rope to make it easier to get here from the bottom level, and then continue along the path until you’re able to head down in order to reach the Trinket Bazaar.
If you have the Bones, Plasma Funnel is a hugely beneficial trinket, as it doubles your very slow vial drinking speed, along with making it so you don’t lose the vial if your heal gets interrupted. Intravenous Vial is another good pick, as it removes the need for healing with a vial, as long as you’re able to land hits to fill up your yellow plasma bar without taking damage.
Find Poppit’s Shop
Another shop you’ll want to make sure you find is Poppit’s shop. The newspaper notes that there are three locations in all, and finding them all reveals something… interesting. For now, you should check out at least one location.
One of these shops can be found by heading out the eastern exit of Ossex, then working your way south until you’re able to turn right after jumping over a few gaps.
Continue going right past the screen with the turrets, and once you reach the screen with a gate and opening in the bottom right corner, burrow under it to reach a hidden cave. On the left side of the cave is more Bonestone Dust, but on the right side you’ll find Poppit.
Sam’s Expert Tip: The Best Early Grind Spot!
Hi, I’m Samuel Claborn, I reviewed Mina the Hollower for IGN and have played a ton! Before tackling the first dungeon, you will need to level up a bit — or rather you don’t NEED to but I highly recommend it. The Crypt dungeon is your first real challenge and its east of Ossex. There’s a short bridge with two owl enemies hanging above it, before crossing, go south and look for this screen with a candle and spike wheels:
This candle holds the Axe subweapon. Grab it. Always return here to grab this great weapon when you lose it while you grind. Now, you’ll need to get to this save point outside the graveyard entrance.
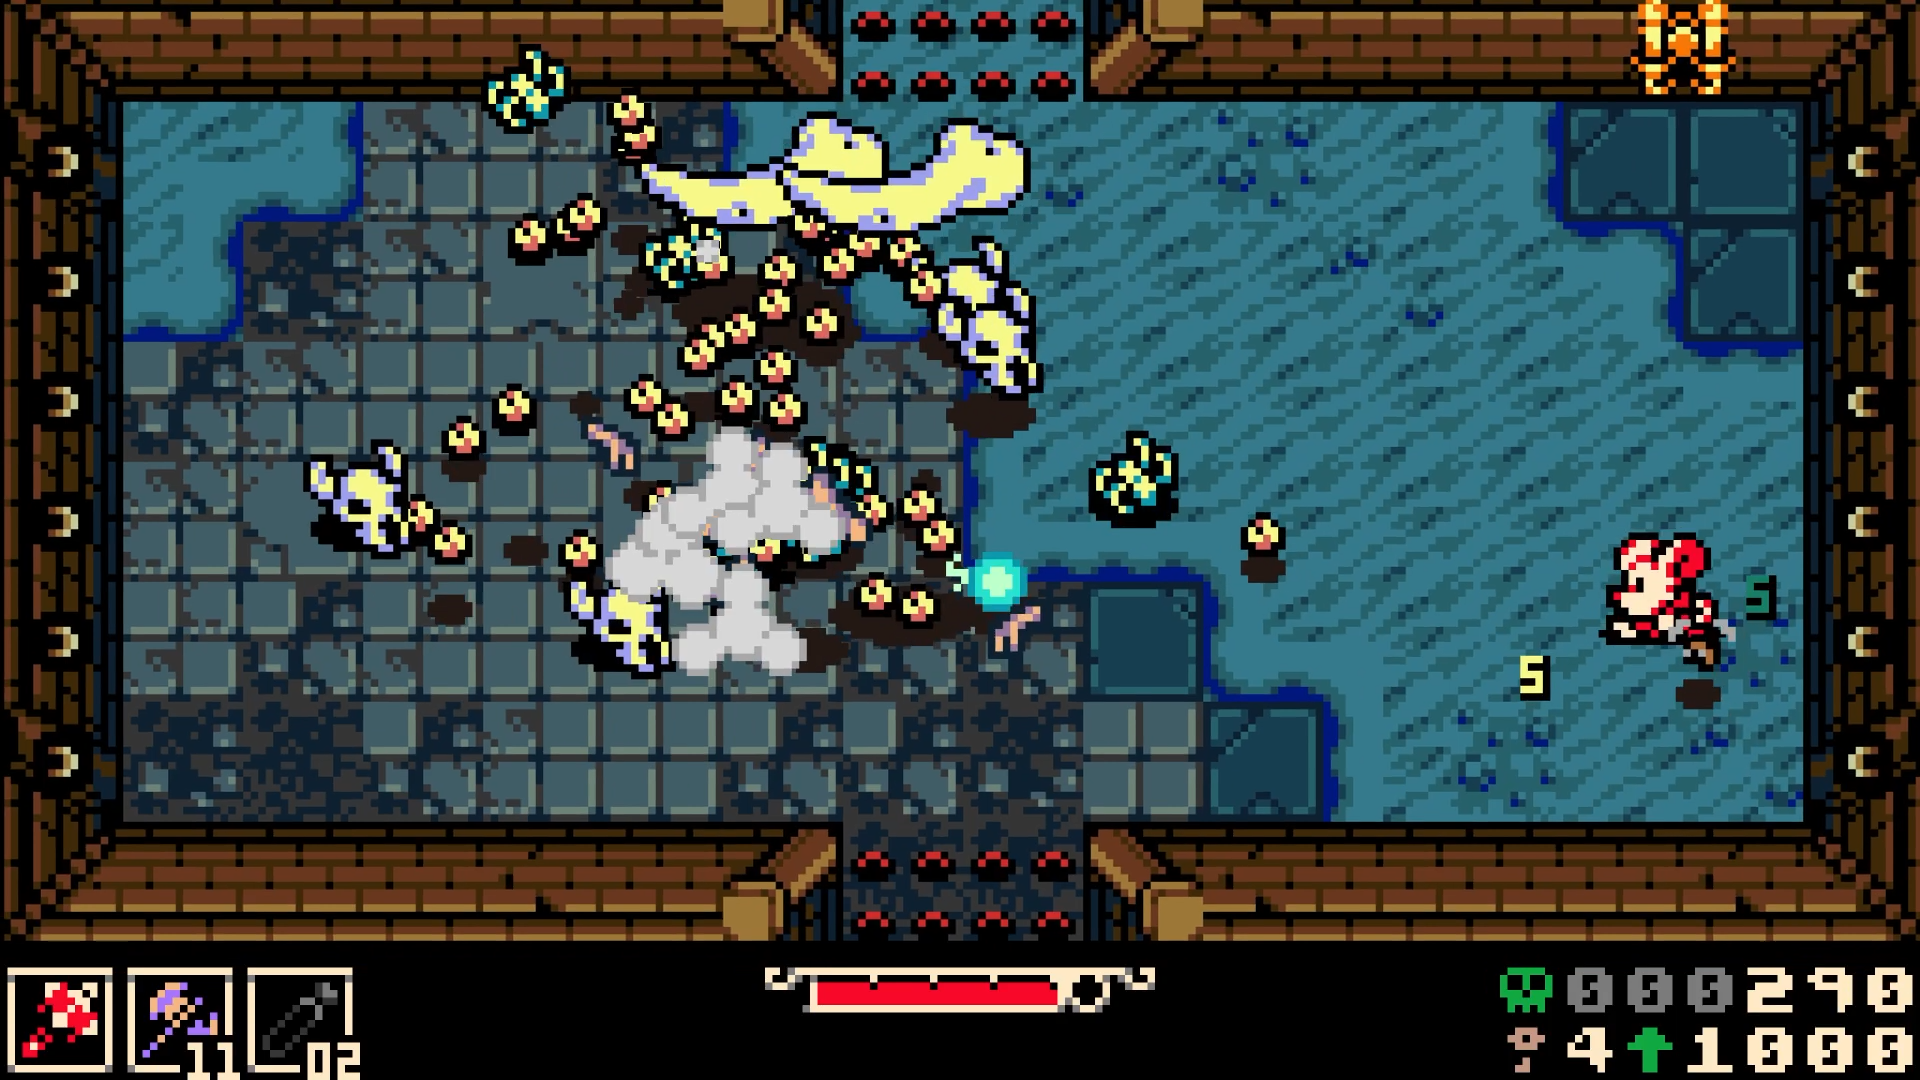
Follow our Walkthrough to get here. It takes a bit of platforming around just south from here. OK in this next area a bunch of red demons hop out of crypts and they can really kill you fast, but not NEARLY as fast as the knight enemies to the north and south. Your goal is to kill these Demons and level up your Attack and Defense. Each red demon gives you 25 Bones, that’s not bad, just four give you 100 Bones and each level up is only a couple hundred Bones. So with that save point near by to recover in and your source of Axes, simply keep your distance and toss axes and dodge their attacks to farm Bones from them. You’ll learn the patterns and be able to kill 4 or 5 on each run (remember, the save point respawns them!). This means a couple hundred bones per minute! Not bad!
Soon you will be able to use your Axe and then some quick backstabs on the knight guys. And they offer 80 Bones! Levelling up even more with these guys (especially to the north) becomes a cinch. And after this your are ready for the Crypt.
And if you ever lose your Bones, don’t worry, that Spark will give you a chance to recover them, but try to spend them so you don’t lose out on precious minutes of grinding.
Take on the First Dungeon and Get the Proto Spark
Dungeons in Mina the Hollower can be tackled in any order, but there’s definitely a recommended order when it comes to the difficulty with which these dungeons were designed. So we’d recommend starting with the easiest by heading east of Ossex and working your way towards the Queensbury Crypt.
There are too many secrets and collectibles to collect on the way and once inside, but the one thing you definitely don’t want to miss is the Proto Spark trinket.
You can get this by getting all the way through to basically the end of the dungeon, but when you get to the room just before the ancestral chamber, the one where the red carpet sticks out from the north doorway, you should instead head left. Here you’ll need to drop two vials into the barrier to make it disappear, and then you can climb the ropes until you’re able to drop down on the left side.
Here you’ll find the Duke, and you must escort him to the room just past the boss of the dungeon. If you do, he’ll open a secret door, get into a coffin, and rest, but not before gifting you with the Proto Spark. This extremely useful trinket essentially acts as an extra life, kicking in when you die and bringing you back to life with a bit of health. Just note that It only works once per death or rest at a checkpoint.
Proto Spark
If you accidentally beat the boss before finding the Duke, not to worry, you can still finish this little sidequest afterward, too.