

With PC games growing increasingly complex — especially ones built on Epic’s Unreal Engine 5 — default/max graphics presets rarely (if at all) strike the optimal balance between visual fidelity and performance that most PC gamers seek, and Code Vein II is no exception to this rule. As a demanding Unreal Engine 5 game, many PC gamers — on various PC setups, including high-end ones — have unfortunately voiced their frustrations when it comes to the game’s performance profile.
This guide should hopefully help you attain an optimal balance between performance and visuals. We will break down how each graphics setting impacts performance and visuals in the form of video comparisons, and provide you with a ready-to-use optimized settings table that should improve your performance without completely sacrificing visual fidelity.
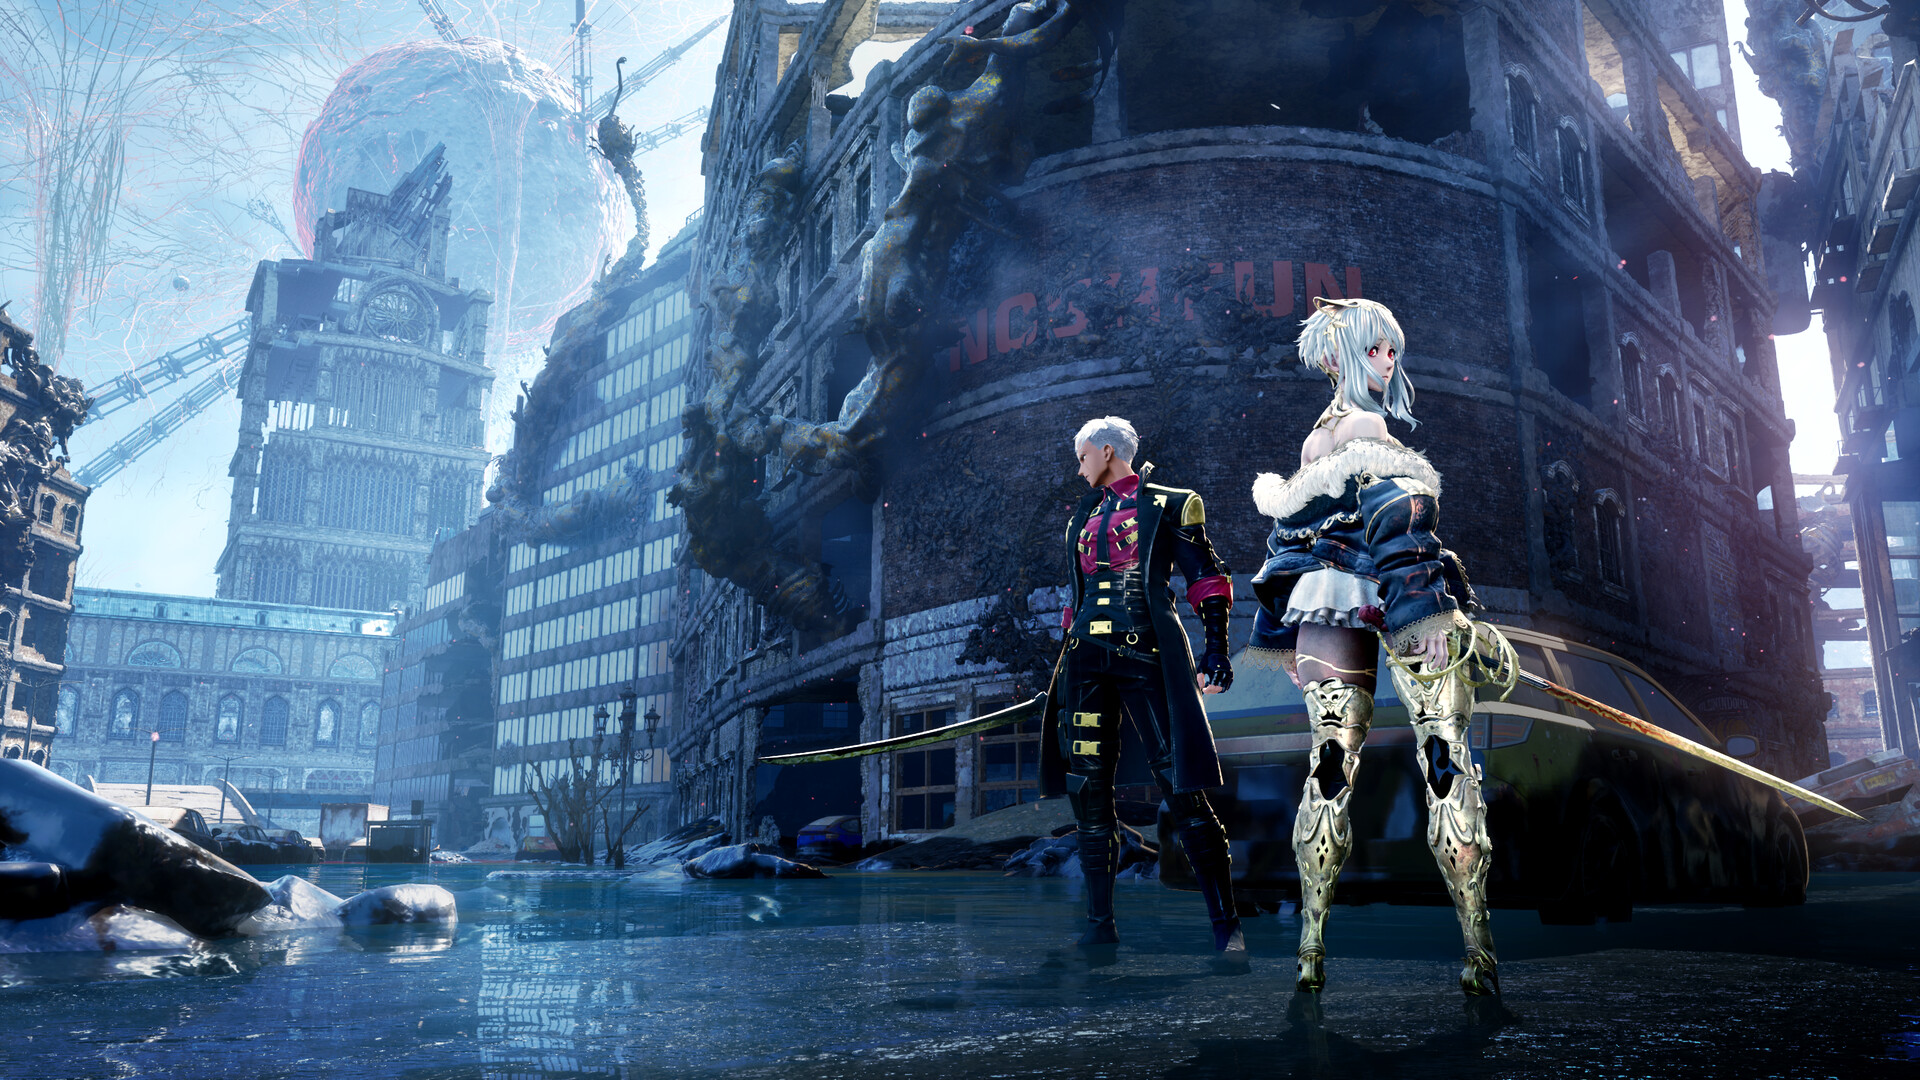 Code Vein II boasts some varied and rather impressive-looking open-world environments. Source: Steam
About Code Vein II — A Brief Overview
Released on January 29, 2026, on PC (via Steam), Code Vein II is the sequel to Bandai Namco’s anime-inspired action RPG, Code Vein, blending stylish characters and high-octane Souls-like combat with an open-world twist. Early reviews praise its combat and world design, but many critics and PC players alike have flagged performance issues even on fairly powerful rigs.
TierCPUGPURAMPerformance TargetMinimumIntel i5-9600K / Ryzen 5 3600GTX 1660 Super / RX 5700 / Arc B57016 GB1080p, ~30 FPS (Low Settings)RecommendedIntel i7-12700KF / Ryzen 7 7800X3DRTX 3080 / RX 680016 GB1080p, ~60 FPS (High Settings)The Code Vein II system requirements. Source: Steam
Even with recommended specs, Code Vein II can dip below target framerates in open-world and intense combat scenes, thus highlighting the need for extra tuning of the game’s graphics settings in order to achieve better performance/visuals ratios.
Thankfully, the game does have a Pipeline State Object (PSO)/shader compilation step, which, in my experience, was quite effective as I failed to spot a single instance of shader compilation stutter. Further, the game also doesn’t seem to have a lot of traversal stutters and hitches, which is quite impressive for being an open-world Unreal Engine 5 game.
 The Code Vein II shader compilation screen
Graphics Settings Breakdown — Visuals vs Performance
In this section, we will explore the various graphics settings in Code Vein II, via comparison videos that should show case both the graphics and performance (in terms of FPS) of each setting, thus allowing us to determine which settings strike the best visuals/performance balance, which is the basis for establishing optimized graphical settings in this game, or any other game for that matter.
Also, please be aware of the fact that the graphics settings comparisons in this section have all been made on a system with the following specs:
CPU: Intel Core i7-14700K;
RAM: 32 GB DDR5-7000 CL34;
Storage: 2 TB PCIe 4.0 NVMe SSD;
GPU: NVIDIA GeForce RTX 4090;
Operating System: Windows 11 25H2;
All system firmware, drivers, BIOS, and OS updates were fully applied before testing.
Also, all of the comparisons were done under GPU limited scenarios at a resolution of 2560×1440 (1440p) with TSR (Temporal Super Resolution) as the temporal upscaling solution at the native resolution (100% render scale), as in this game — like most other Unreal Engine 5 games — the GPU will largely be the performance limiting factor rather than the CPU (or other system components), unless you were aiming to achieve some really high framerates. Furthermore, please be aware of the fact that lowering GPU-intensive graphics settings (which are basically all of the following settings) will not affect a game’s performance if the rest of your system (mainly CPU and system memory) is too slow to keep up with your GPU.
First of all, let’s take a look at the game’s graphics setting menu, with all of its subsections:
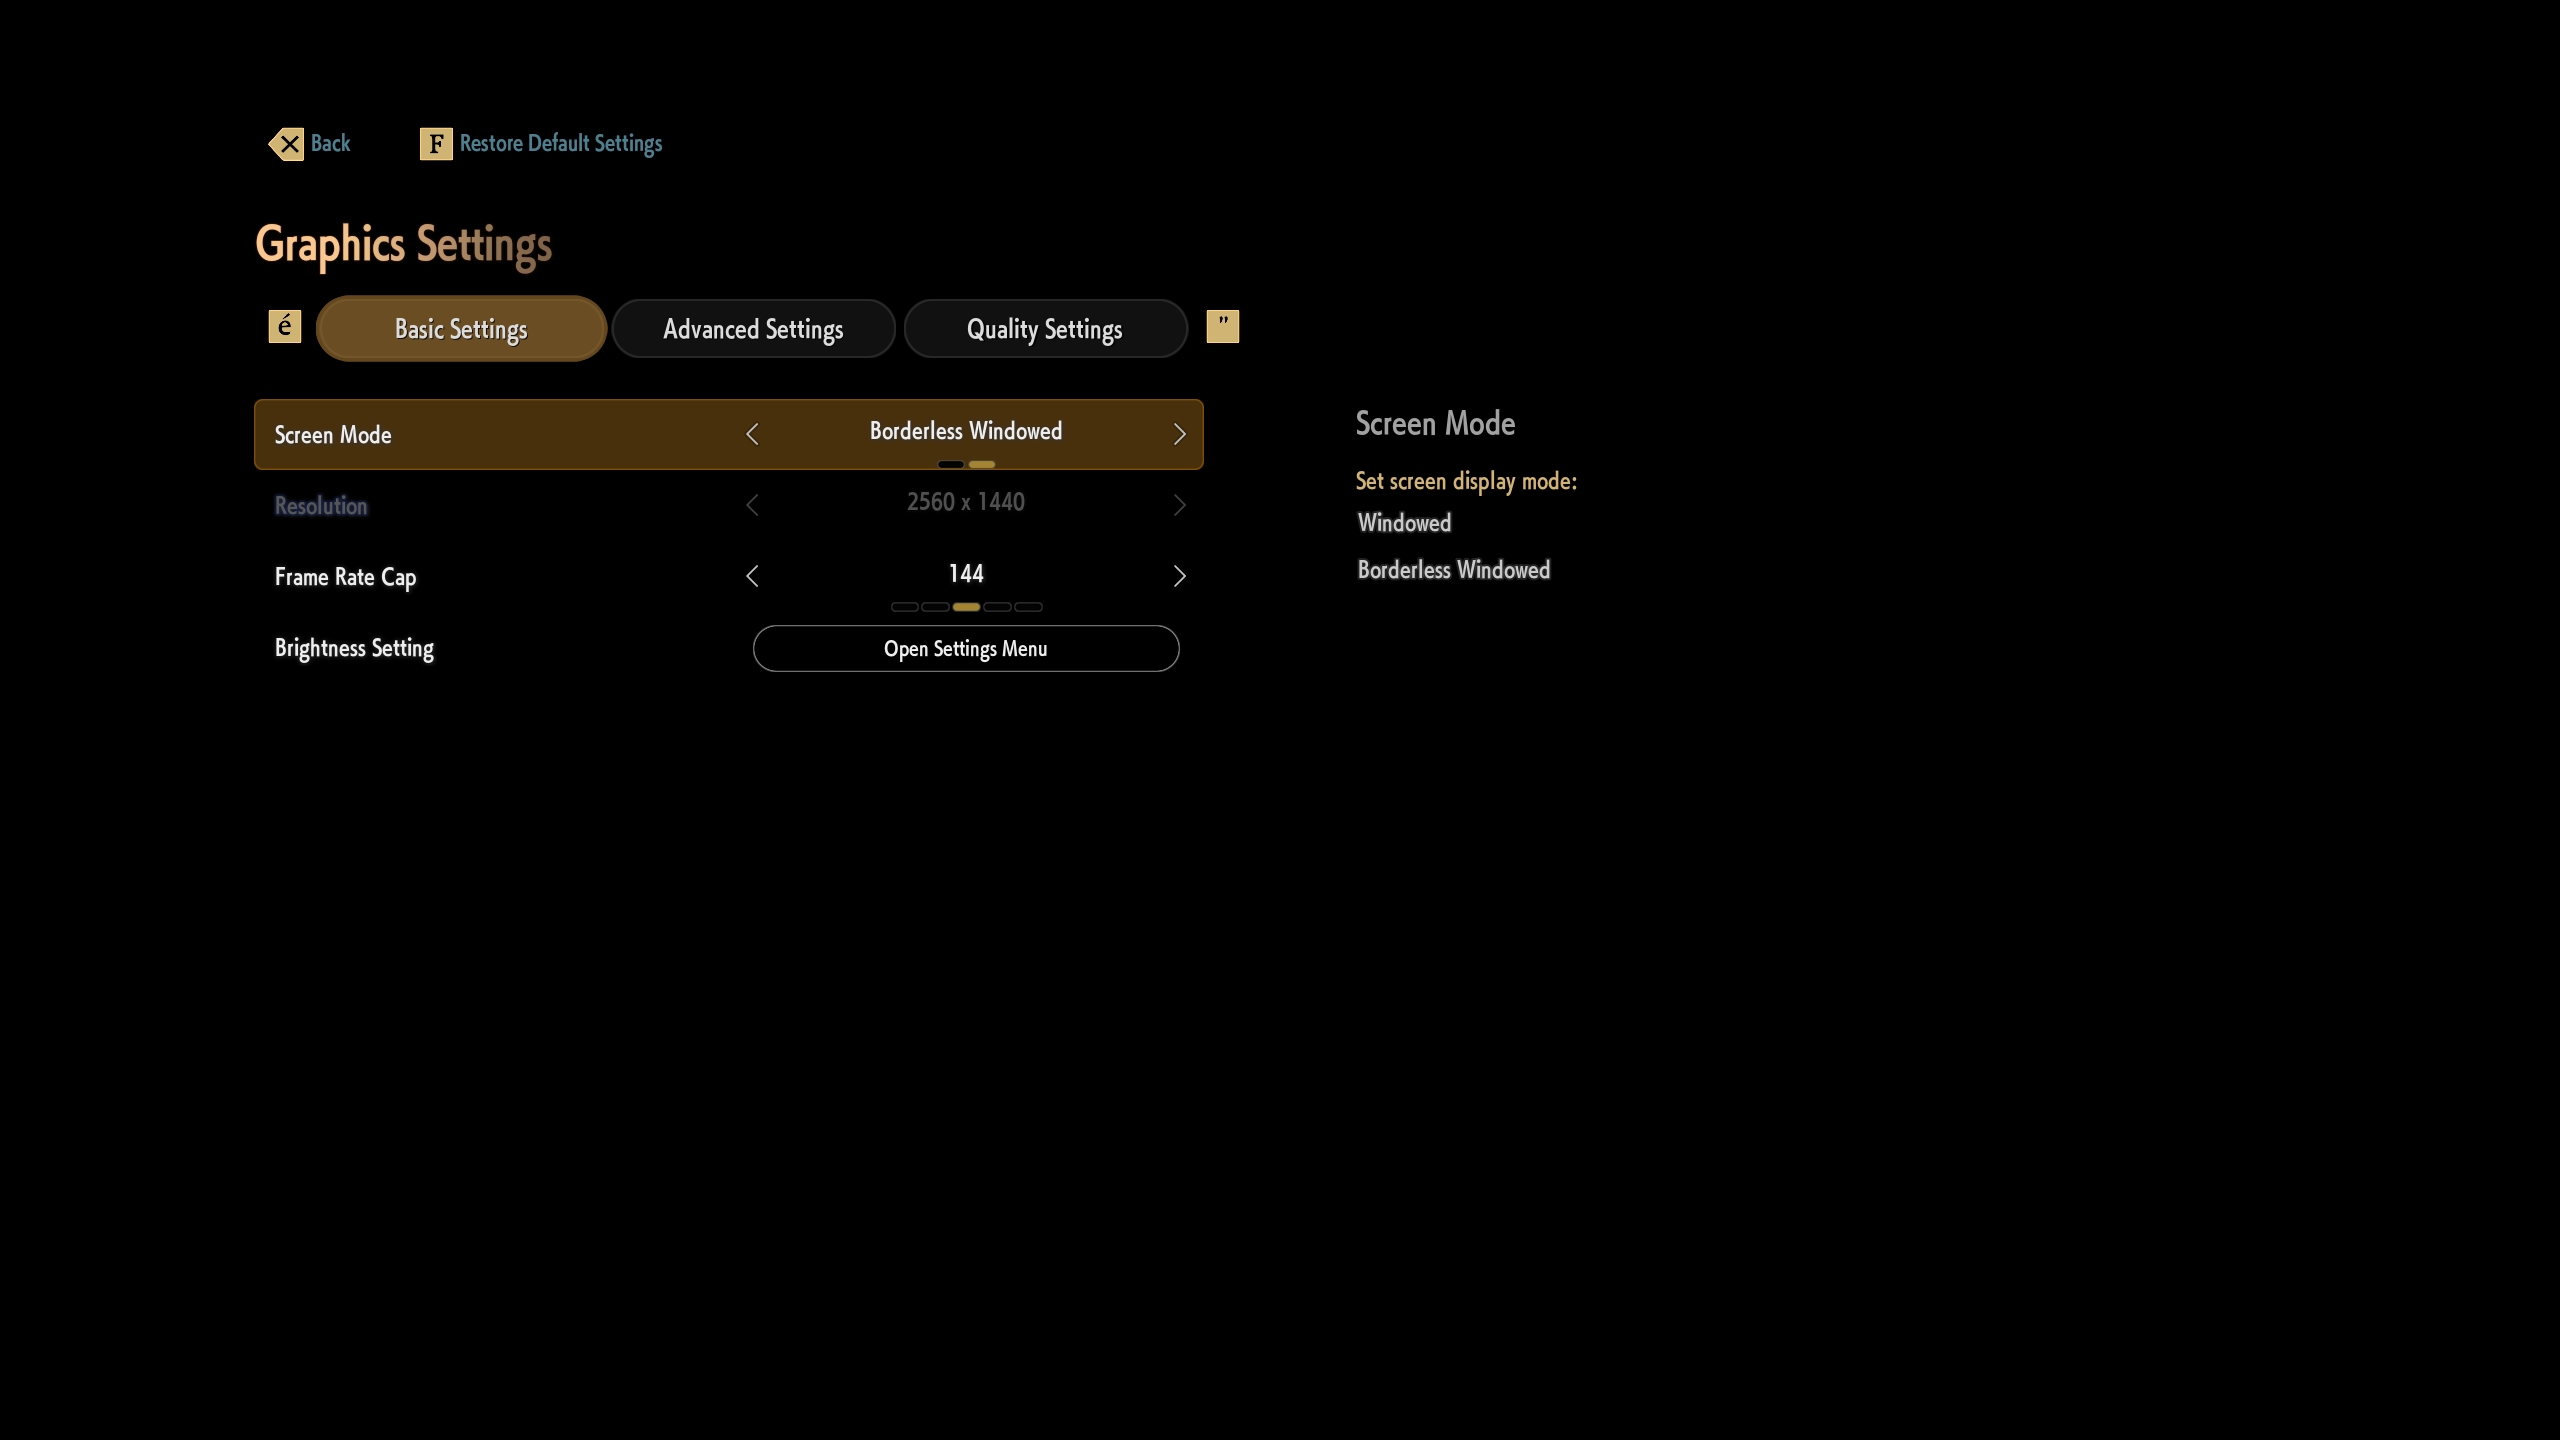 The Code Vein II graphics settings menu — Part 1
 The Code Vein II graphics settings menu — Part 2
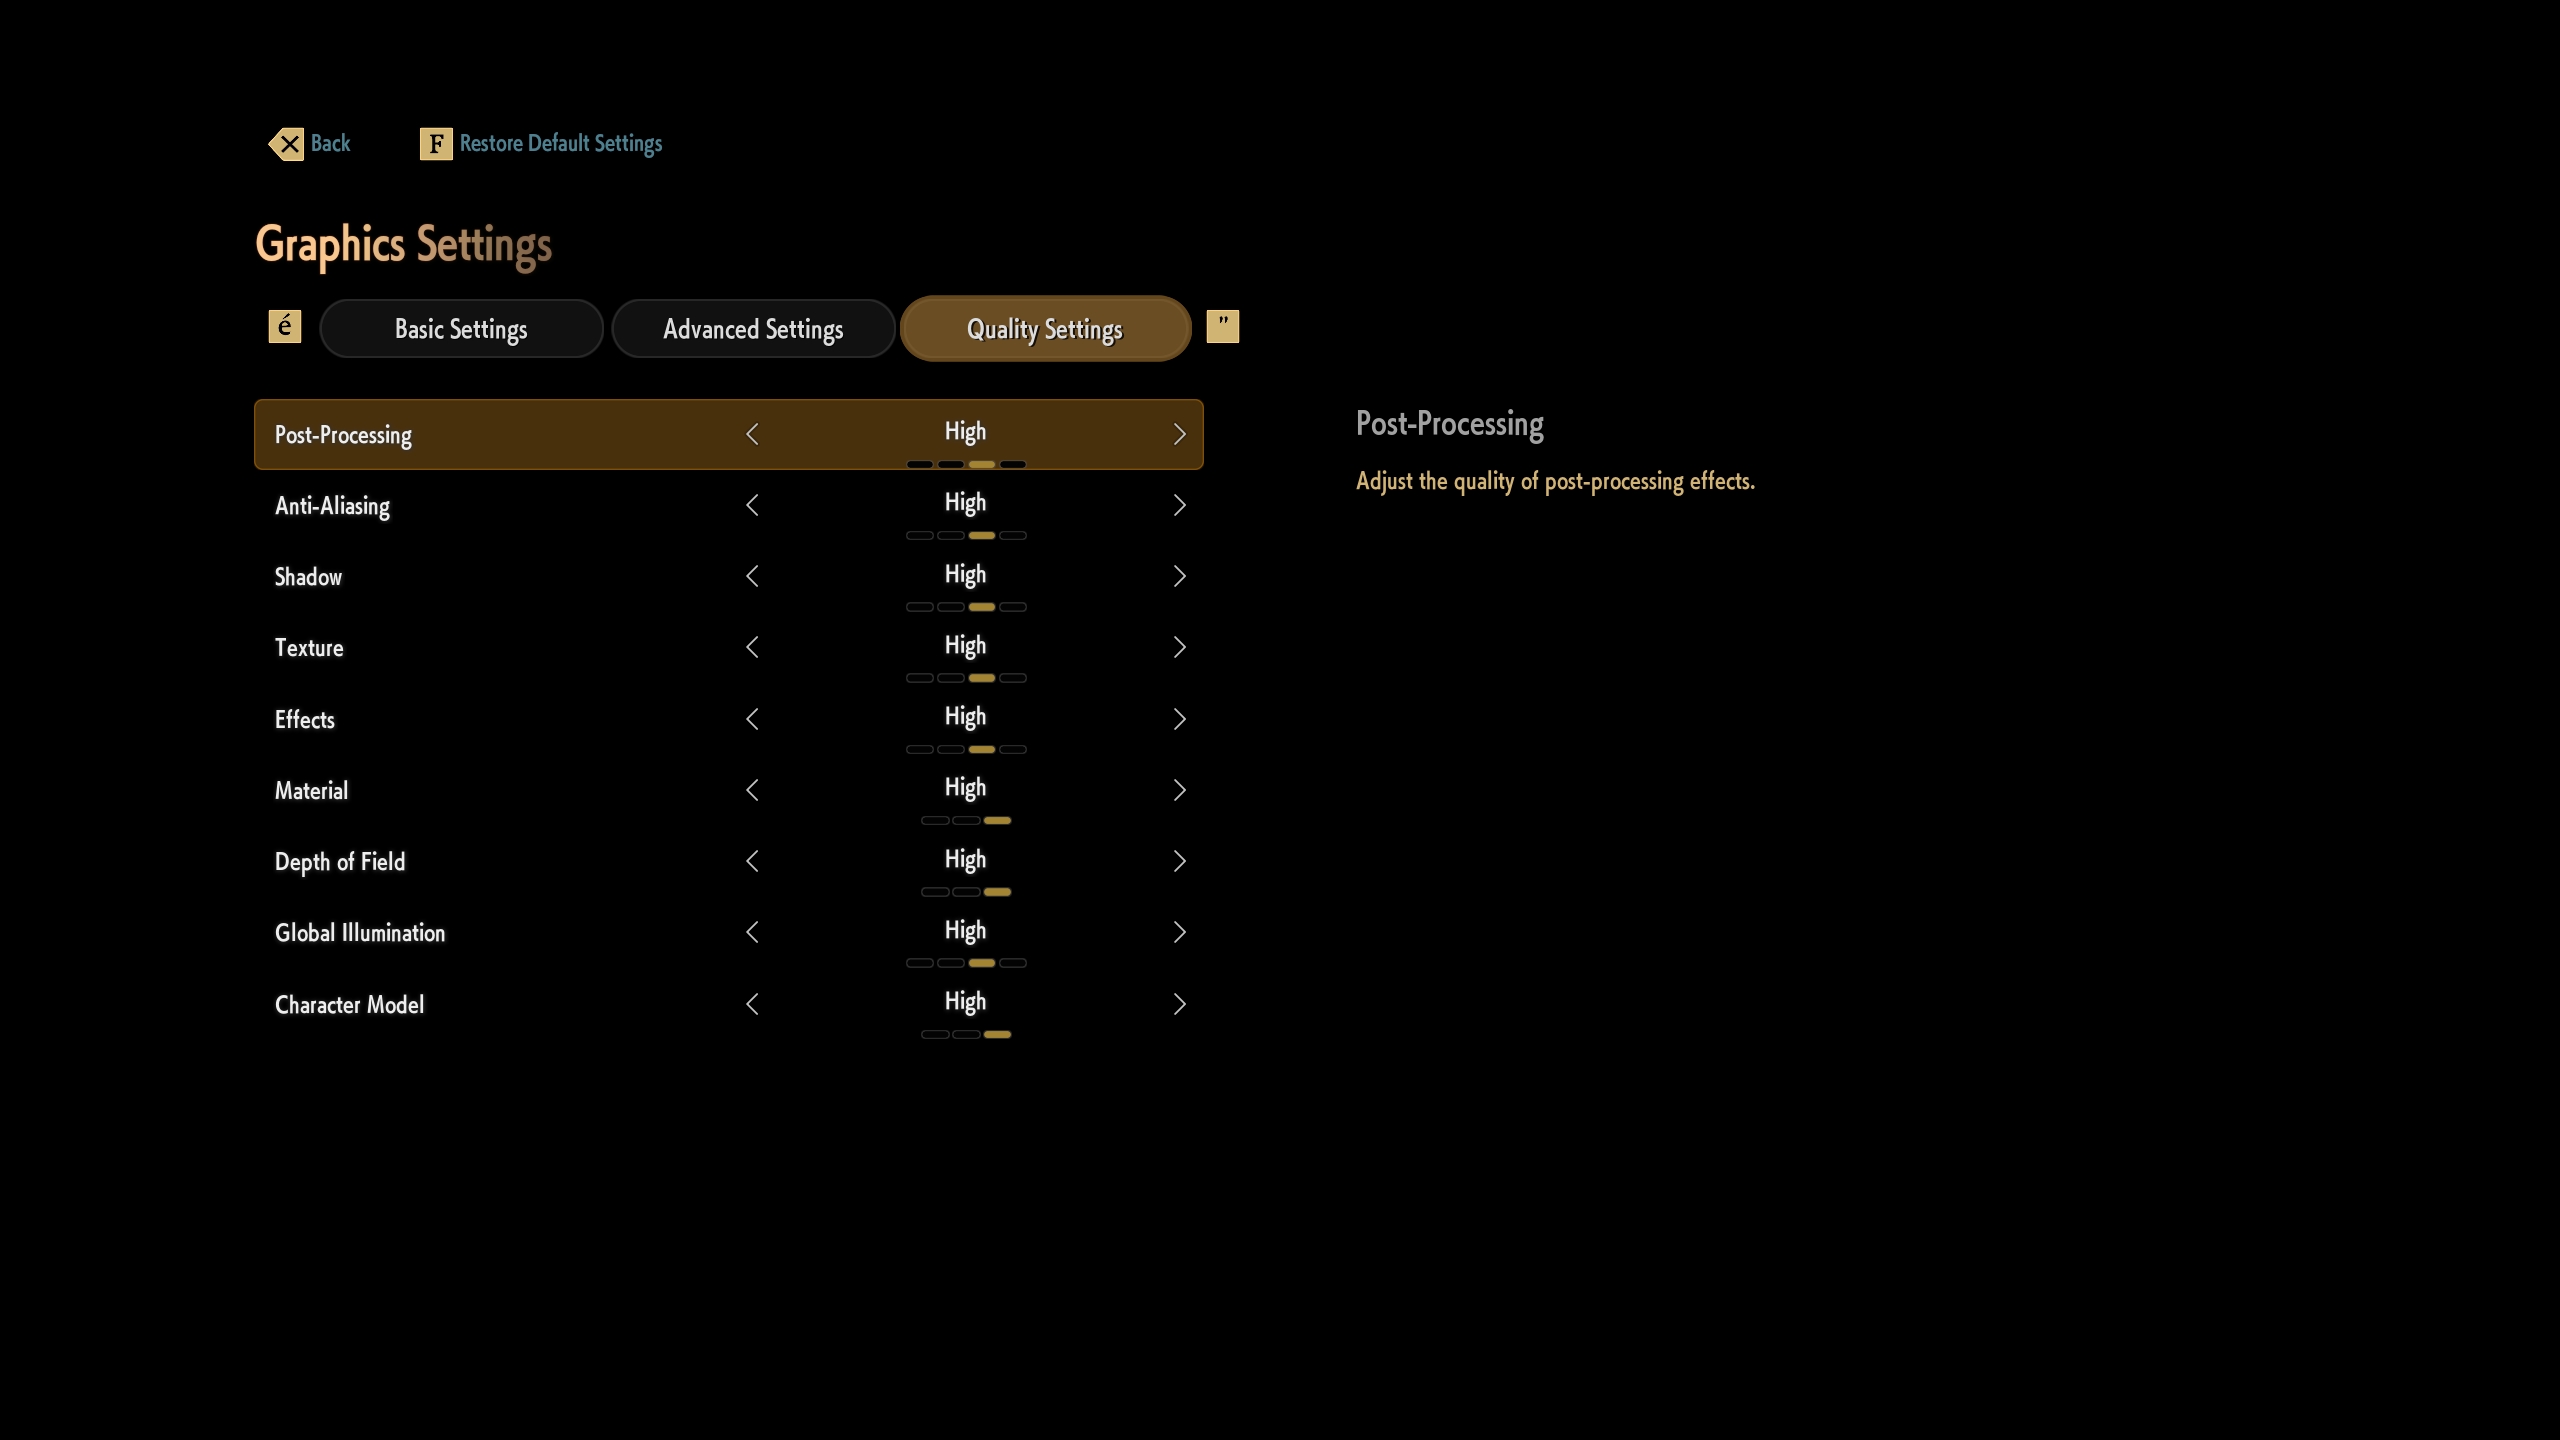 The Code Vein II graphics settings menu — Part 3
We can see that the game supports all major temporal upscaling solutions, with the exception of Intel’s XeSS. Unfortunately, we can also see that the game supports no frame generation technologies, which would’ve been useful to further increase the game’s smoothness, albeit at the cost of potential visual artifacts and higher latency.
Another thing that’s worth mentioning is that in the following comparisons, you might sometimes spot differences in lighting that go beyond changing the relevant graphics setting. This is unfortunately due to the fact that the game has a rapidly changing dynamic weather system, which makes it really difficult to capture completely like-for-like scenes in video format at different time frames.
With that said, let us finally delve into the visuals/performance profile of each relevant graphics setting that the game offers.
Note: The comparison videos have a CapFrameX/RTSS based overlay that contains performance data regarding two metrics that we feel are relevant to gauge the performance profile of each graphics setting, which are real-time framerate (FPS) and dedicated GPU memory (VRAM) usage.
Draw Distance
We can see that the “Draw Distance” setting seems to control the distance at which various game assets — such as rocks, pebbles, and foliage — are drawn on the screen. We can also see that the various levels of this setting don’t really affect performance much differently, and that the two lowest settings especially exhibit noticeable pop-in of certain assets in the ground. Therefore, we recommend using the “Farthest” level for this setting.
Anti-Aliasing Processing and Render Scaling (AKA Temporal Upscalers)
The “Anti-Aliasing Processing and Render Scaling” settings are intricately linked with each other, as the former setting controls the type of temporal upscaling/anti-aliasing solution to tackle the game’s aliasing and/or to also upscale a lower-resolution input into a higher-resolution one, and the latter setting controls the per-resolution axis upscaling factor (in terms of percentages from 40% to 100%). Our recommendations for this setting simply depend on your GPU vendor: NVIDIA GPU users should obviously use DLSS Super Resolution, whereas both AMD — except AMD RDNA4 users who may be able to utilize the way more advanced FSR 4 upscaling via the AMD Adrenalin GPU driver interface — and Intel GPU users should simply avoid FSR (version 3.1) upscaling at all costs — given its incredibly soft and shimmery output — and instead use Unreal Engine 5’s included TSR (Temporal Super Resolution), whose quality and performance impact can be controlled from the Anti-Aliasing setting, which we shall see a bit further down.
Post-Processing
This setting seems to control whether certain post-processing effects — such as bloom, depth of field, lens flare, and chromatic aberration — are enabled at all. Given that there doesn’t seem to be much of a difference in performance between the various levels here, we will simply encourage players to choose which level of post-processing they like the most in terms of their subjective perception of the aforementioned post-processing effects.
Anti-Aliasing
This setting controls the quality of Unreal Engine 5’s TSR, and given the fact that there aren’t any major differences in visual quality between the different levels on display here, we recommend that users stick with the “Medium” setting, as a safe and balanced option when it comes to its performance/visuals balance.
Shadow
We recommend that players opt for the “Medium” shadow quality setting, as in our opinion, it strikes the best visuals/performance ratio out of all levels on display in the above video. However, should players encounter distracting shadow flickering — especially in some tree/foliage heavy areas of the game — then we recommend that they bump it up to the “High” level, and avoid the “Highest” level unless they have a lot of GPU horsepower to spare.
Texture
For the “Texture” setting, we simply did not observe any differences in both performance and texture quality of some game assets, like rocks and walls. This is perhaps reflected in the fact that the GPU dedicated VRAM usage meter doesn’t really seem to differ between all levels of the “Texture” setting. However, since the game was allocating at least 8 GB of GPU memory at 1440p on our RTX 4090 GPU, we recommend that people not play this game — at least at this resolution or higher — on GPUs with less than 8 GB of VRAM, lest they encounter increased stuttering and hitching due to insufficient video memory capacity.
Effects
The “Effects” setting seems to control the quality of special effects such as GPU-accelerated particles and certain transparencies. From the performance/visuals ratio of each level of this setting, we can see that the “Medium” level should be adequate for most people looking to strike a decent balance in both visuals and performance.
Material
The “Material” graphics setting is a bit of an odd one, and one we think is sadly poorly explained by the game developers. We think it controls the quality of specular highlights and reflections, and it seems that the “Low” level performs clearly better than the higher levels. However, in rainy weather, the “Low” level simply destroys the specular highlights of various game assets, such as rocks and characters. The “High” setting obviously has the highest visual quality, though it also comes at a performance cost. Therefore, we recommend that players opt for the “Medium” level of this setting.
Depth of Field
“Depth of Field” in Code Vein II seems to control the quality —and whether DoF is even enabled at the “Low” level — of the depth of field post-processing effect, though only in cutscenes, which we should mention are sadly locked to 30 FPS. As such, and just like with the previous “Post-Processing” setting, this setting simply depends upon subjective player choice and is largely irrelevant for actual gameplay.
Global Illumination
The “Global Illumination” setting — which should control the quality of indirect diffuse lighting via Unreal Engine 5’s software ray tracing Lumen technology — didn’t seem to have a huge impact on visual fidelity in its various levels in many scenes that we’ve tested. However, the two highest (especially the highest) GI settings are measurably more demanding than the two lowest levels. Therefore, we recommend that Code Vein II players opt for the “Medium” level in GI, as we feel it strikes the best balance in visuals and performance.
Character Model
The “Character Model” setting doesn’t seem to make a difference in either performance or character rendering fidelity in our testing. Consequently, we recommend that players just use the “High” level of this setting.
Wrapping it all up, here are the final, recommended optimized graphics settings for Code Vein II, which we feel strike an optimal point in the realm of performance/visuals trade-offs:
Graphics SettingOptimized LevelDraw DistanceFarthestAnti-Aliasing Processing and Render ScalingDepends on GPU vendor — 50-67% recommended per-axis input resolutionPost-ProcessingDepends on player preferenceAnti-AliasingMedium — only relevant when using TSR as the temporal upscaling/anti-aliasing solutionShadowMedium — use High if shadow flickering is too distracting for youTextureHighest — doesn’t make a difference in texture quality/VRAM usageEffectsMediumMaterialMedium — use High if the absence of specular highlights/sheen on reflections in rainy weather is too bothersome for youDepth of FieldDepends on player preference — only affects cutscenesGlobal IlluminationMediumCharacter ModelHigh — No major differences in performance/visuals between all levels
The comparison video between a max graphics settings run and an optimized graphics run in the same chosen game scene showcases a 34% increase in average framerate — alongside a 19% increase in 1% lows — without completely sacrificing visual fidelity, thus hopefully helping you further improve your Code Vein II gaming experience.
Code Vein II max vs optimized settings video comparison at 1440p TSR 100%
You can further improve your Code Vein II performance by combining both optimized graphics settings and temporal upscaling from a lower input resolution, not to mention that you could also overclock your GPU to further boost your framerates and frametime consistency. Just make sure that your overclock is fully stable!
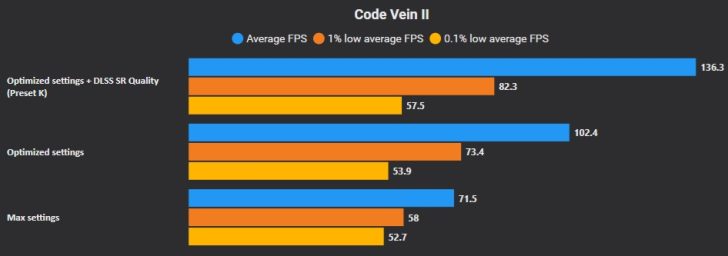 Code Vein II CapFrameX benchmarks showing how combining both optimized settings alongside more aggressive temporal upscaling can further improve your performance, at a small cost to visuals.
And if that still isn’t enough for you, then you could further improve the game’s visual smoothness — at the cost of extra latency and potentially visible visual artifacts, especially at low base framerates — by enabling FSR Frame Generation — or even XeSS Frame Generation in the case of Optiscaler —, either via this mod or with Optiscaler. You could also use GPU driver frame generation/interpolation technologies, such as NVIDIA Smooth Motion or AMD Advanced Fluid Motion Frames (AFMF) 2.1, if the aforementioned methods aren’t viable for you.
Final Words
Unfortunately, Code Vein II did not impress us with its ratio of visual fidelity and performance. Even among the slew of many dozen Unreal Engine 5 games that are available on both consoles and PC, the game simply fails to achieve a satisfying balance between performance and visuals, and is therefore in need of multiple updates to further improve its performance. The lack of XeSS upscaling and frame generation technologies is also a sore technical point in the delivered package.
Still, with smart tweaking of individual graphics settings (including temporal upscaling), you can achieve a somewhat decent experience in this game — especially if your hardware is up to snuff —, as fully maxed-out visuals often come at an unnecessarily steep performance cost that’s well within diminishing returns in terms of extra visual flair. It’s a balancing act worth mastering for the best experience, at least in our opinion.
For more on Code Vein II, please check out our review of the game from this link!


Follow Wccftech on Google to get more of our news coverage in your feeds.