
If you make a purchase after following a link on our site, we may earn a small commission. Learn more.
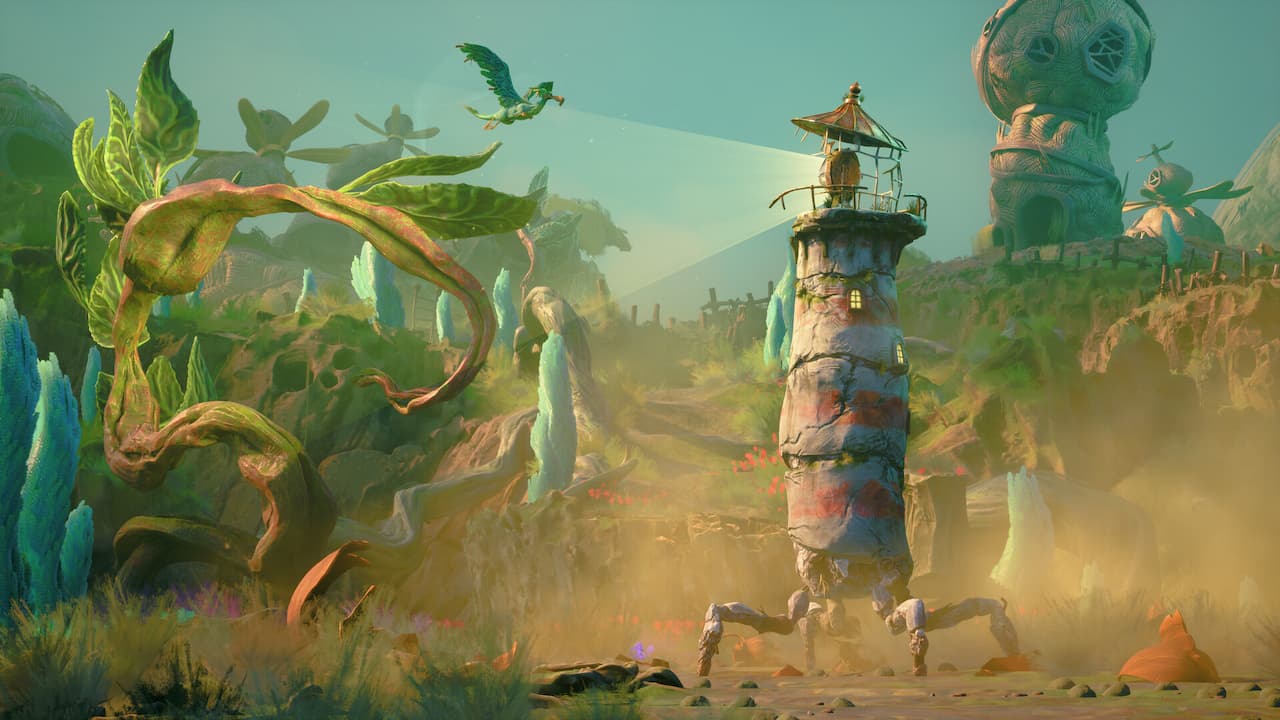
Image: Double Fine Productions
Out now, Keeper is a rather unique game from Double Fine, the great minds behind the likes of Broken Age and Psychonauts. Keeper is unlike anything the company has made before, however — and probably quite unlike anything you’ve played before. While it is a puzzle game, it’s less puzzly than the likes of Broken Age, with a focus on atmosphere, story and experience. There are some tricky moments, though, which is why we’ve put together this Keeper walkthrough to guide you through the game.
Because a lot of Keeper simply has you travelling through the game, you’ll find a lot of “move forward” and “keep moving” in this guide. You can’t ever really get lost, as Keeper’s world is fairly small and linear. Our guide features lots of pictures to help you keep on track, and we’ve used some headers that should explain what section of the game you’re at.
We hope you find our Keeper walkthrough useful — and enjoy this whimsical adventure that casts you as a lighthouse.
Keeper walkthrough: Quick links
How to play Keeper
Keeper has three main mechanics: you can dash (A), you can shine your light (RT) and you can send out your bird companion, Twig, to certain points in the environment (X). Pretty much every puzzle in the game uses one of those mechanics, or a combination of them. So if you’re ever stuck, simply look for something to shine your light on, or something to send Twig to.
For the most part, Keeper is fairly linear. Environments are detailed but small, so you can’t really get lost or go to the wrong way. Exploring is necessary for solving some of the puzzles, but the area of exploration will be minimal. This isn’t a huge open world adventure!
The gameplay of Keeper mixes things up as you progress through the game, but the core mechanics remain mostly the same.
Keeper walkthrough: The lighthouseUse the left stick to lean left and right to break freeMake your way down the screen, and then keep following the path forward. Eventually you’ll find yourself in a cave, with the path blocked by an overgrowing plant. Hold RT to focus your light on it to remove it.You’ll need to do the same one more time to get out of the cave. Out of the cave, you’ll be blocked again, this time by a tree. Approach it and press X to send your bird companion, Twig, to free the way forward. Eventually you’ll reach a fork. Straight ahead, there’s no bridge across. So head right, down a slope. Press RT to focus on a flower and hold it until a bridge structure starts to form. Move under an arch and repeat the process. Shining your light on this flower will form a bridge so you can cross above. Screenshot: GameSpewNow go back up and cross the newly formed bridge. Use RT to focus your light and remove the flying black swarm, then enter the cave. Move forward. Use RT on the large seed ahead. Keep moving forward, using RT on growths blocking doorways and more large seeds. You’ll also need to use it on a swarm of rats on the path.
  Shine your light on this large seed. Screenshot: GameSpewWhen you reach a dead end, use RT on a large seed, and then use X to send Twig to a tree to the right. This will make another seed appear to use RT on. Rinse and repeat and a path will open up ahead. Keep moving forward. Use A to dash through small obstacles You’ll reach a giant skull. Use RT to open a flower on is head, then X to send Twig. When prompted, use L to pull down on a tendril.
  Head through the giant skull. Screenshot: GameSpewWalk through the now-open jaw and keep going forward. When you reach a strange tree, send over Twig with X. When prompted, press A to shake the tree and release a fruit.Keep moving forward past the bulbous creatures- they won’t hurt you!
 These creatures won’t hurt you! Screenshot: GameSpewEventually, though, one will be blocking your path. Shine your light on it with R2, then X to send over Twig. Use L to pull its arm. Keeper: Getting past the giant tree/treant
 Essentially, you’ll need to find two ‘eyes’ for the tree before you can pass. Screenshot: GameSpewWalk forward to the Treant. Use X on the sparkling point on its head, then when prompted, keep pressing X again to peck.Move right and you’ll find yourself at an ice lake where three creatures are milling around. On the left, shine your beam on the creature as it walks over the wooden structure. It’ll collapse, sending the creature onto the ice. Repeat this on the right-hand side.When all creatures are on the ice, shine your light into the centre of them which will reveal a spot for Twig. Press X to send Twig over.
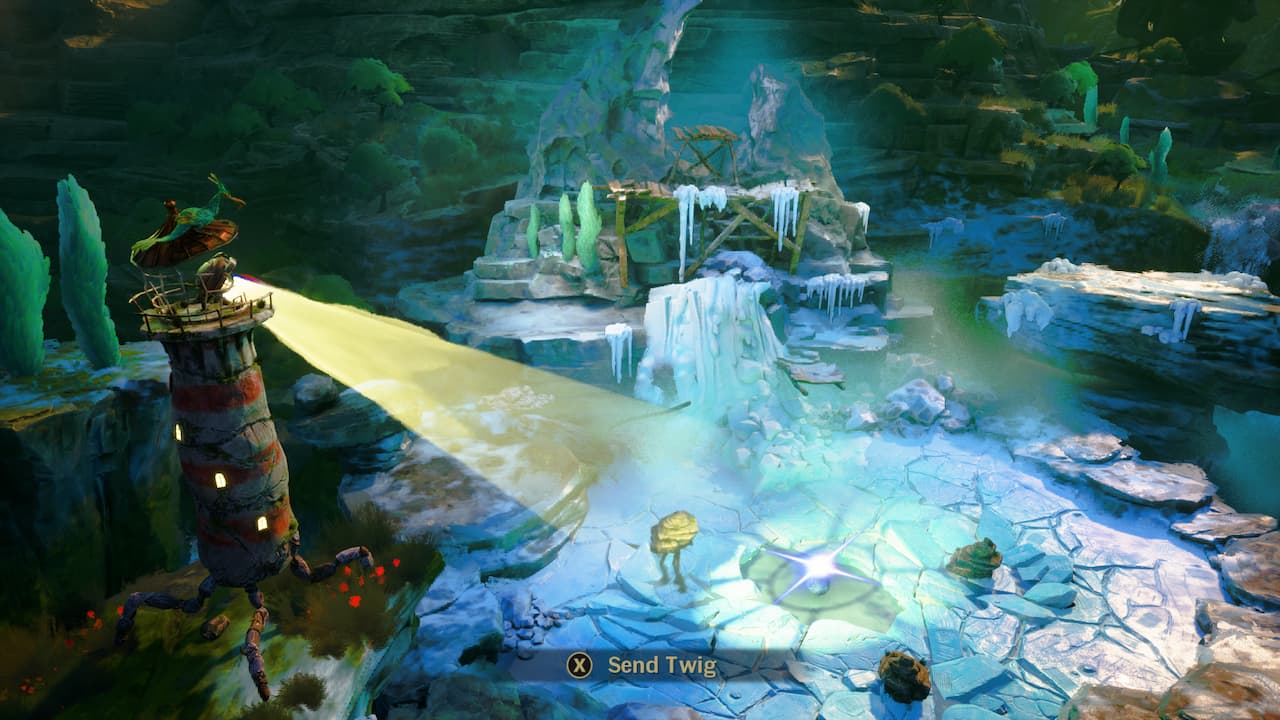 Once all creatures are down on the ice, shine your light here then send down Twig. Screenshot: GameSpewGo back to the Treant. Press X to send Twig onto its face again, and when prompted, press X to peck.Now go left. Use your beam on the twisted tree, then press X to send Twig. When prompted, press X repeatedly to shake off fruit.Climb up a ledge to the left and move forward.Now, send Twig to the lone tree and press X to shake off a fruit. A creature will eat the fruit, throwing the seed to the left where a new tree will sprout. Use your light beam on the sprout to grow it, then send Twig to it, and press X to shake it once more.
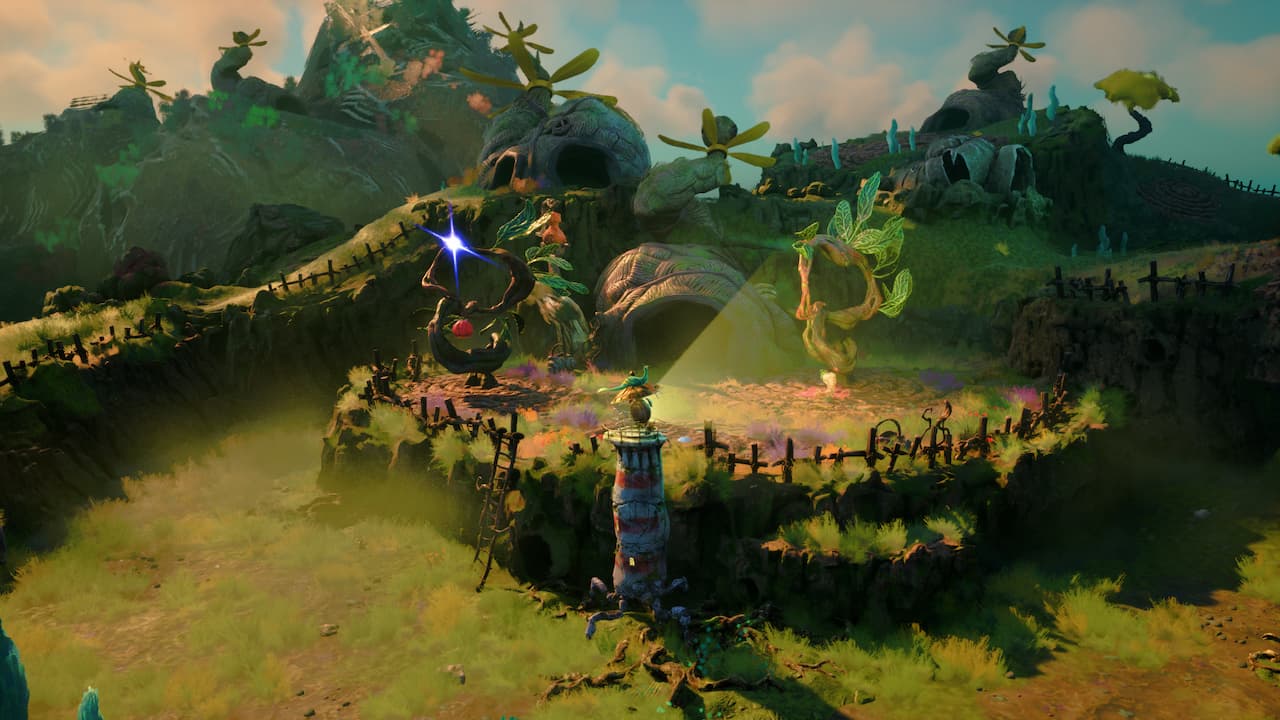 Keep growing and planting seeds until you get the Treant’s eye. Screenshot: GameSpewTo get a creature to eat this new fruit, send twig to the tree behind, which will summon a new creature. It’ll eat the fruit, throw the seed and sprout a third seed. Repeat the process – this time Twig will keep the fruit and bring it to you. Return to the Treant, send Twig to its face and press X to peck. You can now move forward.Into the cave with the giant doorKeep moving forward through the tree, dashing when necessary. Use your beam to open up sealed pathways. There are several dead ends, so keep pushing forward.You’ll eventually find a green plaque on a wall behind a seal. Send over Twig and use L to guide a handle around the plaque. Twig will take the handle and bring it back to you.
 Send Twig over to this seal, and use your left stick to release a handle from the mechanism. Screenshot: GameSpewFrom here, go back the way you came and, when you reach a crossroads, take the left path. At the dead end, use Twig and once again guide the handle out of the puzzle.Once again, turn around until you reach a large wooden door with cogs. Send Twig over to the three cogs and, using the handles you’ve found, turn each one so the fine point of every engraving is pointing towards the eye.
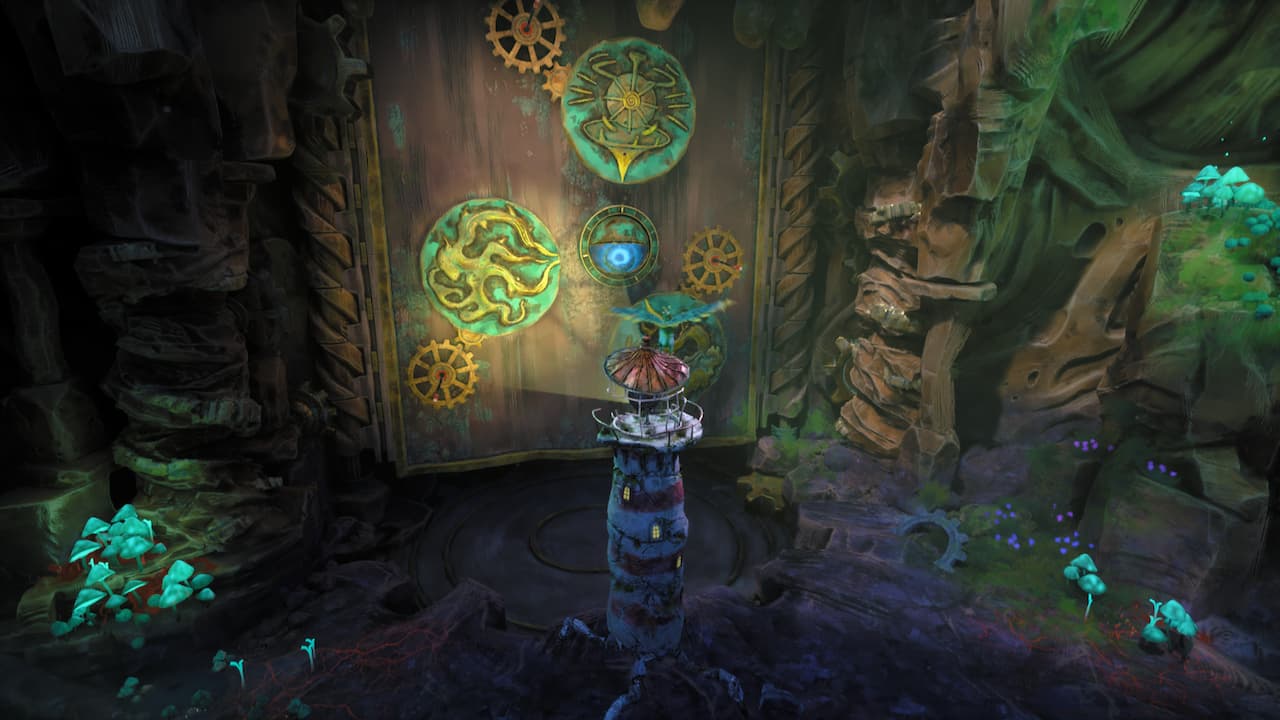 Move all three emblems so they are ‘pointing’ towards the central eye. Screenshot: GameSpewGo through the door when it opens.A broken lightAfter the scene move right, using A to dash past obstacles when necessary.
 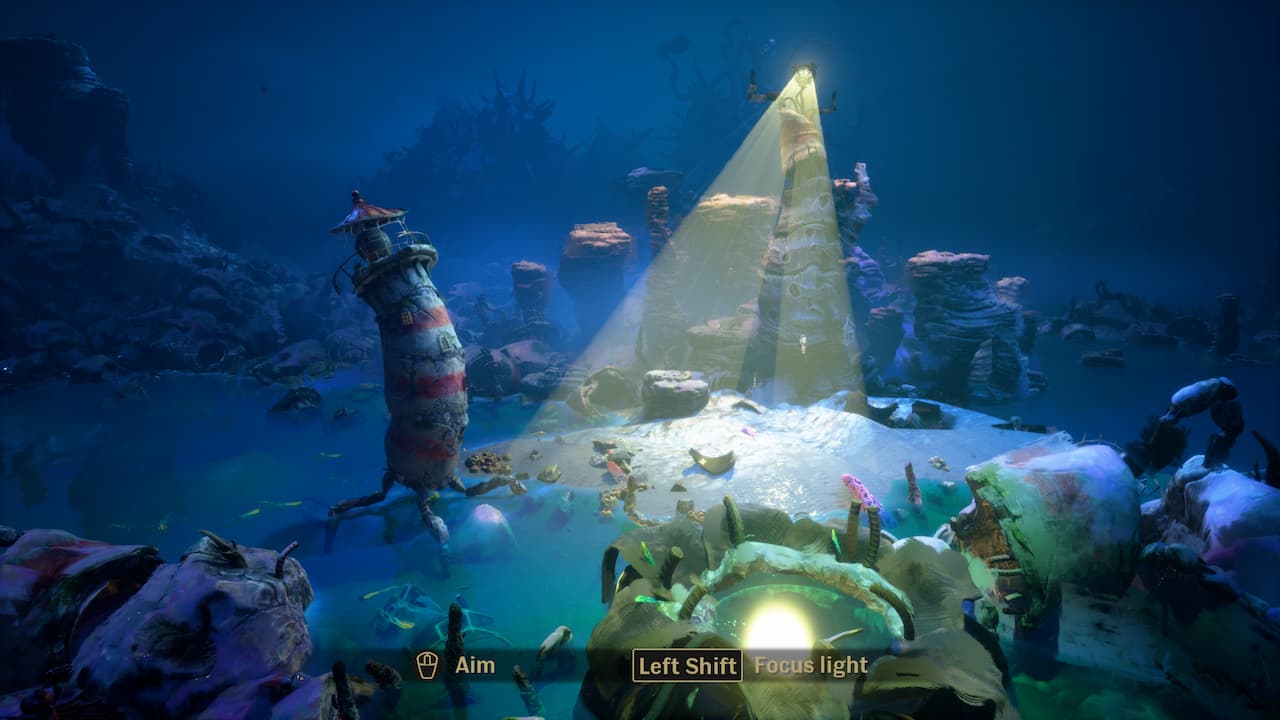 Your own light is broken, but you can control other lights as you move through the environment. Screenshot: GameSpewWith your light broken you can’t use your own beam, but eventually you’ll be able to control another beam in order to clear blockages. Keep progressing forward, taking control of other lights to clear your path.Eventually you’ll find yourself climbing a spiral staircase. You’ll reach a broken step – use RT to focus a beam through the window to fix it. Keep ascending.
 Keep climbing the stairs, using RT to shine beams through the windows. Screenshot: GameSpewAt the top, you’ll find yourself back in daylight again. You’ve got your light and your bird back!Keep moving forward, and use your beam on the red growth to clear the path. Push on and you’ll move through a pulse of light that damages the environment around you. You’ll reach a door with three symbols. Use your beam on a plant to the left to reveal a spot that Twig can fly to. Press X to send them over, then use L to turn a lever. It moves the pattern around on the door, and will click into the right position. You will need to hold your light in place with RT to keep Twig in place.
 You’ll need to use three levers to move the door mechanism into place. Screenshot: GameSpewRepeat on a lever above, and another to the right that’s covered with a plant.Playing with time and repairing the broken beaconGo through the door and watch the short cutscene. To the left of the broken beacon is a sun. Shine your light on this and you’ll reverse time. When you’ve reversed time, you can shine your light on a moon behind the beacon to go back to the present.
  Use the sun symbol on the left to change the time period. Screenshot: GameSpewShine your light on the sun and go down the left path which opens up. At the end of the path, shine your light on the moon to be able to continue over the bridge.Shine your light on the door ahead to go through. Move forward, dashing over an obstacle when needed.On the next door, shine your light and hold it in place to move the vines. Send over Twig and use the left stick to move the lever to the left. About half way, you’ll need to move your light to the left to clear the vine.On the next door, first have Twig move the top lever so the gaps on the edge of the bottom cog are horizontal. Switch to the small cog and move it right into the gap as far as it will go. Switch back to the top handle and rotate so the small cog moves upwards. Now, switch to the small cog and move it down as far as it will go. Turn the top handle again to move the small cog to the right, then switch to the small cog to move it into the gap on the right.
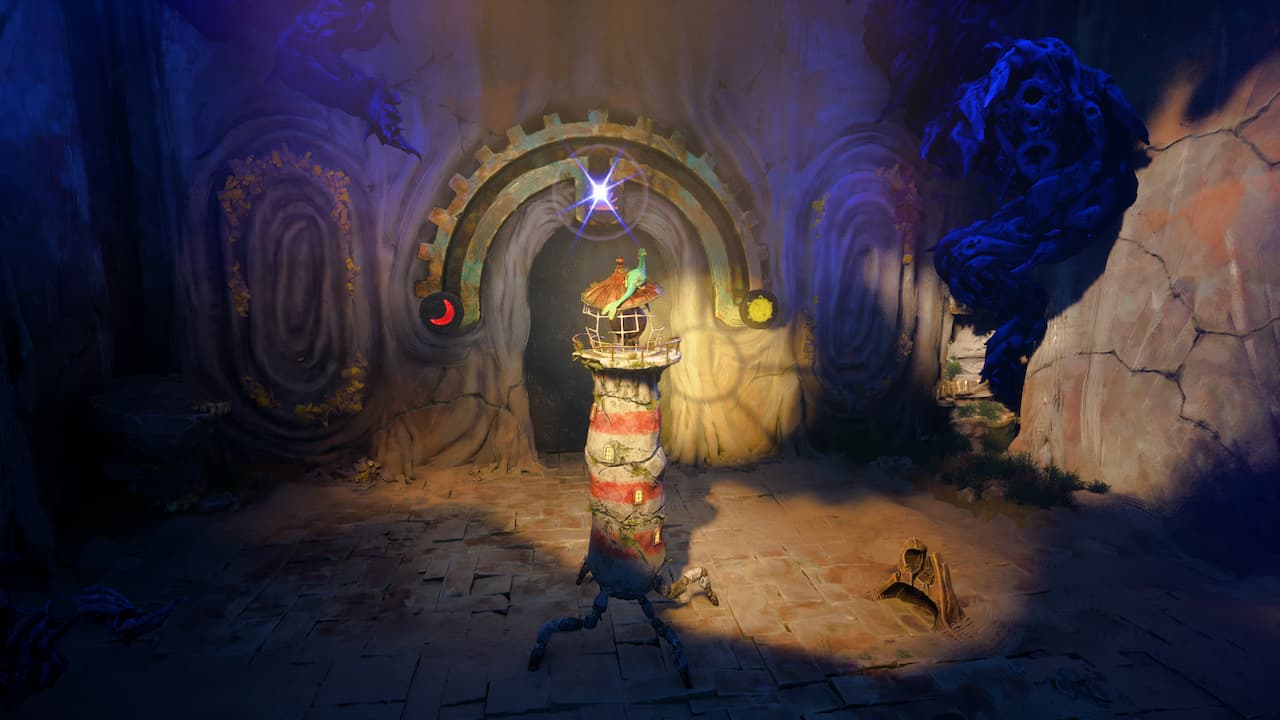 You need to switch the symbols around so the half-sun is first, the full sun is in the centre and the moon is on the right. Screenshot: GameSpewMove forward until you reach another door. This one has moon and two sun symbols above it.Switch them around so the half sun is first, the full sun is in the middle and the moon is on the right. Keep moving forward until you reach the next door, in a room covered in paintings. Simply send Twig to the door to grab a medallion and it will open. Go through, then shine your light to open the path ahead.
 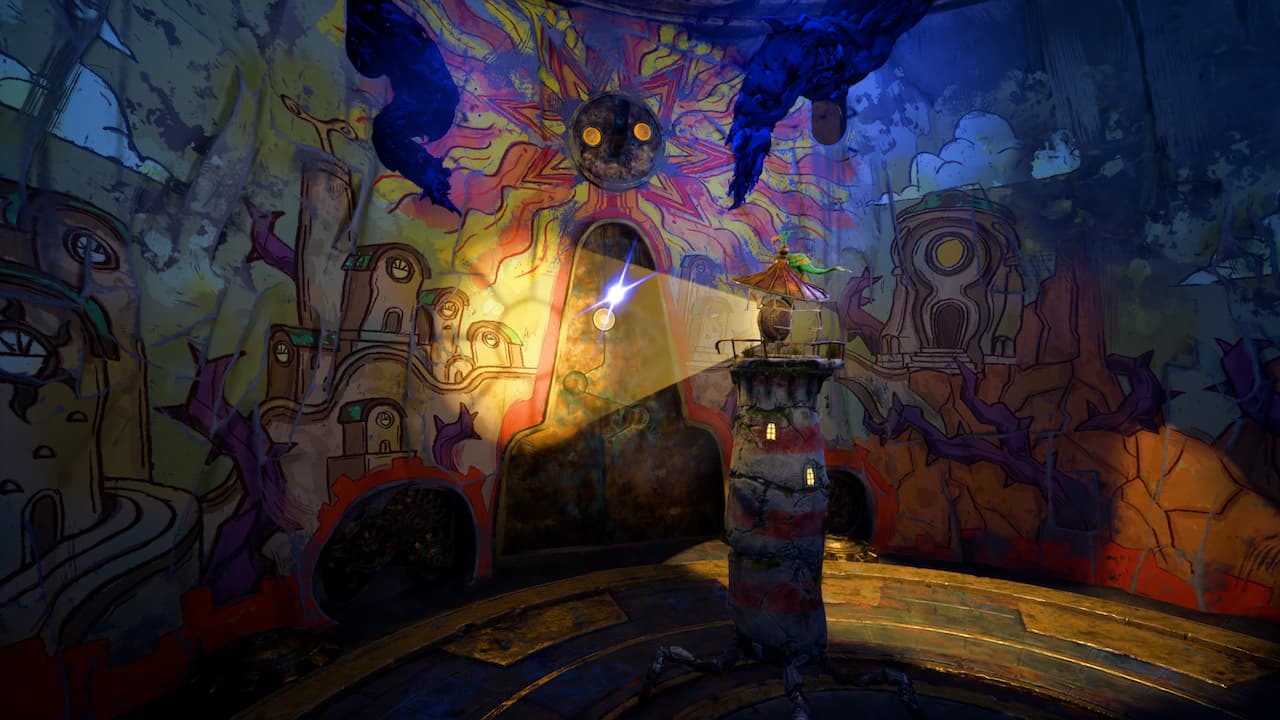 Simply send over Twig to open this door. Screenshot: GameSpewYou’re now back outside. Cross the bridge and shine your light on the sun to change the time period. Walk down towards the beacon and use the sun behind to change the time again. Use Twig to place the medallion on the beacon, bash X to put it in place.Now head to the right and use Twig to turn the lever to open the gate. Use your light on the moon to change to a new time period – Twig will be a ghost.
 Turn this lever with Twig to open the gate. Screenshot: GameSpewPress X on the lever through the gate in front of you to send Twig through – Twig can’t turn as a ghost so use your light on the moon again. Turn the handle to open the gate, then use your light on the moon once more. Pass through and keep moving until you reach a large building. Use your light to open the door.Keep moving forward until you reach a blocked door. Send Twig to the lever then shine your light on the moon to open the door. Pass through and, at the other side, press B to recall Twig.
 Send Twig to this lever. Screenshot: GameSpewMove forward until you reach another door. Shine your light on the moon to turn Twig back into a ghost, then send them to the lever through the gate ahead. Interact with the moon again to activate the lever and open the door. You can’t pass, so interact with the moon one more time to quickly move through the door.Move to the next blockage. Shine your light on the sun then send Twig onto the mechanism ahead. Turn so the small platform is in front of you, then walk forward so you are in the centre.
  Twig can turn this mechanism, which controls the small island on the outer rim. Screenshot: GameSpewPut Twig on the mechanism again and turn so the small platform is near the far door. Walk towards it and shine your light on the moon. Send Twig to the lever behind the grate, then shine your light on the switch again. Go through the door.Head forward, using your light to scare away the swarm. Use Twig to grab the medallion from the door, then use your light to open the door behind.You’re now back outside. Head back through the gate and to the beacon to place the second medallion.Now, go up the third path directly behind the beacon. At the end of the path, send Twig to a lever over the gate on the left. Use L to turn it and open the gate.
 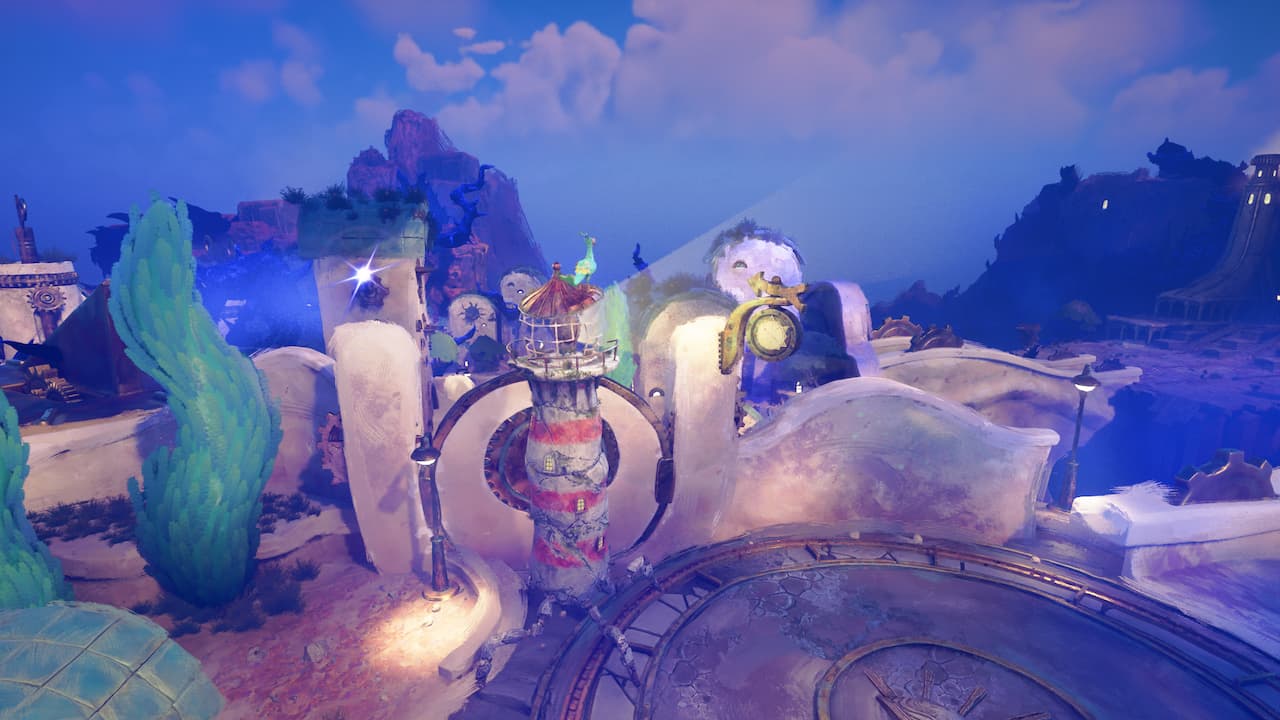 Use this lever to open ths gate, which will lead to a sun switch. Screenshot: GameSpewGo through the gate to reach a sun switch – shine your light on it to change the time period. Now go back through the gate and continue across the bridge that was previously blocked.Once again, shine your light on the large door to open the way and keep walking through.At the next closed door, use the sun switch then send Twig to the lever. Use the switch again. Go through the door and, at the other side, do the switch once more then press B to recall Twig.
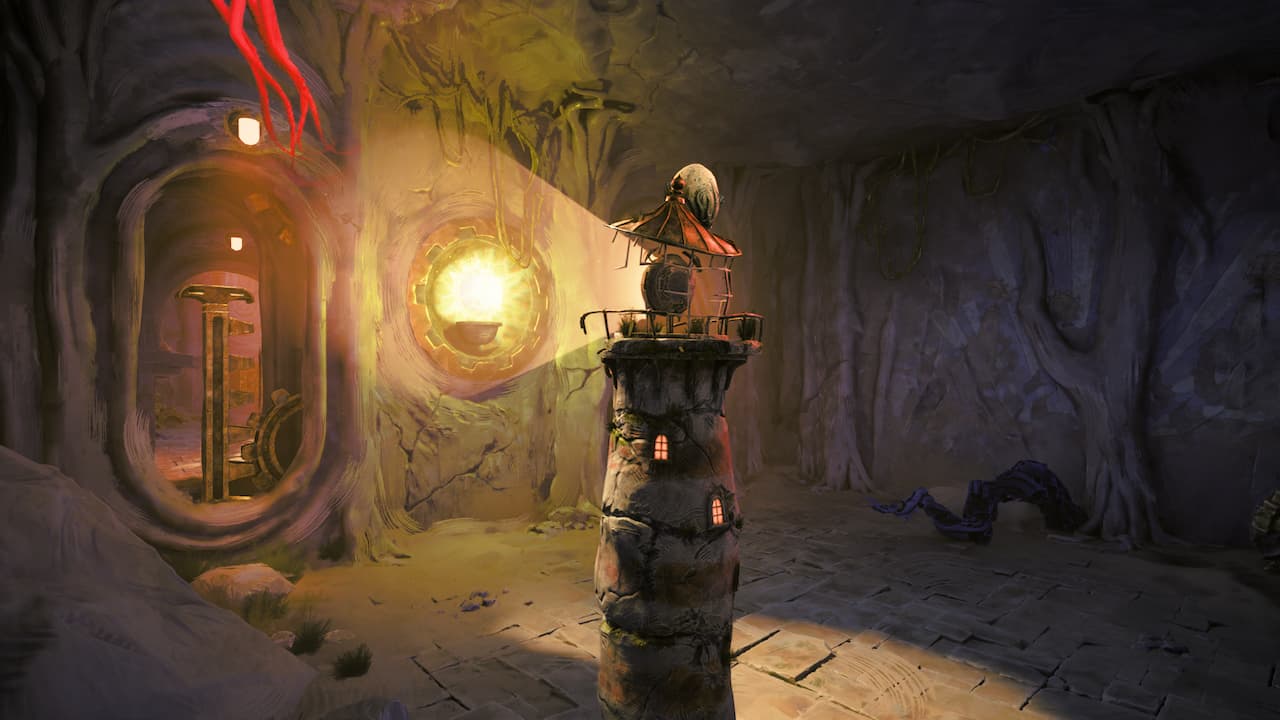 Once again, shine your light on the switches and send Twig over to the levers. Screenshot: GameSpewWalk forward until you reach the next locked door. Shine your light on the wall to the left of the sun switch to reveal a lever. Send Twig to it to lower it. Recall Twig and send them to another lever on the right-hand wall, then activate the sun switch.
 You’ll find a lever for Twig hidden in the wall. Screenshot: GameSpewWait for the door to open then go through. Activate the sun switch at the other side then press B to recall Twig.Move to the third blocked door. Use X to send Twig to the cog on the left then use the sun switch. Shine your light on the growth on the cogs on the right to get them moving and open the door. Go though, use the sun switch on the other side then press B to recall Twig.
 Send Twig over to the left, then use your light on the growths before hitting the sun switch. Screenshot: GameSpewMove forward to reach the final door. Send Twig to gather then medallion then walk through, using your light to open the final door. Outside, interact with the sun switch so you can cross over the bridge. Use the sun switch at the other end. Return to the beacon and place the final medallion. When prompted use L to turn cogs into place twice.After the short cutscene walk up the hill to the right of the beacon.
 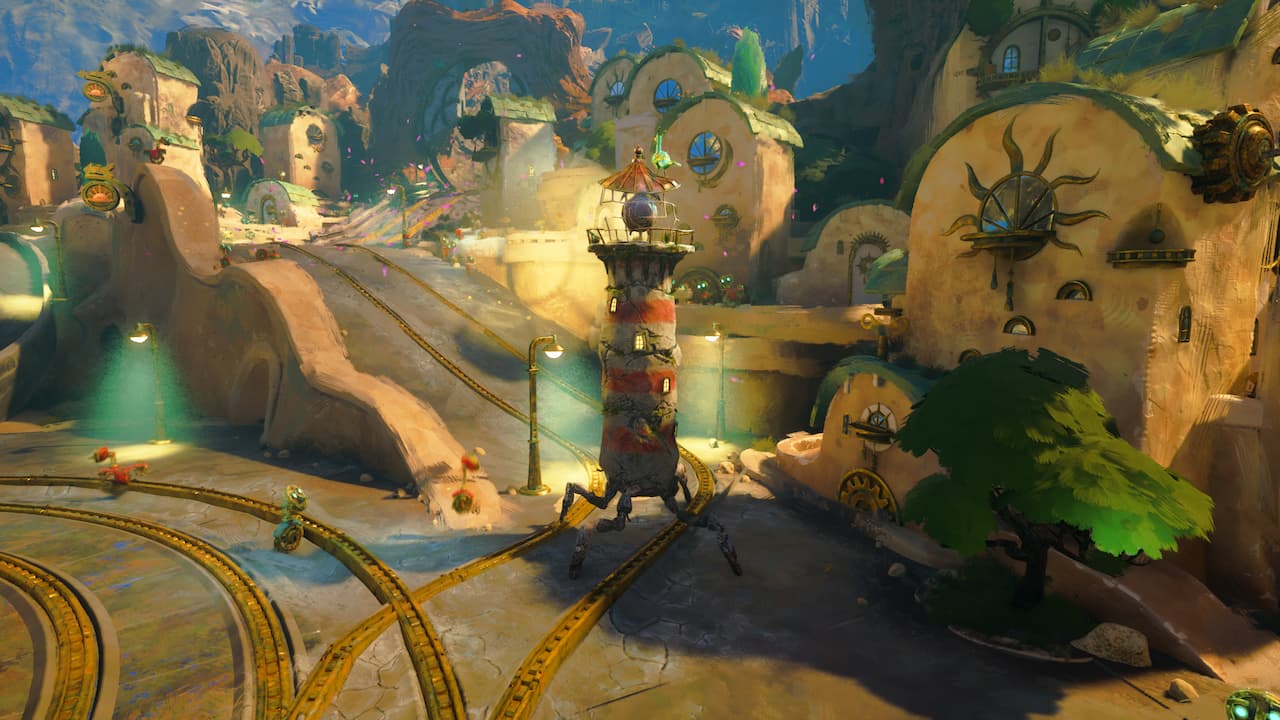 Head up this path to continue. Screenshot: GameSpewKeep moving forward, making your way up the twisty path. Eventually you’ll reach a woodland and you’ll be prompted to send Twig to a nest. Press X to do so.Shine your light at a tree on the left to release a bridge just in front of you. Keep moving forward.
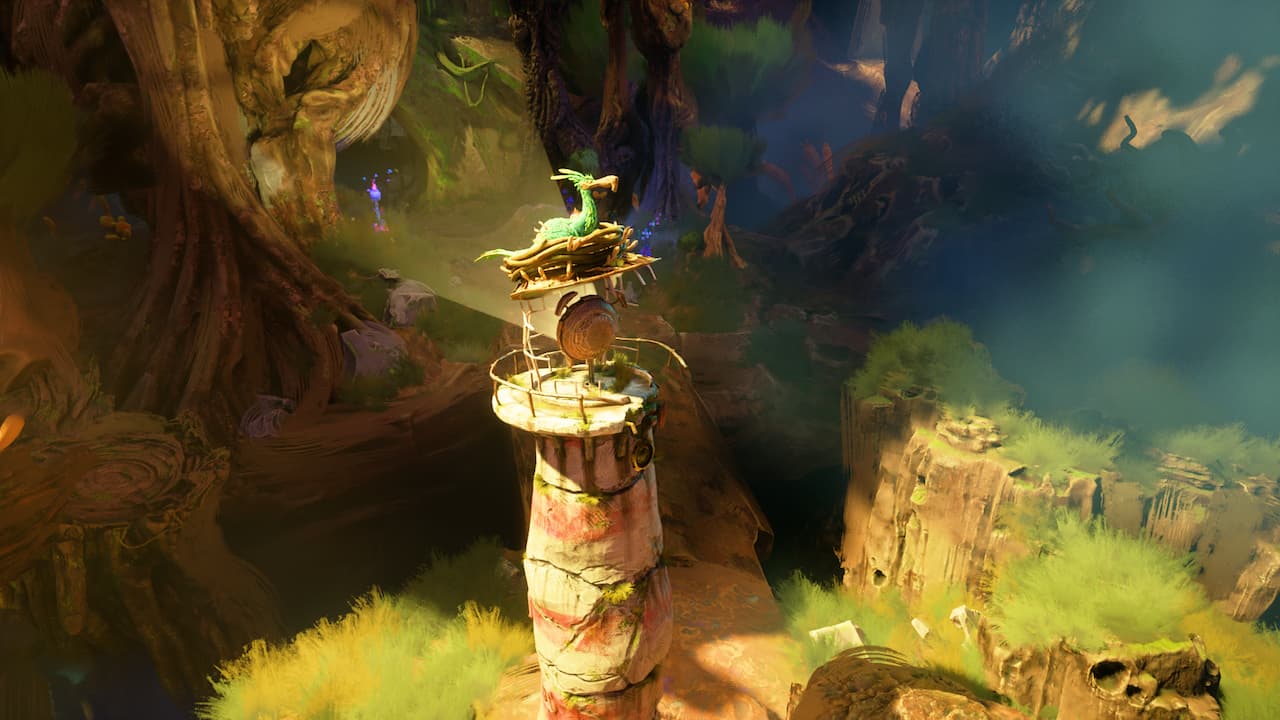 Screenshot: GameSpewEventually you’ll enter a cave. Keep moving until you reach a moon switch. Activate it to open a door. Keep moving. You’ll need to use A to dash through some obstacles. At the end of the path you’ll reach a sun switch – activate it to reveal a doorway.Move as far to the end of the bridge as you can, dashing through an obstacle. In the background you’ll see a sun switch. Use it to complete the bridge and allow you to move further. When you reach the end again, send Twig across the gap to the mechanism. Use L to move the lever all the way through to pull it out on the left-hand side.
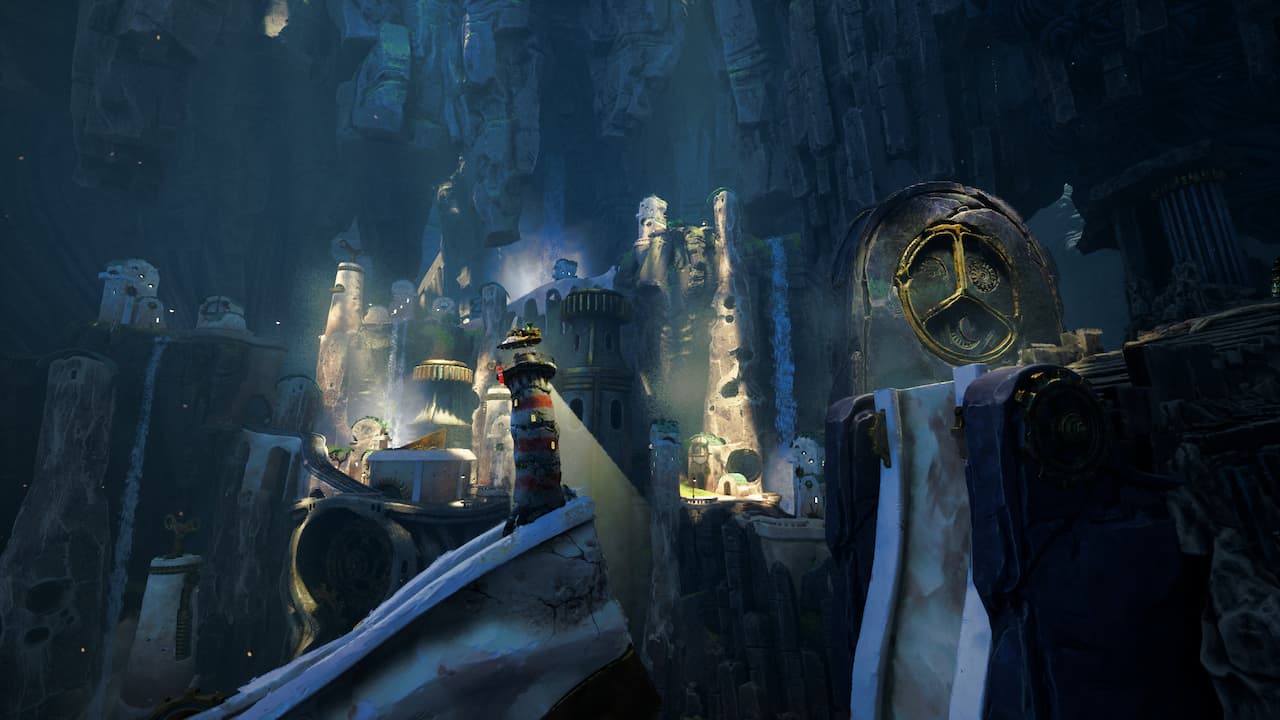 Send Twig over to the mechanism on the right. Screenshot: GameSpewMove back down the bridge a little where you’ll find a cog that Twig can now fly to. Use L to wind it and complete the bridge.Walk across and activate the sun switch behind the column. Keep moving forward, shining your light on the spikes growing out of the ground blocking your path. You’ll come to a locked door. Use the sun switch to the right then send Twig to the mechanism at the left of the door. Use L to open it.
 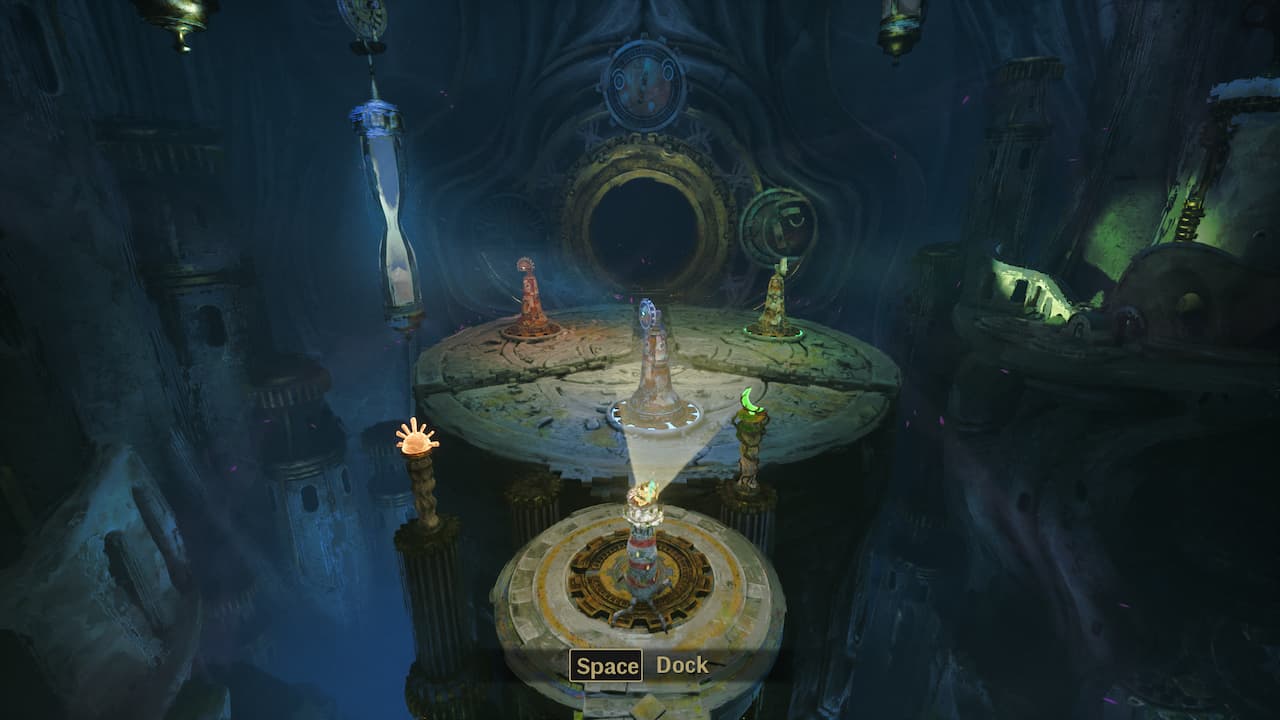 Essentially, you need all totems pointing towards the door. Screenshot: GameSpewMove forward and, when prompted, dock into the floor. Use L to turn so the central doorway is lit up. Then use the moon switch. Use L again and turn so the moon on the back wall is lit up. Now use the half sun switch, and use L to rotate until the sun on the back wall is lit up. Use the full sun switch to realign the other two lights, so all three are illuminated. You can now walk forward.Keeper walkthrough: Jumping across floating islandsKeep going forward and you’ll gain the ability to jump. Eventually you’ll need to jump up a chain of floating islands. One will be too high to reach: use your light on the balls underneath the island to lower it.Move forward and you’ll need to repeat the process. Hold A to glide, and use pink geysers to gain height.
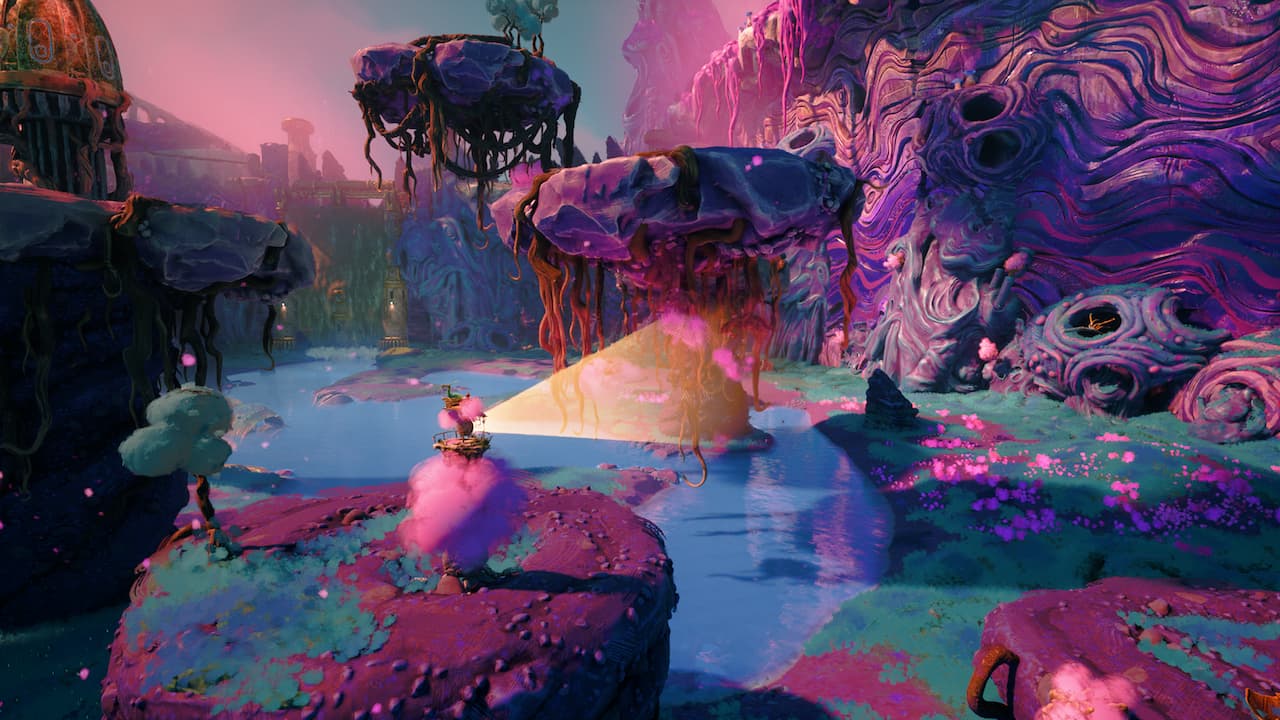 Shine your light on the pink ‘candyfloss’ balls under islands to lower them. Screenshot: GameSpewMove forward again to reach another set of islands. This time, first move right to lower an island. Then go back and, to the left, send Twig to turn a lever to open up a mechanism you can use as a platform. Now make your way across the islands, heading left.
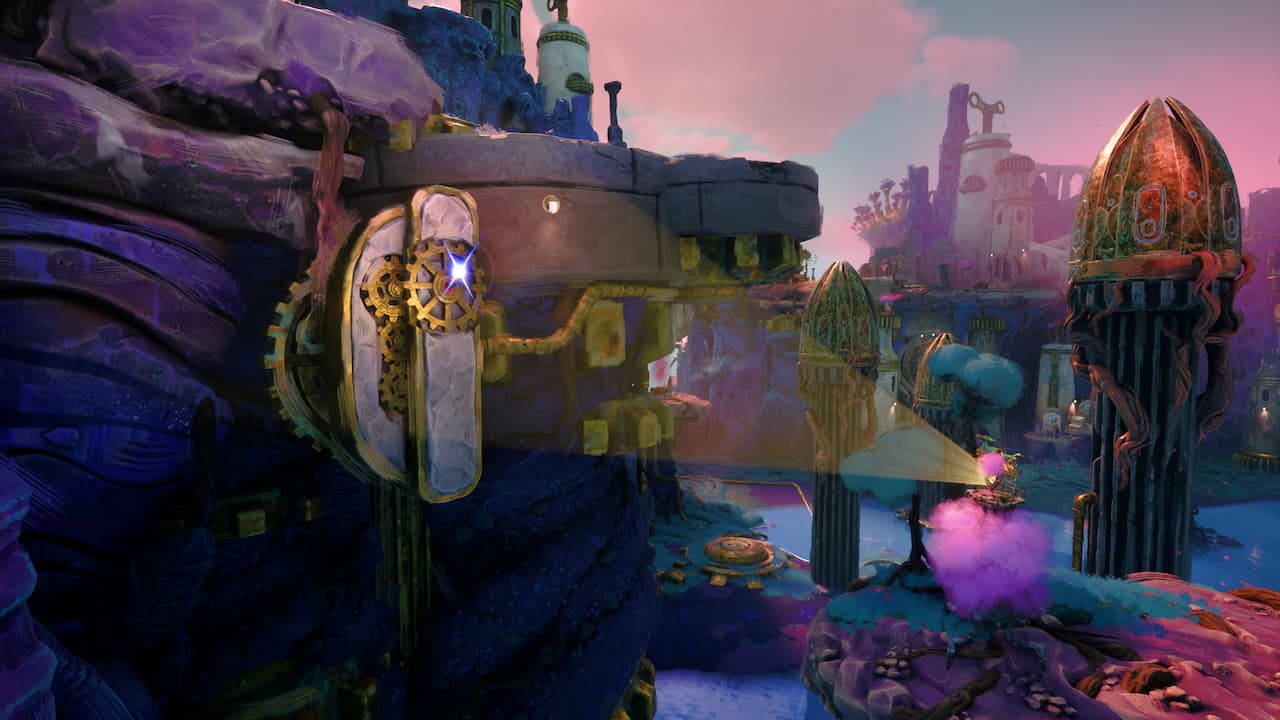 Use this mechanism as Twig. Screenshot: GameSpewAt the top, move around until you find a lever on the left to send Twig to. Shine your light on the pink to allow the lever to lower. This will open some platforms for you to cross on the right.Jump across, and on the right you’ll find a mechanism you can dock into. Turn with L. This opens a big entryway in the wall in the distance. Glide down to pass through.
 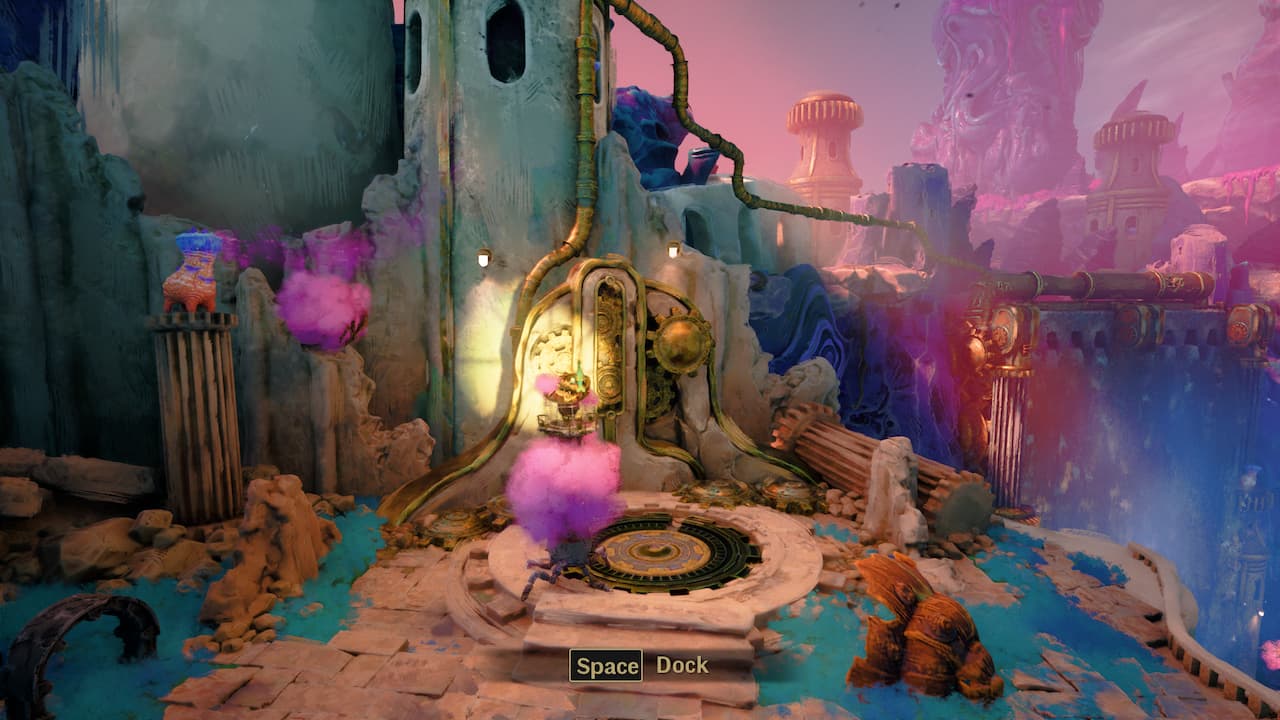 Dock into this mechanism. Screenshot: GameSpewAt the other end, you’ll find yourself once again with islands and geysers to navigate. Move all the way to the right to find an island to lower. Then, use the geysers to climb upwards. Careful though – some of them stop blowing every few seconds.
  You’ll need to navigate these geysers to reach the platform to the right of the door behind the waterfall. Screenshot: GameSpewYou’re aiming for the platform at the right of the huge door. Use your light to remove all pink from the mechanism, then send over Twig, using your left stick to move them all the way down to the bottom.From there, glide past the door left to the platform on the other side. Repeat the process on the mechanism here. Now glide down to the doorway that has opened up.The next area is nice and easy. Head for the platform to the right of the large waterfall. Use your light on the spikes blocking it, then use Twig to turn the lever. Turning it will reveal a doorway behind the waterfall. Go through.
 Get rid of these spikes to use the lever, then enter the door behind the waterfall to your left. Screenshot: GameSpewMove forward and use a geyser to travel up. At the top you’ll come out of a doorway with another mechanism. Use Twig to move around it. Use your light to lower the platform on the right then jump across again to reach a platform with a doorway. Go through.
  You’re aiming for this doorway. Screenshot: GameSpewIn the cave, shine your light on the floor to bloom a plant. This will eventually cause a geyser to appear. Ride it up. Battling the rainfallHead up the stairs, using your light on a growth to the right to clear the way.
 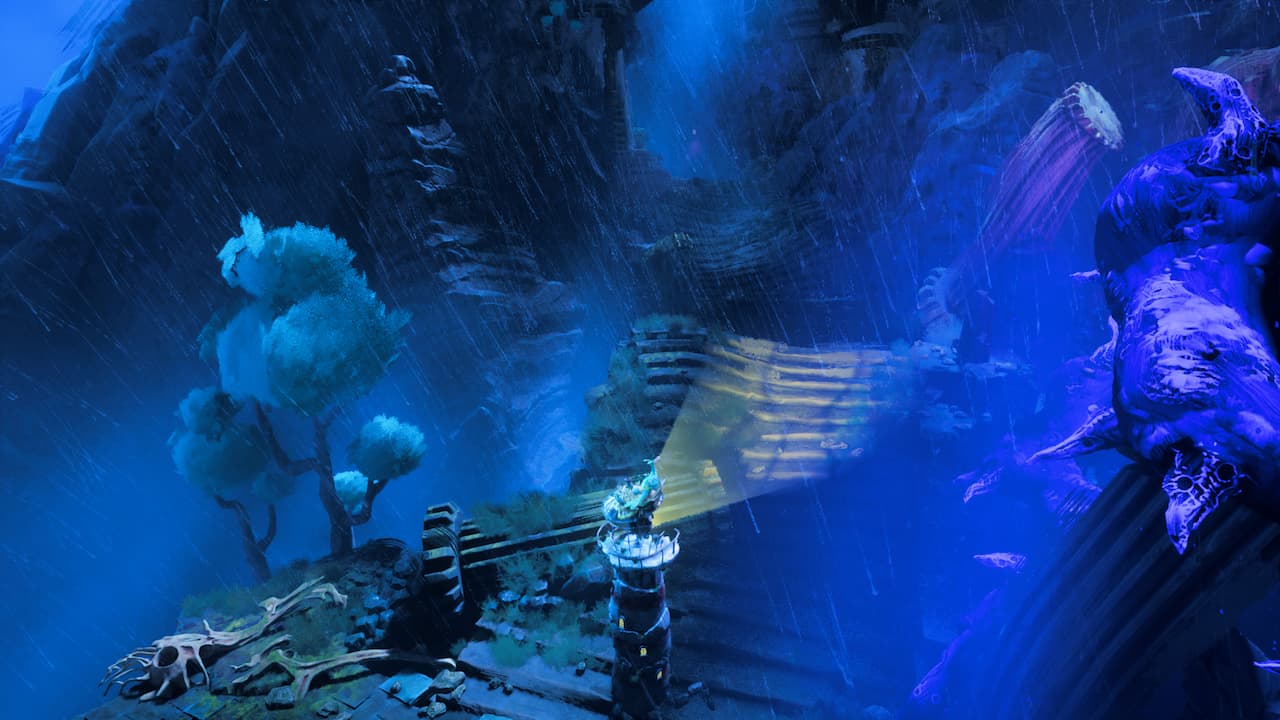 Move up these stairs. Screenshot: GameSpewKeep moving. Eventually you’ll reach a bone that will wrap around you – shine your light on it to pass. Use A to dash against the wind. Keep going, shining your light on a vine again and dashing when necessary. You’ll see another growth to shine on which will allow you to keep moving forward. At a crossroads, first move right, and shine your light on a growth to move a platform. Now go back and take the left path.
 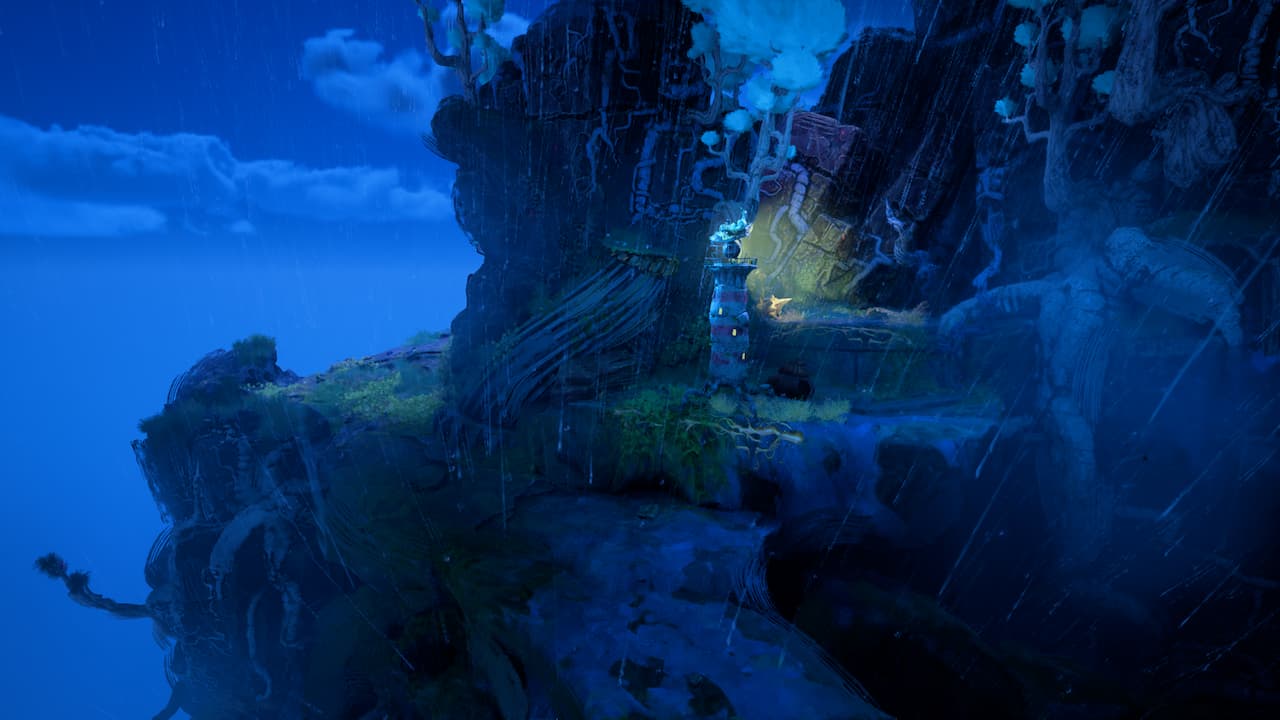 Head this way first to make use of a mechanism before moving left. Screenshot: GameSpewKeeper walkthrough: You’re now a boatAfter the cutscene, press A to flop when prompted. Huh: you’re now a boat!Navigate around the water, finding gaps in the land to sail through, and dashing up ramps with A. You’ll end up in a cave. Make your way through the cave. Use your light with RT to remove a growth blocking the way. You’ll need to repeat this a few times as you sail through. Some blockages have now than one growth.
 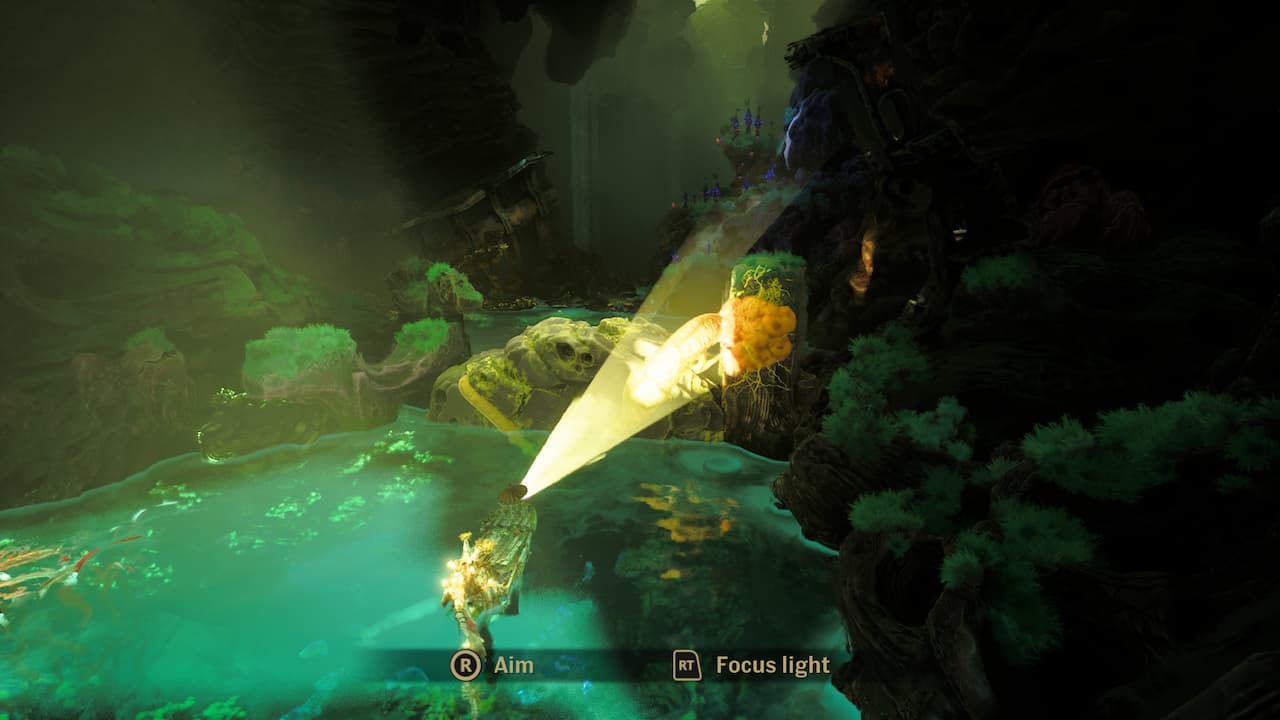 Look out for these growths: Shine your light on them to remove obstacles and blockades. Screenshot: GameSpewEventually you’ll reach a blockage with green large flowers. Shine your light on them and they shoot out a laser. Shine your light on the left-hand flower to clear a way through.
  Some flowers will shoot out a laser when you shine your light on them. Screenshot: GameSpewFrom here, the next blockage has three growths to clear- you’ll need to sail around to the other side to find two of them. This will open up a small gap on the right to sail down. The next area has two growths to shine your light on, which will open a new pathway. Sail through and you’ll be reignited with Twig, who now has a baby Twig. Aww.Swim forward, and enjoy some pleasant scenes. After you come out from being underwater, dock at a pink shell to take a creature on board. Move forward and a shell gate will be opened for you – but the mechanism will break. Press X to use Twig and hold L up to pull. Twig will summon her baby; hold L and R up to pull both sides together. Sail through.
 YOu’ll need to open this gate to continue. Screenshot: GameSpewDock on the island straight ahead to drop off the creature. Looks like you need three more. Sail to the left and you’ll come upon a coral island with a creature on. Pick it up and take it back to the main island.
 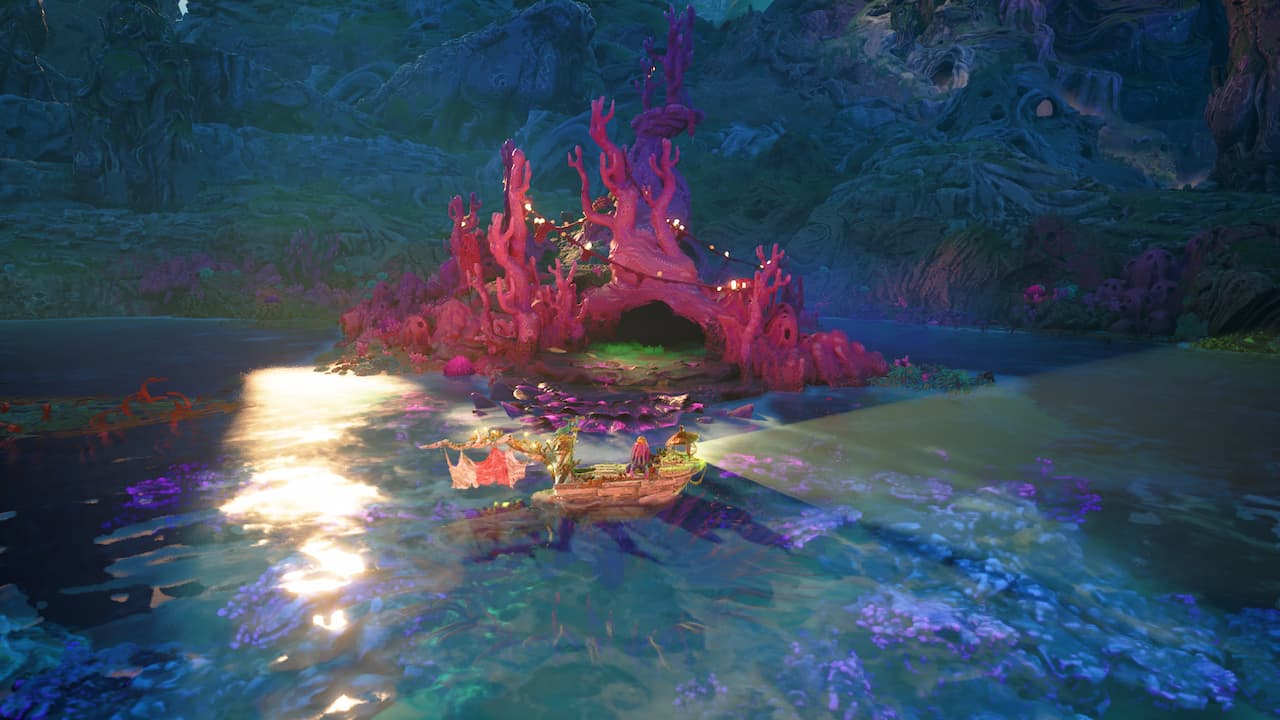 You’ll find the first creature on this island. Screenshot: GameSpewDrop off the creature and this time, move right. You should eventually reach what looks like a small cove. Focus your light on the bushes to the left, which will send some creatures over to them. Wait a little while, and another creature will appear by the dock to be picked up. Take them back to the main island and drop them off.
 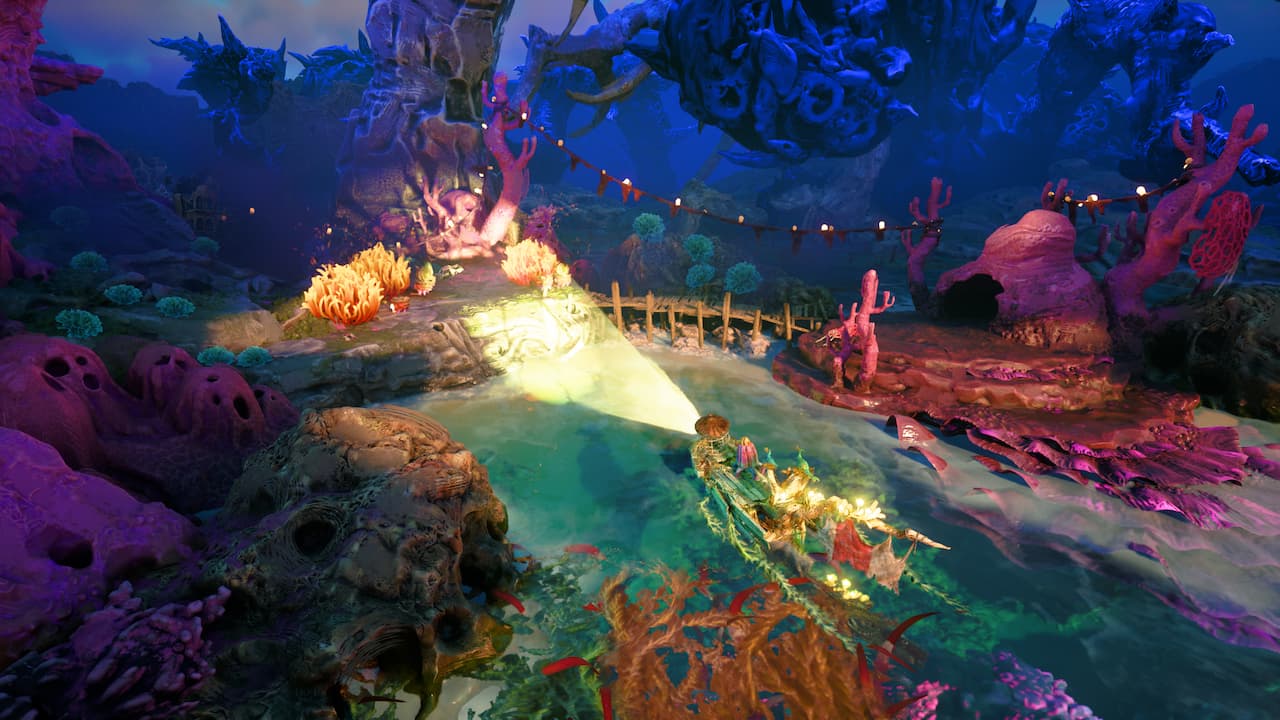 Here’s where you’ll find the second creature. Shine your light on the Screenshot: GameSpewOne more to find. Sail right again, and you’ll soon find a small island with a large tree. There’s nowhere to dock but if you look around the island you’ll see growths that you can shine your light on. Make your way from left to right around the island – on the right hand side more will be visible after you’ve got rid of some. Eventually you’ll be able to dock and pick up the creature.
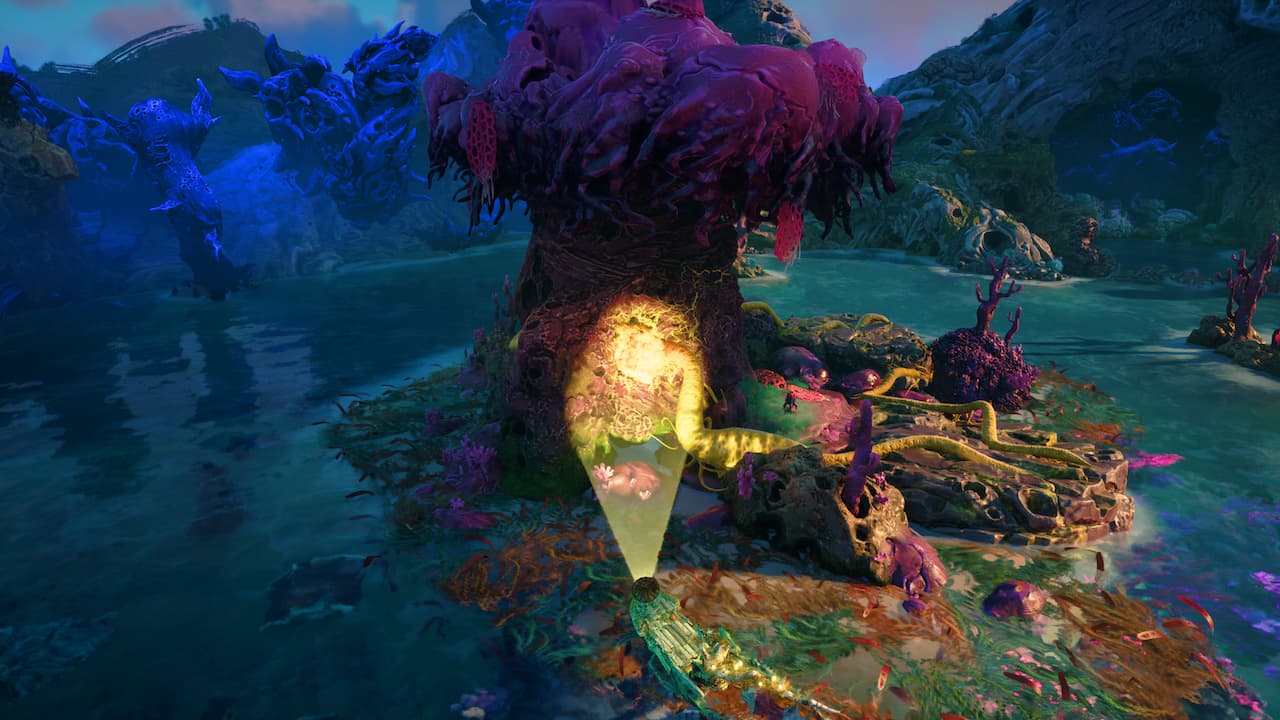 Once you’ve removed all the growths from this tree island, you can pick up the third creature. Screenshot: GameSpewTake it back to the main island. After you dock you’ll get a short cutscene. Then, a shimmering point will appear that you can send Twig to. Use L to pull the bulb out of the ground.Once the bulb is on the boat, sail right and straight ahead until you reach a small island with a glowing spot for Twig. Send them over and they’ll insert the bulb, which will make a structure appear in the distance.
 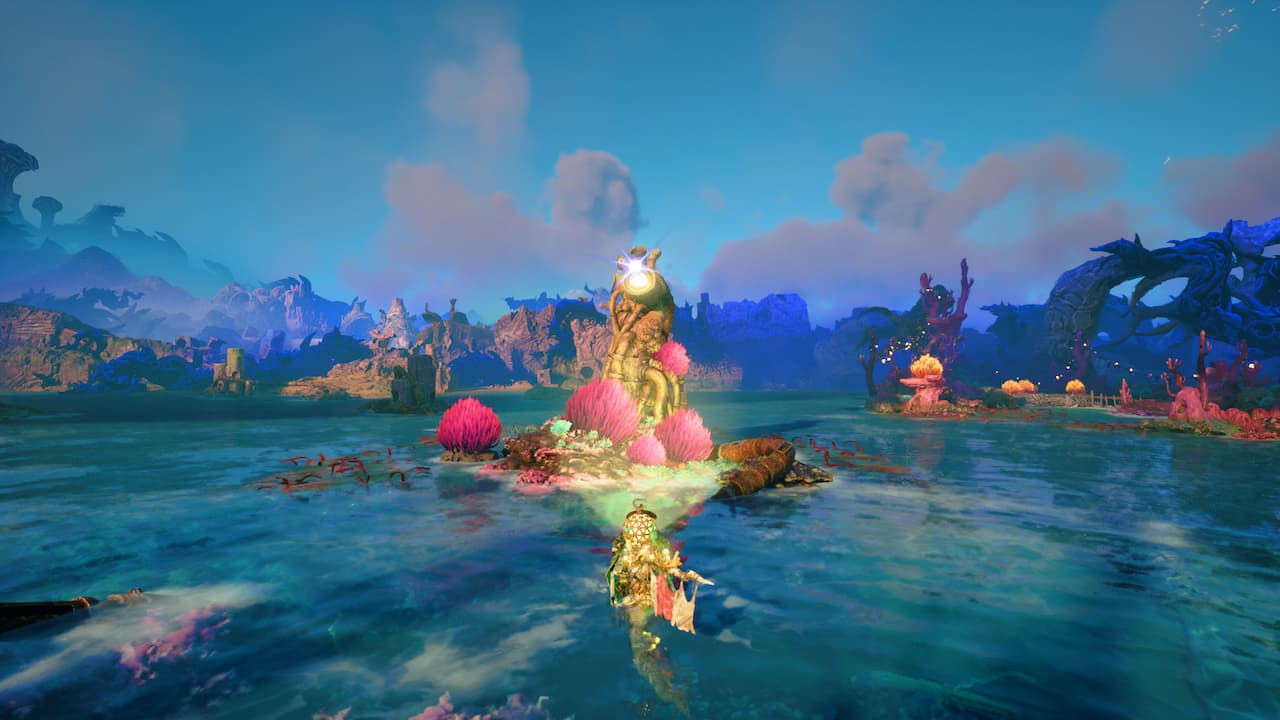 You’ll need to place bulbs in these strcutures several times in this section. Screenshot: GameSpewSail to the new structure. Next to it, the path forward is blocked by black growths. The new structure will burn it away and allow you to pass. Boost through the gap to enter a new area.Move straight forward and you’ll see a small structure with another bulb hanging out of it. Send over Twig and push it back in. A new structure will rise to your left. Head in that direction, but slip into a dark cove area.In the cove there’s a handle Twig can turn on the left. It will move a basket from left to right. Move it right to fill the basket with water. Move it left over the creature’s head then shine your light on its eye to release the water. You’ll rescue a creature.
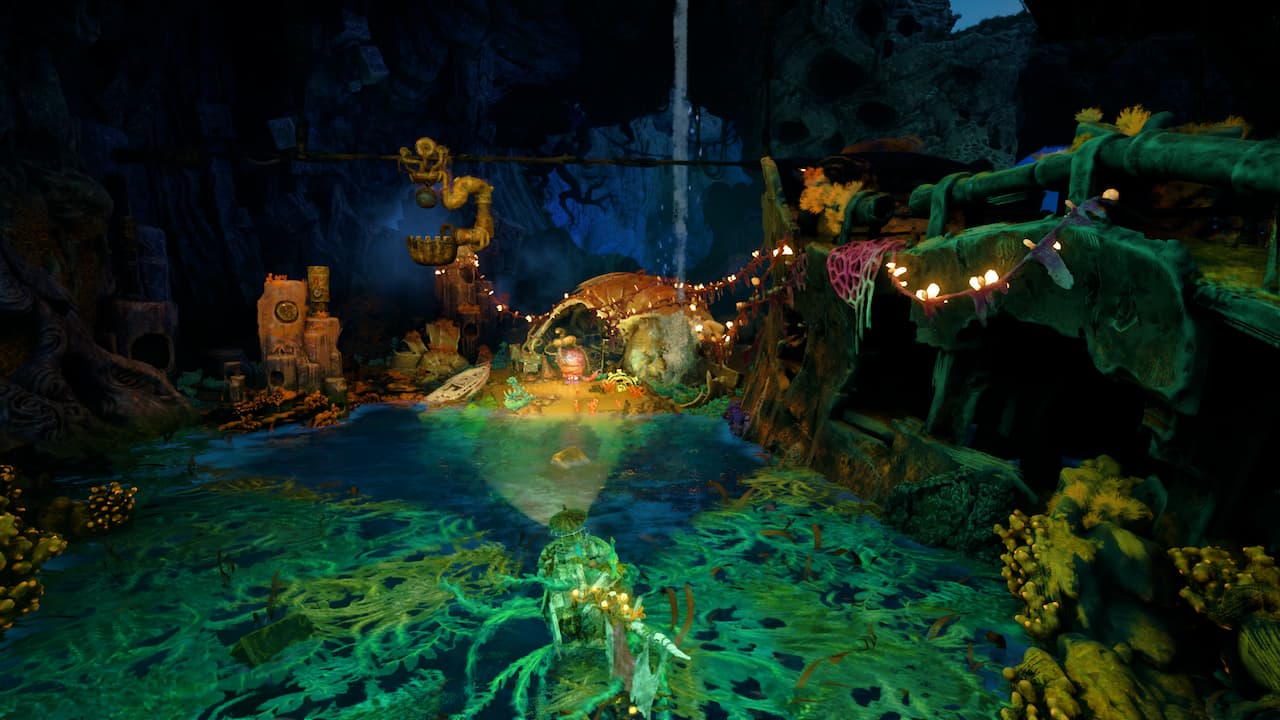 In this cove, head to the left where you’ll find a handle for Twig to turn. Screenshot: GameSpewLeave the cove and head to the big structure with the light shining from it. Move towards the wall so the light shines on it. Shine your own light at the smaller marker to open the door. Sail through.
 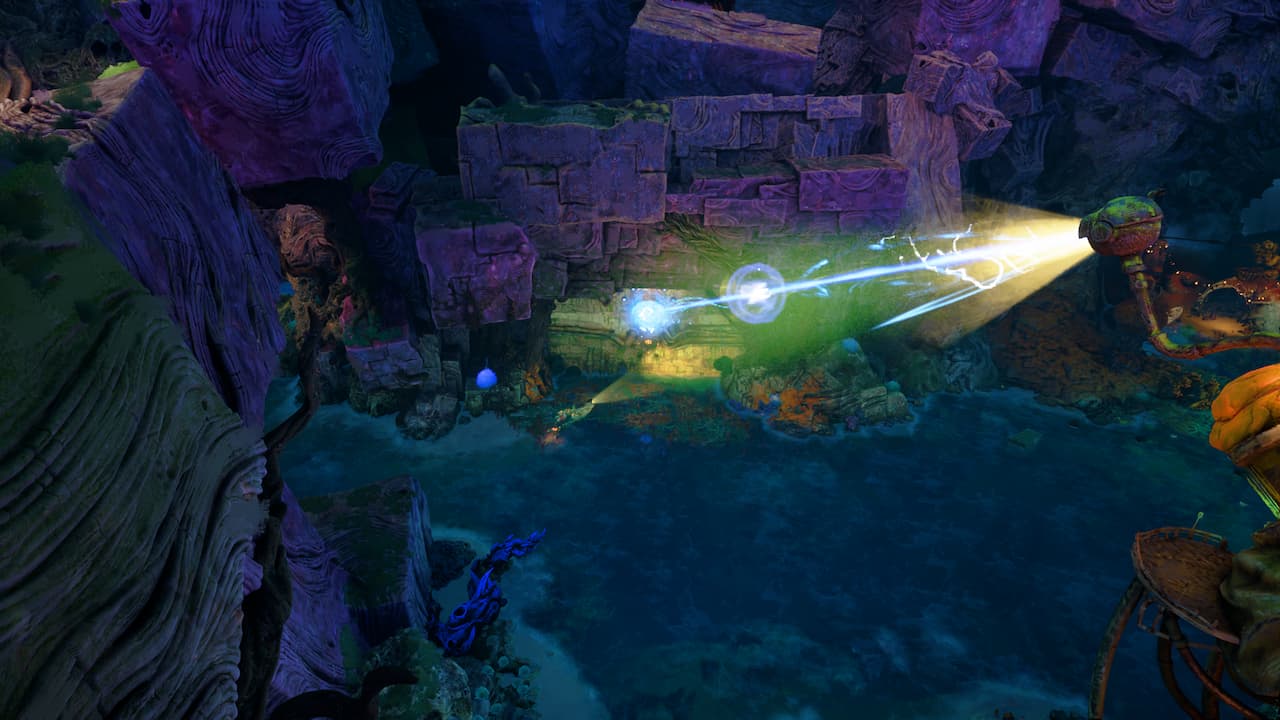 Shine your light on the smaller orange light on this door to open it. Screenshot: GameSpewFirst, keep right. You’ll need to shine your light at a growth to pass an obstacle then you’ll find a small orb to shine your light on, which will reveal a spot for Twig to fly to. Pull to get another bulb.Go back the way you came and this time head left. There’s a point to send Twig to on the right, which will reveal a growth. There’s a visible growth on the left, then one hidden behind the wall just next to it. Destroy all three to save another creature.
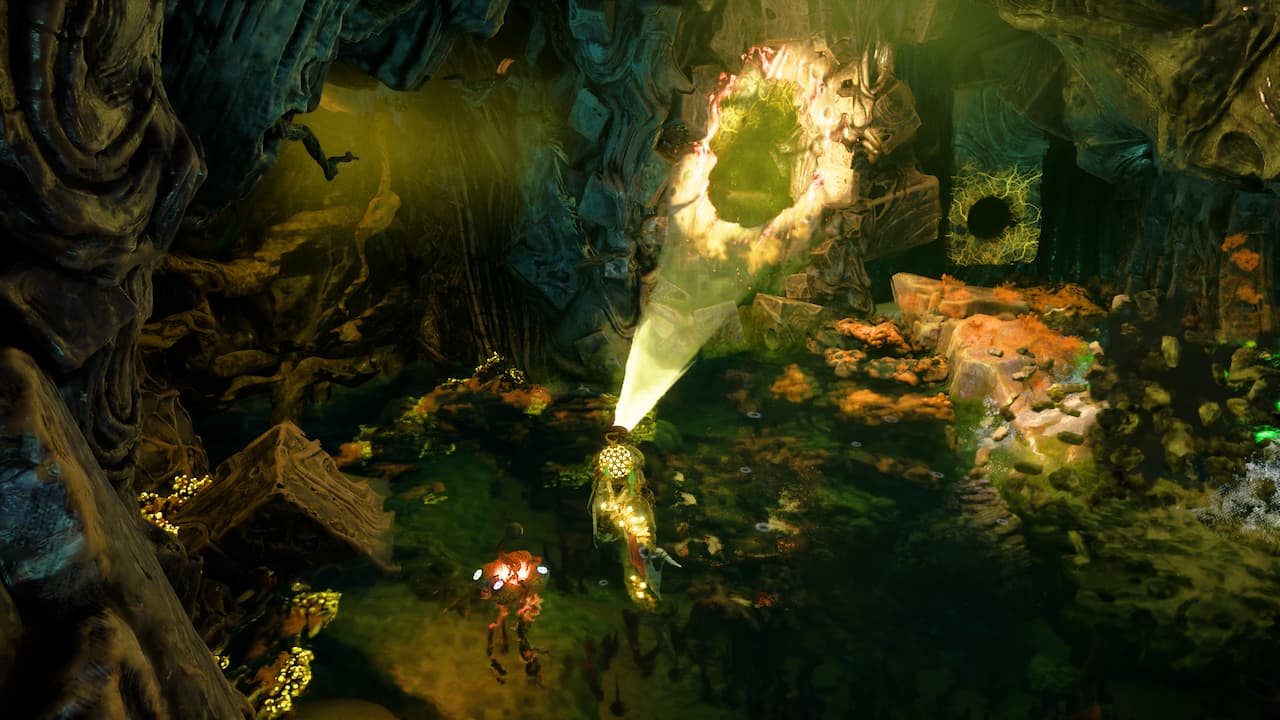 Shine your light here to reveal a hidden growth. Screenshot: GameSpewLeave the cave the way you came in and head back to where you placed the second bulb. You’ll find another structure to place this third bulb. You’ll see another structure with a light rise in the distance. Sail over to it.Make your way through the debris path and the light will destroy obstacles in the way. You’ll also gain a new creature follower!
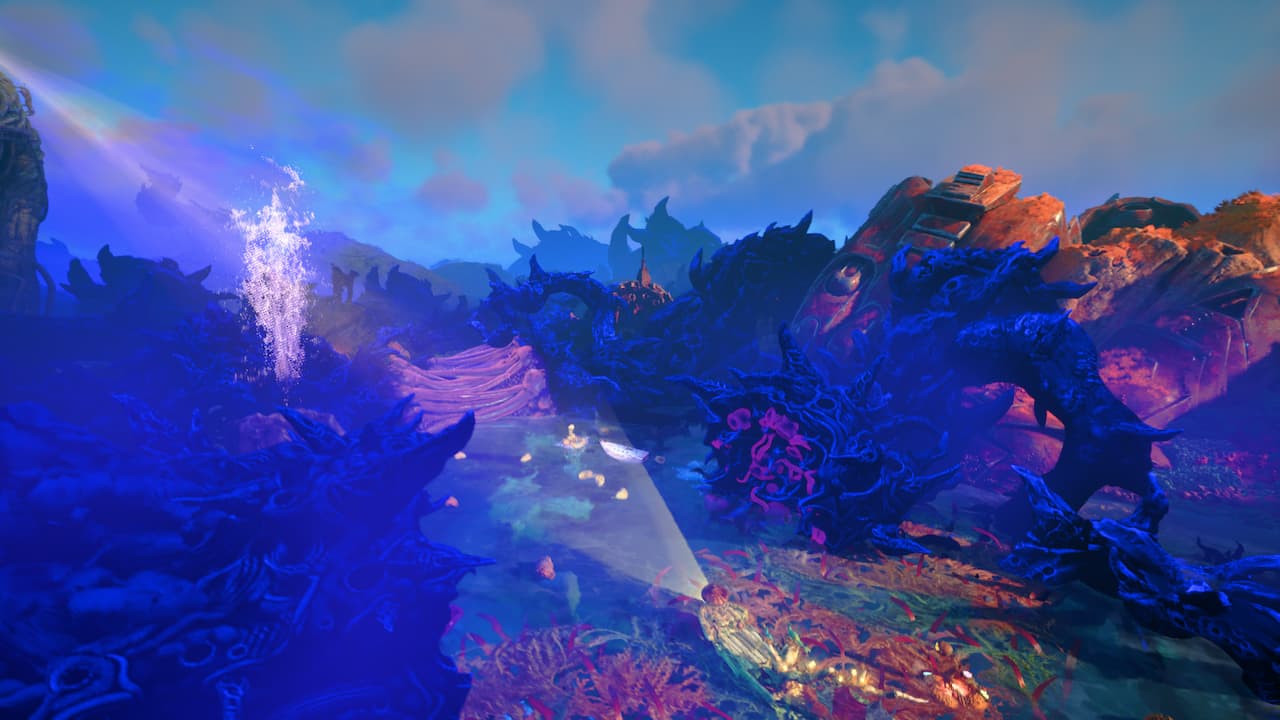 Make your way through here, letting the large beacon light destroy obstacles in your path. Screenshot: GameSpewWhen you’ve passed through, it seems like you need four followers – we’ve only got three. Go back the way you came and just outside you’ll find one swimming around. Shine your light on it, then press X to send over Twig. Press X again for Twig to emote while you shine your light on it.Take the fourth creature to join the others, who will now all lift up a huge bone. It’s created a ramp for you to travel up. Go up to reach a new area.
 You’ll need your rescuees to lift up this giant bone. Screenshot: GameSpewMove right to find another bulb for Twig to tug out. Jump over the water ramp just behind to get back to where you were previously. Sail forward to locate the structure to place the next bulb in.This will open up a passageway in the big structure near you. Go through.
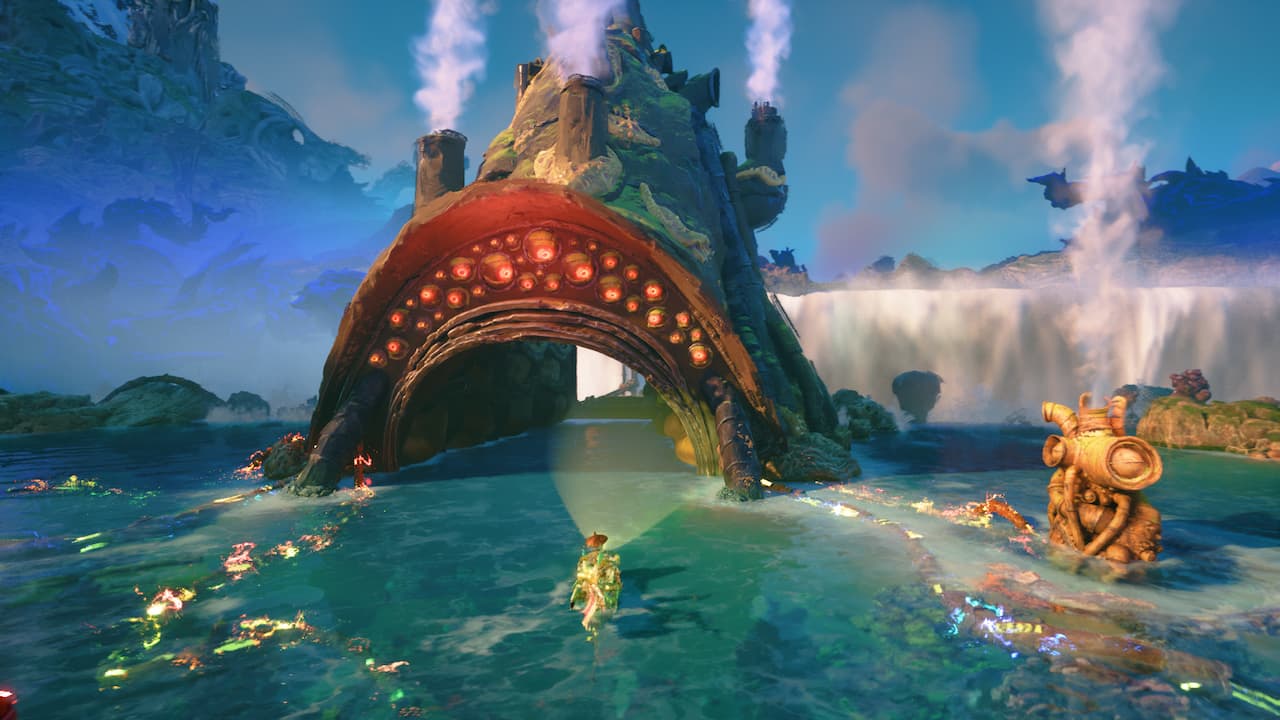 Once it’s open, swim through this big doorway. Screenshot: GameSpewDark watersAfter the cutscene, make your way through the dark water. Briefly, you’re a lighthouse again. Rotate and press RT to shine your light at creatures as they get close. Spoilers: I think you’ll always fall eventually.
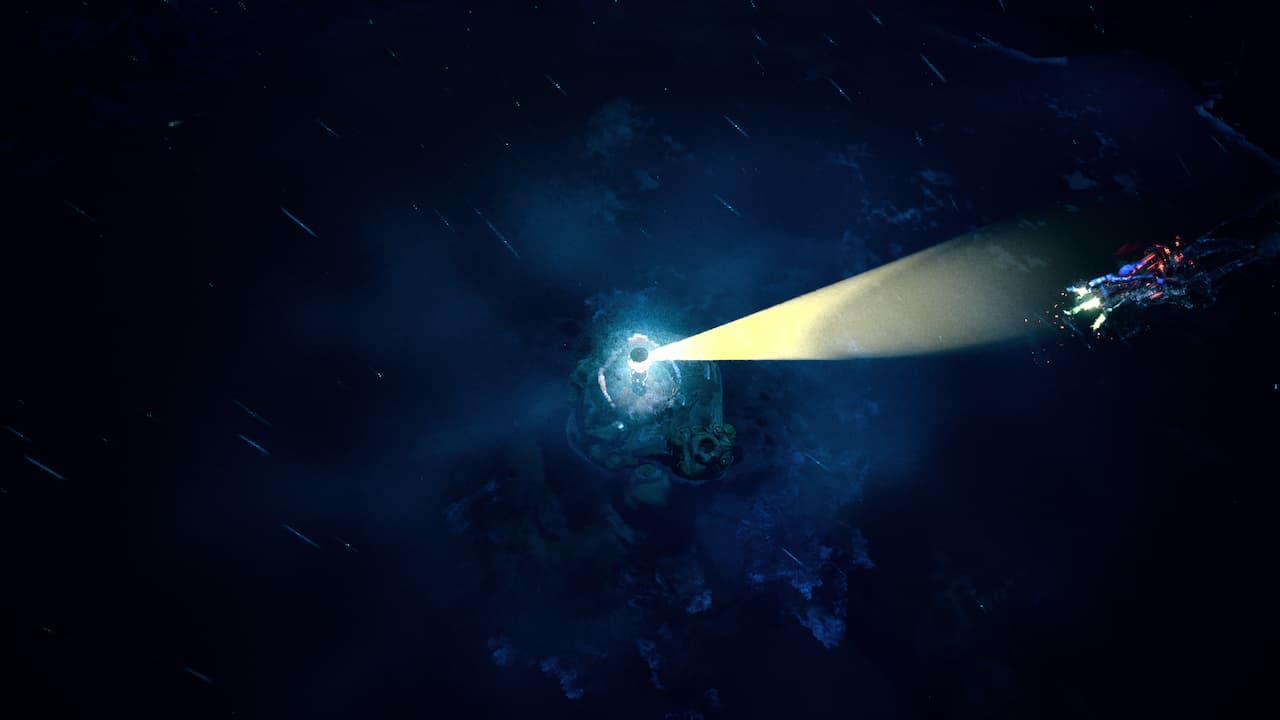 Rotate the lighthouse and use RT to shine your light on monsters that get close. Screenshot: GameSpewBack in control of the boat, swim forward. When you reach the overgrown water, shine your light to clear the way. Keep going forward until you reach more overgrown water with a creature trapped in it. Shine your light on enough of the water and it will disappear entirely, releasing the creature.
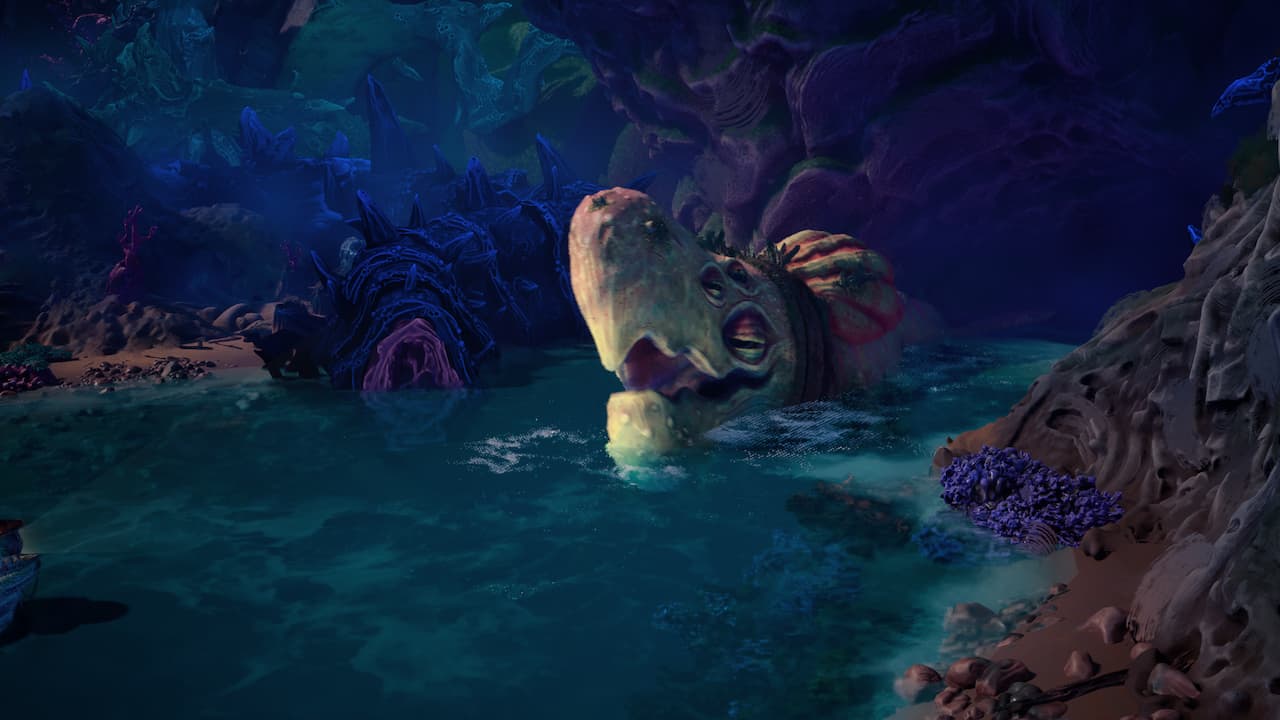 You’ll need to free this creature. Screenshot: GameSpewTo the left, there’s a water flow under the black wall surrounding you. Dash with A in its direction to go under it.Move right to continue. You’ll reach a blockage, with a growth to shine your light on. Then, a big eye to shine your light on. Move forward.
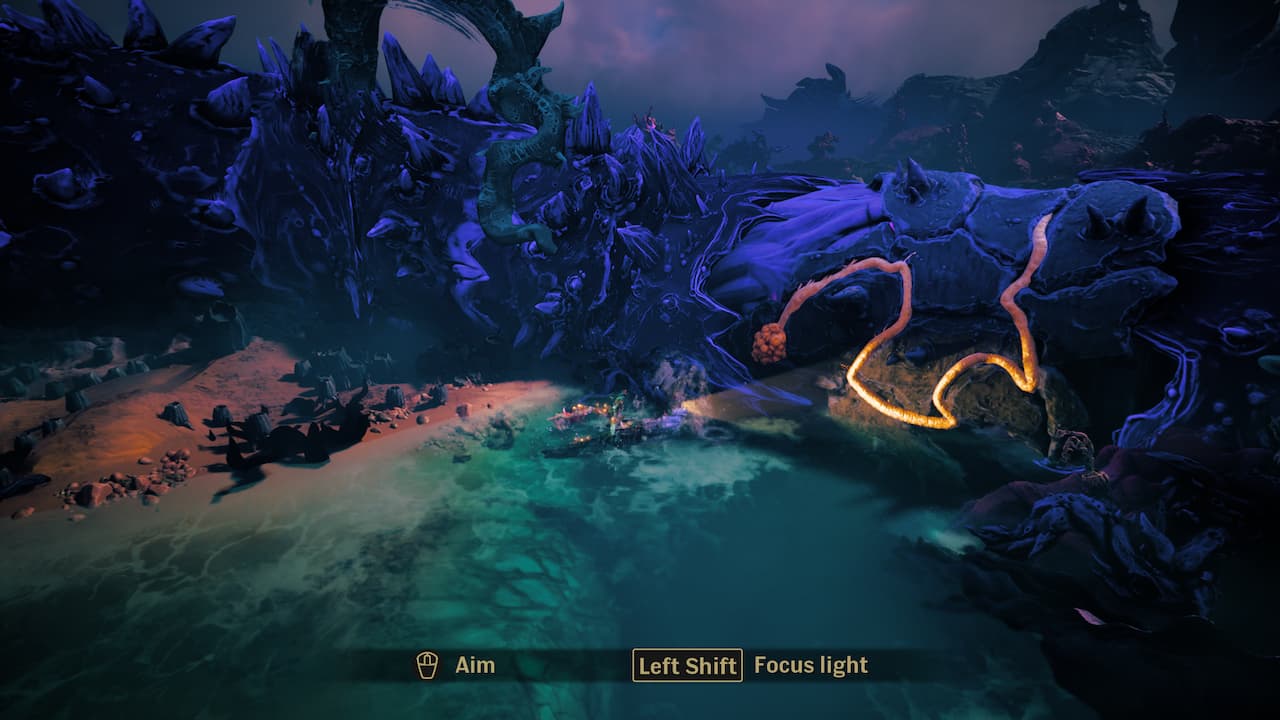 Shine your light on this growth to get rid of it. Screenshot: GameSpewYou’ll eventually reach two big eyes that need a light. To the right of the screen is a spot for Twig. Send them up. Turn a handle to raise a spotlight and, eventually, control the spotlight. Shine that in the right eye and your own boat’s light in the left. Move forward.
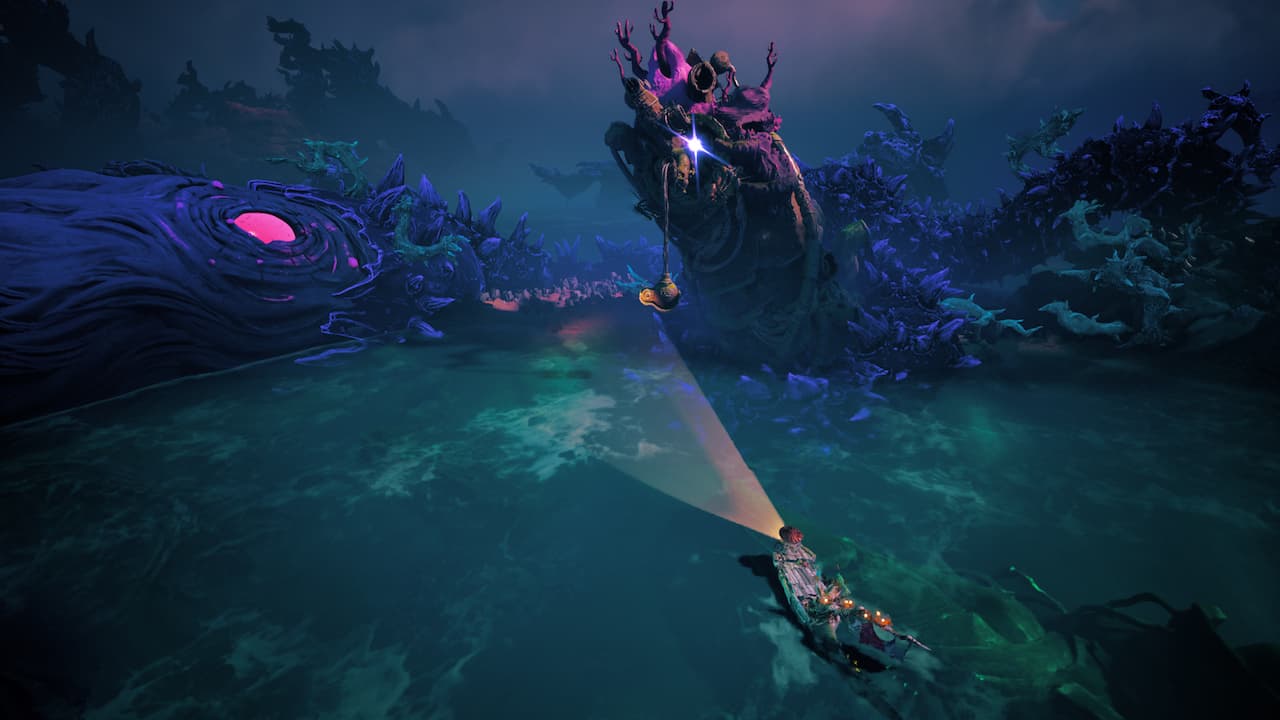 Send Twig to the glowing spot to raise a spotlight into place. You’ll be using several similar spotlights in this section of the game. Screenshot: GameSpewHead left, and you’ll find yet another blockade with two eyes. First are two growths to destroy with your light. See a pipe moving down to the left of the screen? Follow it, and at the other end, shine your light on it. It will set a bulb rolling through. Move back, and a light will automatically appear, shining on the right eye. Shine your light on the left. Pass over the ramp to the next area.
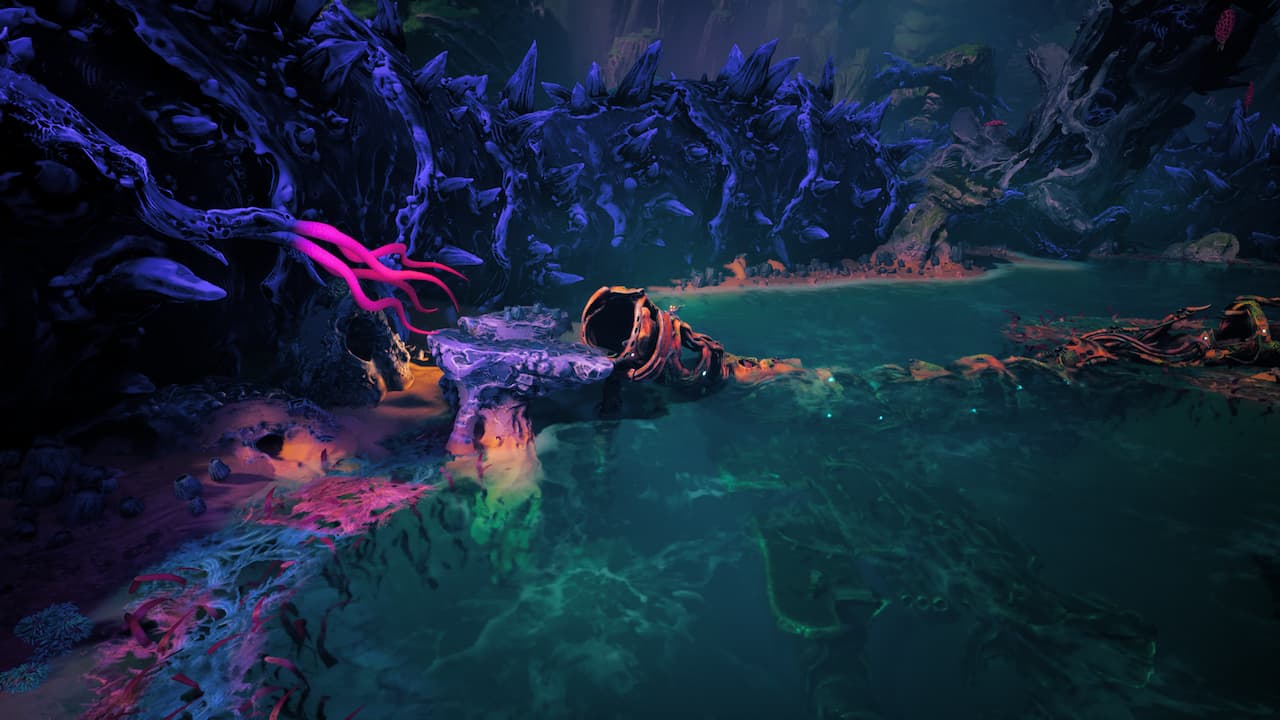 Follow the pipe, and shine your light on it to remove the growth to allow a bulb to pass through it. Screenshot: GameSpewHead towards the stringy blockade and shine your light on it. In the next area move forward until you find a pipe. Follow it to the left and use your light to release the darkness from the end of it. This will release a bulb. Follow it through the pipe – it will get stuck half way so you’ll need to dash into it to free it. It’ll get sick one more time in a patch of darkness before it reaches its goal. To the right of this structure is a growth. Shine your light on it to clear it. The large light will do the rest. Move forward and keep to the right until you find a cave you can duck inside. Inside the cave, find some darkness growing on the water that you can clear with your light. This will release a bulb into a pipe. Follow that pipe to the left. Nearby is a plant to shine your light on, which will reveal a spot for Twig. Keep shining your light and turn a handle which will move a green laser plant forward – move it until the laser hits the giant eye then press B to recall Twig.
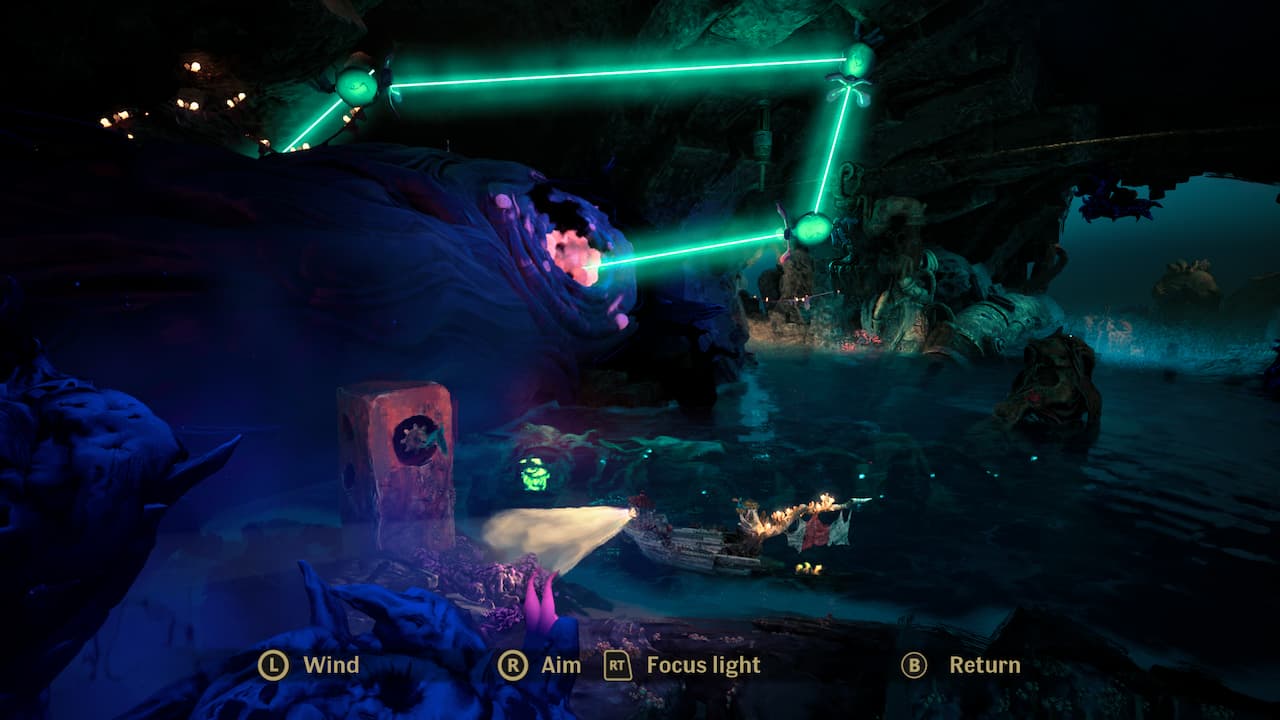 Use the lever as Twig to turn the laser so it hits the giant eye. Screenshot: GameSpewThe eye won’t disappear yet. Sail around the back of it by heading up the screen and you’ll find a smaller eye that you can shine your own light on. This will destroy it completely. To the right of here you’ll find a creature, like the ones you rescued earlier. Use your light on the darkness over the water to rescue it.
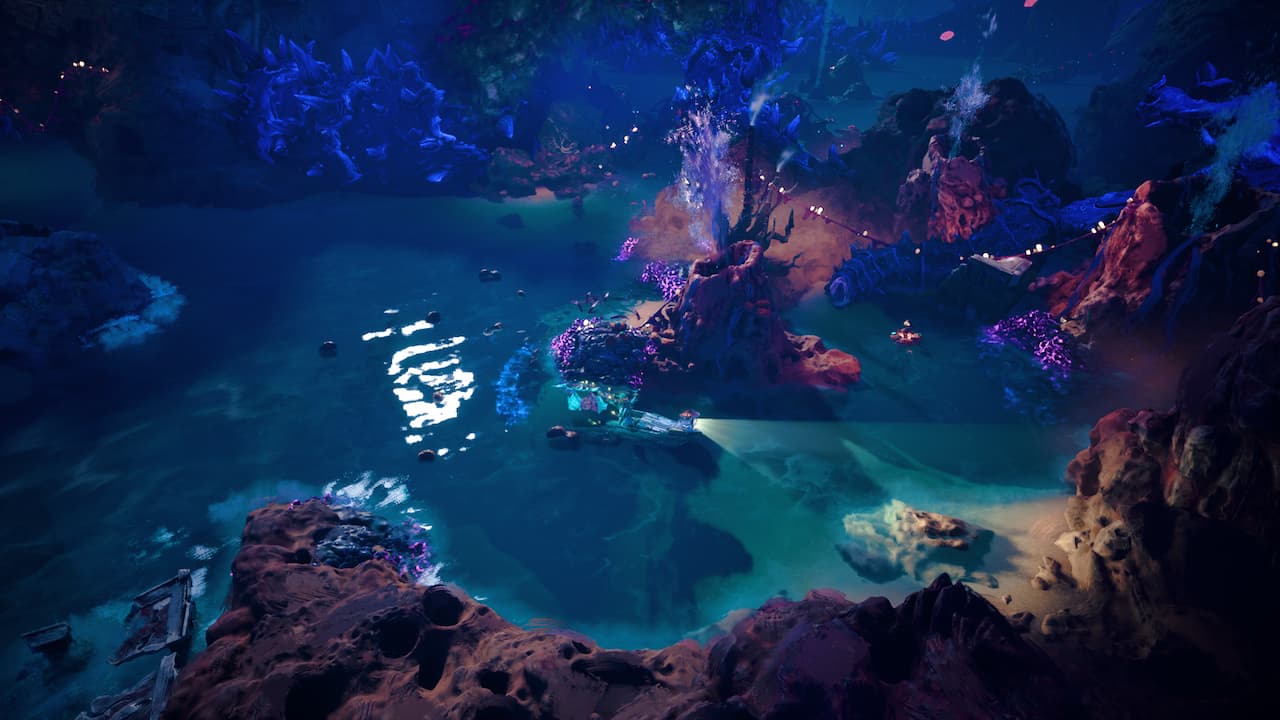 Rescue the creature on the right here. Screenshot: GameSpewGo back through the cave and you’ll see another one to rescue close by.Move right to find a pipe with a bulb stuck in it. When prompted, press A to send one of your rescued creatures – called Drifters – to help. Follow the bulb as it moves and there’s a second spot for a Drifter to help. This one will create a ramp for you to boost over.
 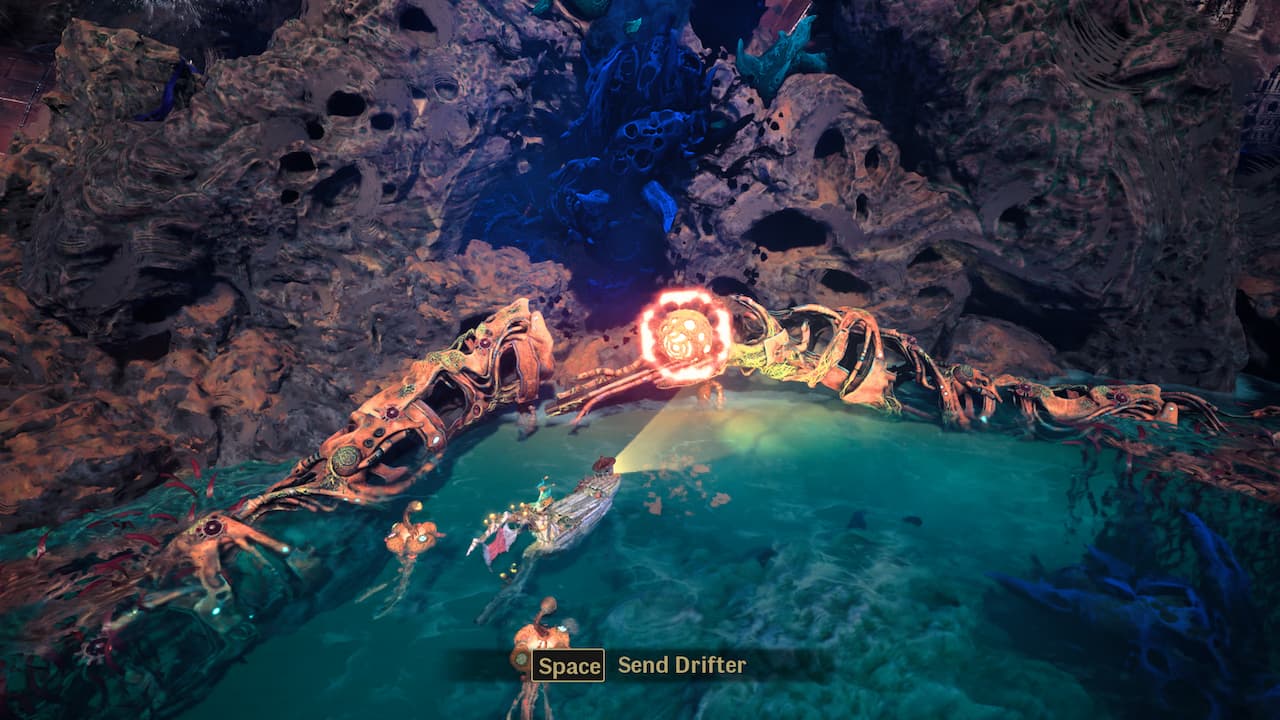 Send your rescued Drifters to two spots on the pipeline to repair it. Screenshot: GameSpewWhen the bulb reaches the end of the pipe, it will once again create a large searchlight. Just to the left are two giant eyes. Shine your light on the left one to break through. In the next area, shine your light on the stringy barricade. Follow the path around until you’re at a giant crab leg. Shine your light on the plant to the right, which will cause the crab on the left to go over to it. When the crab moves, shine your light on the growth behind where it was stood.
 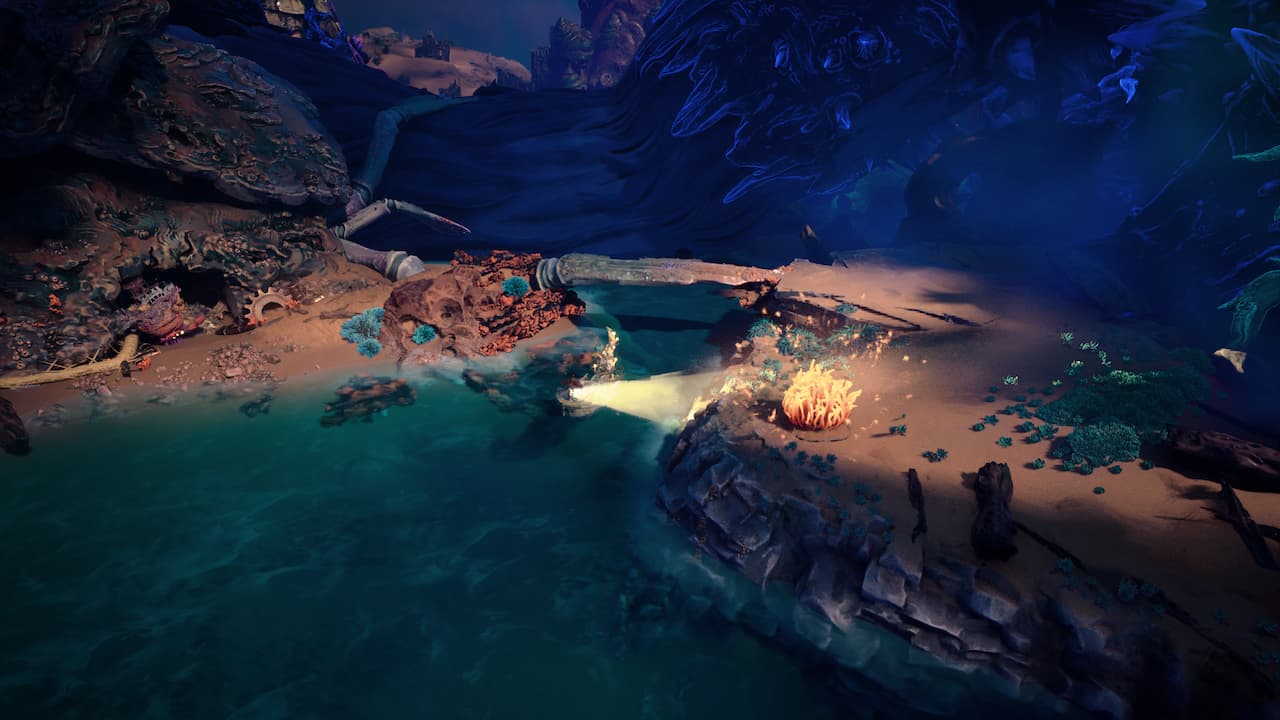 Shine your light on the orange plant to get the grab in the cave to move. Screenshot: GameSpewMove left to explode another growth, and then another. Move around the structure to find one more, and then a giant eye to shine your light on. Getting the bulb from the back of a creatureSwim left and keep going until you reach a patch of darkness to clean up with your light. There’s a shining spot to send Twig to – although a creature will move, scaring them away.
 You need to shine your light on orange plants to guide the creature to where you need it. Screenshot: GameSpewShine your light on a bush just to the left and another across the bridge. The creature will move to both and once they’re cleared, it will wait by the dock. Swim under the bridge and around to dock in and pick it up.
 Head to this dock to pick the creature up again. Screenshot: GameSpewFollow the water around and under a large bridge to drop the creature off at another dock. From here, lead it right by shining your light on orange plants. After lighting up two, you’ll need to swim all the way around to the other side of the island to reach a third. After this, the creature will wait at the dock. Pick it up.
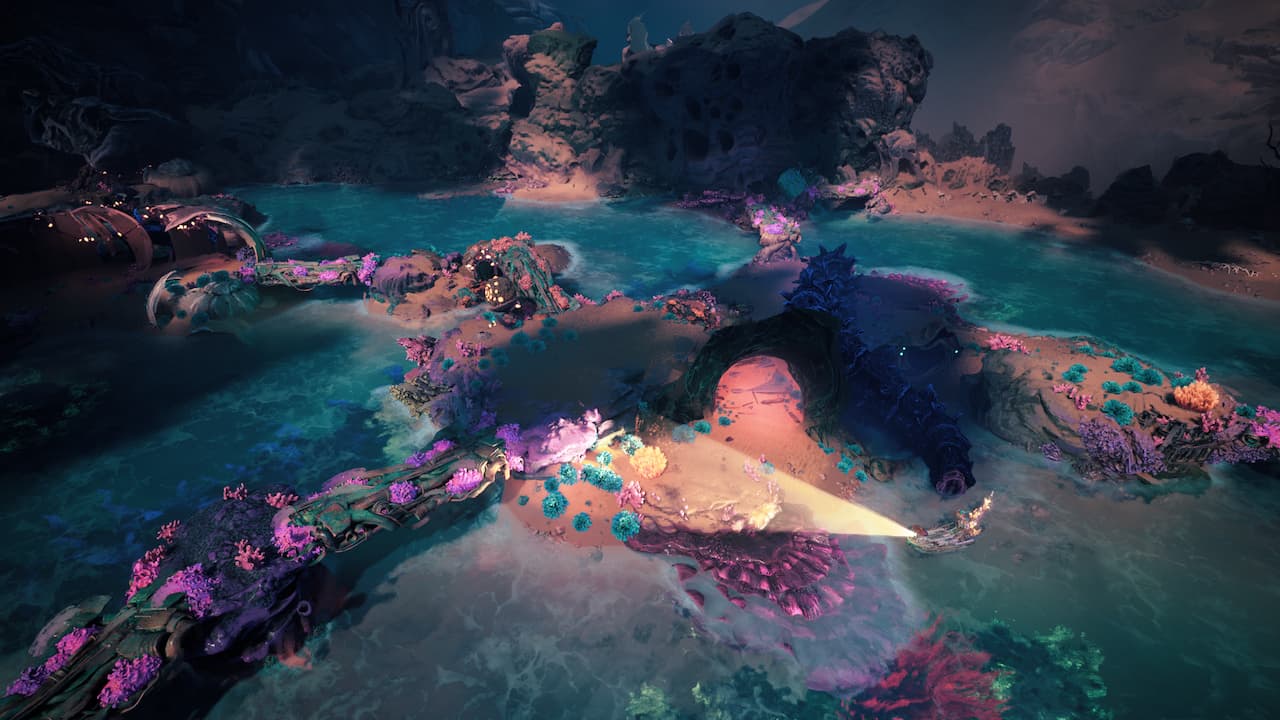 Here’s the last dock to pick up the creature from. Screenshot: GameSpewSwim under the bridge, up and to the left to dock it again. Once again, there are two orange plants to shine your light onto. This time, the creature will drop the ball down the pipe when it’s done.Follow the ball down the pipe. As usual, it will create a spotlight and shine on an eye just to the left. Use your light on the leftmost eye.Sail through and head right slightly to where a creature is traoped in darkness. Use your light to release it.Once it’s gone, shine your light up onto a flower which will reveal a sparkling spot for Twig to fly to. Use L to tug. This will release one light. We need one more.
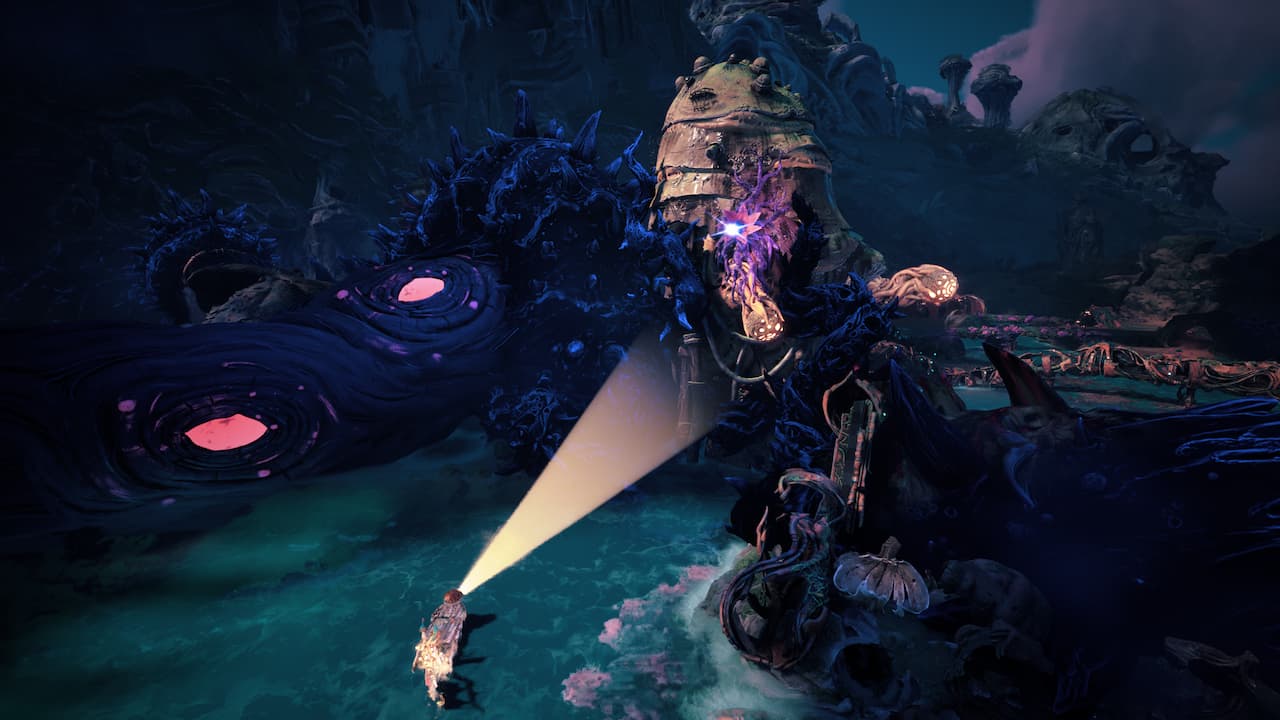 Send Twig to this sparkling point. Screenshot: GameSpewGo back the way you came and you’ll see a strange-looking purplish tunnel to go down. Enter it to reach a new area. Move left. Here, you’ll find one growth to clear on the far right wall and three hidden behind the far left wall (use your light to find them). There’s also one on a shipwreck in the middle of the water, and one in the well in the centre.
 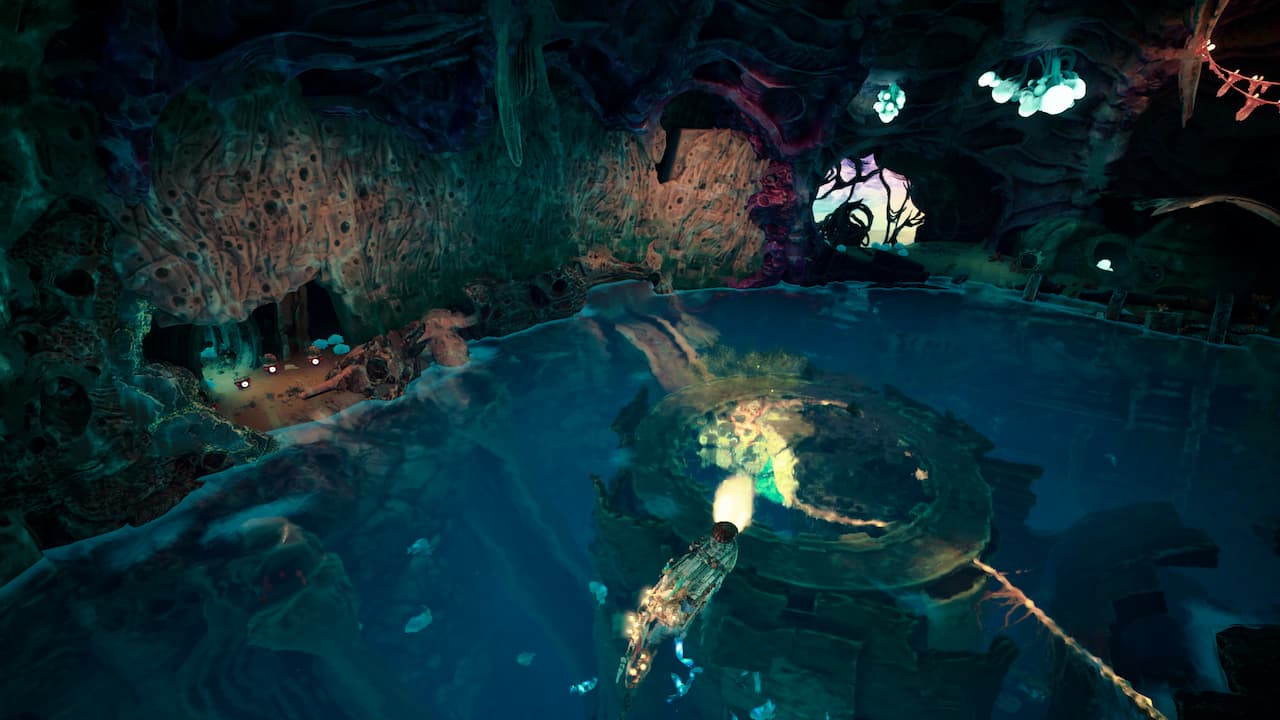 In this new, cavern area, you’ll find growths on the right, three hidden behind the wall on the left, and two in this central well area. Screenshot: GameSpewStand over the well and you’ll see a sparkling point for Twig under the surface. Send them down to get a bulb. Move down towards the screen and jump down a ramp to get back to where you were. You’ll see a sparkling point now to send Twig to with the bulb.
  Once you’re out of the cave, send Twig to this sparkling point. Screenshot: GameSpewYou can now tackle the blockade with three eyes. Once the searchlights are in place, take the middle one with your own light. Move forward. Swim up to the front of the giant flower and shine your light on it. During the next scene, simply move left and right to dodge obstacles.Keeper walkthrough: You’re now just a rolling lightAfter the cutscene, you’re no longer a boat – you’re just a rolling light. Stay out of the ditch – you need to find a ramp to jump across it. The second ramp has a growth on our so you’ll need to boost with A to clear it.
  Head for ramps to keep making your way across the area. Screenshot: GameSpewThe third ramp has purple grass covering it. You’ll need to boost over it to clear it before you can use the ramp.Head through the door straight ahead. Crash into the growth that looks a little like a pig snout, then roll into the geyser. Crash into the snout again.
 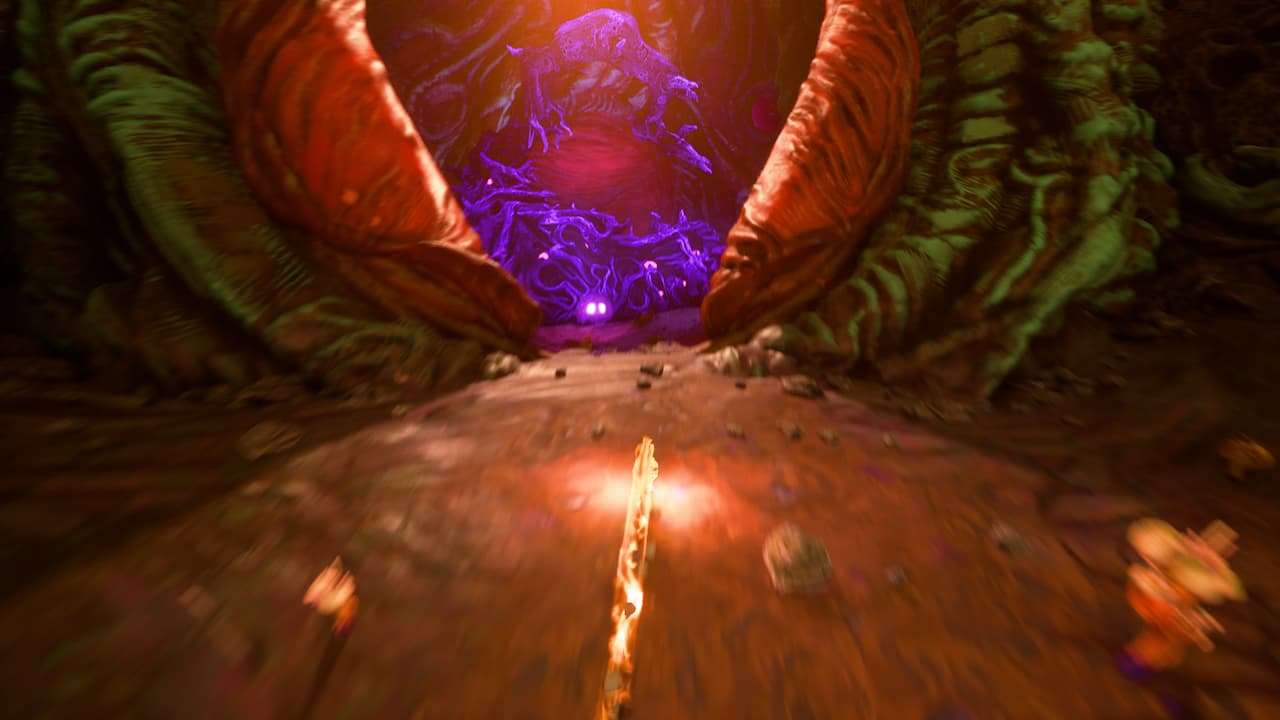 You’ll find lots of these ‘snouts’ to crash into during this section. Screenshot: GameSpewIn the next area, go through the open door, then crash into the glowing points to open the other doors and activate the geysers. Keep moving forward and crash into another snout. Go down a long tunnel then repeat the process: go right, dash through the first geyser then all the rest before hitting the snout.The next area is the same. Make use of the bouncy pads and don’t go in the water. Hit the snout after following the trail of geysers, then go down another long tunnel. The next area looks a bit like a… fleshy skate park. Head to the left up a tall wall and you’ll find a thin path to go down. Follow it and you’ll find yourself on a series of rails. Follow them, destroying growths as you go. Eventually it’ll bring you out where you started.
 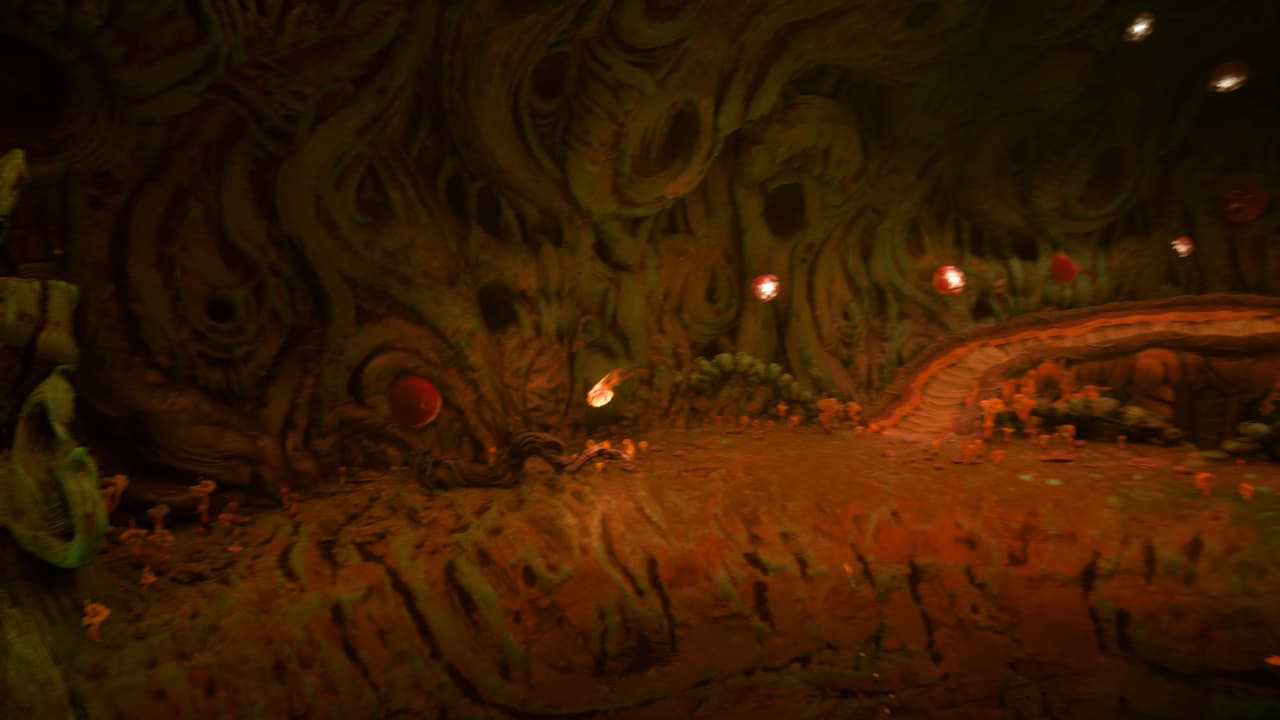 In the ‘fleshy skate park’, head left to find this small path to follow up. Screenshot: GameSpewNow go right to find a purple geyser. Dash through it then go through the tunnel on the right, making sure to pass through all other geysers.When you’re out, pass through all three purple geysers, then dash into the snout.
 Once you’ve activated these three purple geysers, you can open the door. Screenshot: GameSpewTravel down a long tunnel then crash into a red ball to open the door. In the next area, pass through what looks like an intestinal hole. Go through one more then move forward into the next area. In here, dash into the red ball to take a new form. Press RT to shine a light on the purple snout. Pass through the new pathway.
 Look out for these strange holes you can travel through. Screenshot: GameSpewYou now need to navigate down the pathways to hit the red balls and clear the blockages. To the right, hit the growth to clear a path. Go down here and hit a red ball. Follow the path, keeping right. Eventually you’ll end up near a snout. Stand in the purple patch to take form, and use your light to blast the snout.Press B to release. Go through the geyser, hitting all others on the way and crash into another snout. Hit the red ball and continue forward.At the next rest stop, move left and take another path going down. At the end here, you’ll find a purple geyser and another snout to destroy.Go up the new path, making sure to activate the geysers along the way. At the end, there’s another snout to destroy. Follow this new path down to activate two red balls, then come back the way you came.Now there are two red spots on the ground where you can take form. Do so to use your light to destroy three snouts. This will reveal a series of pathways through the wall.
 Navigate these pathways correctly to get where you need to go. Screenshot: GameSpewYou need to go through these pathways in the right order, which is as follows:Go through the green openingThe right opening Use the jump pad and go through the opening mid jumpDestroy the red ball hereUse the jump pad and avoid the next openingKeep going up and through the opening at the topGo left and use the jump pad, keep moving to pass through the largest openingAt the next area hit the red ball then stand on the red flower patch to destroy the snout. Go down the new path and through the opening. There’s another snout to destroy here.
 Head to this new door to progress forward. Screenshot: GameSpewA new doorway has opened up at the bottom of the area. Make your way to to it and go through. Go down a long tunnel then move right to hit a red ball. Follow the path here to find a flower patch, take form and shoot light at a snout. There’s another red ball to hit. Follow the next path down, dash through the geyser and into the snout.Keep going, activating geysers as you go until you eventually end up falling into a psychedelic tunnel.You’ll eventually stop in a cavern with three balls high on the walls. Hit all three and the floor will give way to more of the tunnel.
 This tunnel is certainly something. Screenshot: GameSpewKeeper walkthrough: The boss and the final sectionMake your way through a series of tunnels and you’ll eventually meet a ‘boss’. We can’t guide you through this one: just keep moving back and forth down the paths to destroy blockages and igniting geysers. You’ll also need to take form to fire your light. Keep going and you’ll eventually be reunited with Twig. Yay!Once Twig has arrived, you simply need to roll over three flower patches, taking form to destroy the boss’s three arms with your light.
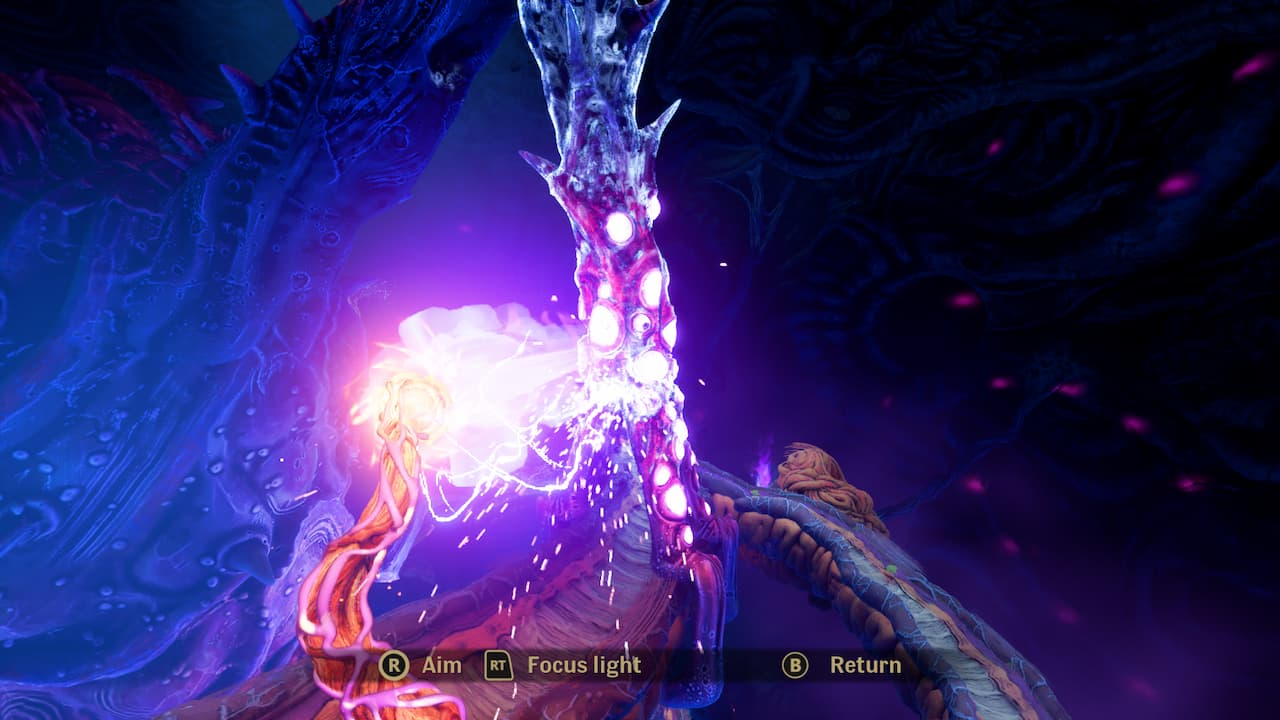 Shoot the boss’s ‘arms’ with your light to defeat it. Screenshot: GameSpewOnce you’re done with this, move forward down the new path. You’ll gather pieces together and take on your final form.This last section is hard to guide but there’s not much to do other than follow the path and press A occasionally. You don’t need to use your light most of the time now – A does everything.Just before the end of the game, you’ll need to shine a light on crystals around an eye and then move them into the small nodules on the iris. Repeat several times.
 Shoot the crystals and move them towards the ‘nodules’ in the centre of tye eye. Screenshot: GameSpew
And that’s it: you’ve completed Keeper. What a wild, wacky ride it has been! We hope you’ve found our Keeper walkthrough helpful.
Did you find this guide helpful? Please consider making a one-off donation to GameSpew. All money raised goes directly towards the running costs of the site and helps us continue to make guides, walkthroughs and more content.
![]() Kim Snaith
Kim Snaith
Kim’s been into video games since playing Dizzy on her brother’s Commodore 64 as a nipper. She’ll give just about anything a go, but she’s got a particular soft spot for indie adventures, roguelikes and puzzle games. If she’s not gaming, she’s building Lego or watching Friends reruns for the 96th time. You’ll also find her work on That Brick Site and Space.com.
Similar Posts 
Struggling to guess today’s Worldle answer? Don’t worry – we’re here to help.
Wondering what the answer to today’s Octordle is? We’ve got you covered.
Wondering what the answer to today’s Quordle is? We’ve got you covered.
If you’re planning to play The Casting of Frank Stone, you’re in for a treat. This newest game from Supermassive Games is set in the Dead by Daylight universe, but it doesn’t matter if you haven’t played Dead by Daylight: there are some nice Easter eggs if you’re familiar, but otherwise you get a completely…

Our walkthrough of Agatha Christie: Death on the Nile will guide you through any tough sections or puzzles you need help with.
If you’re playing Silent Hill f and have found yourself stuck on a puzzle, our puzzle guide should hopefully help you out.