
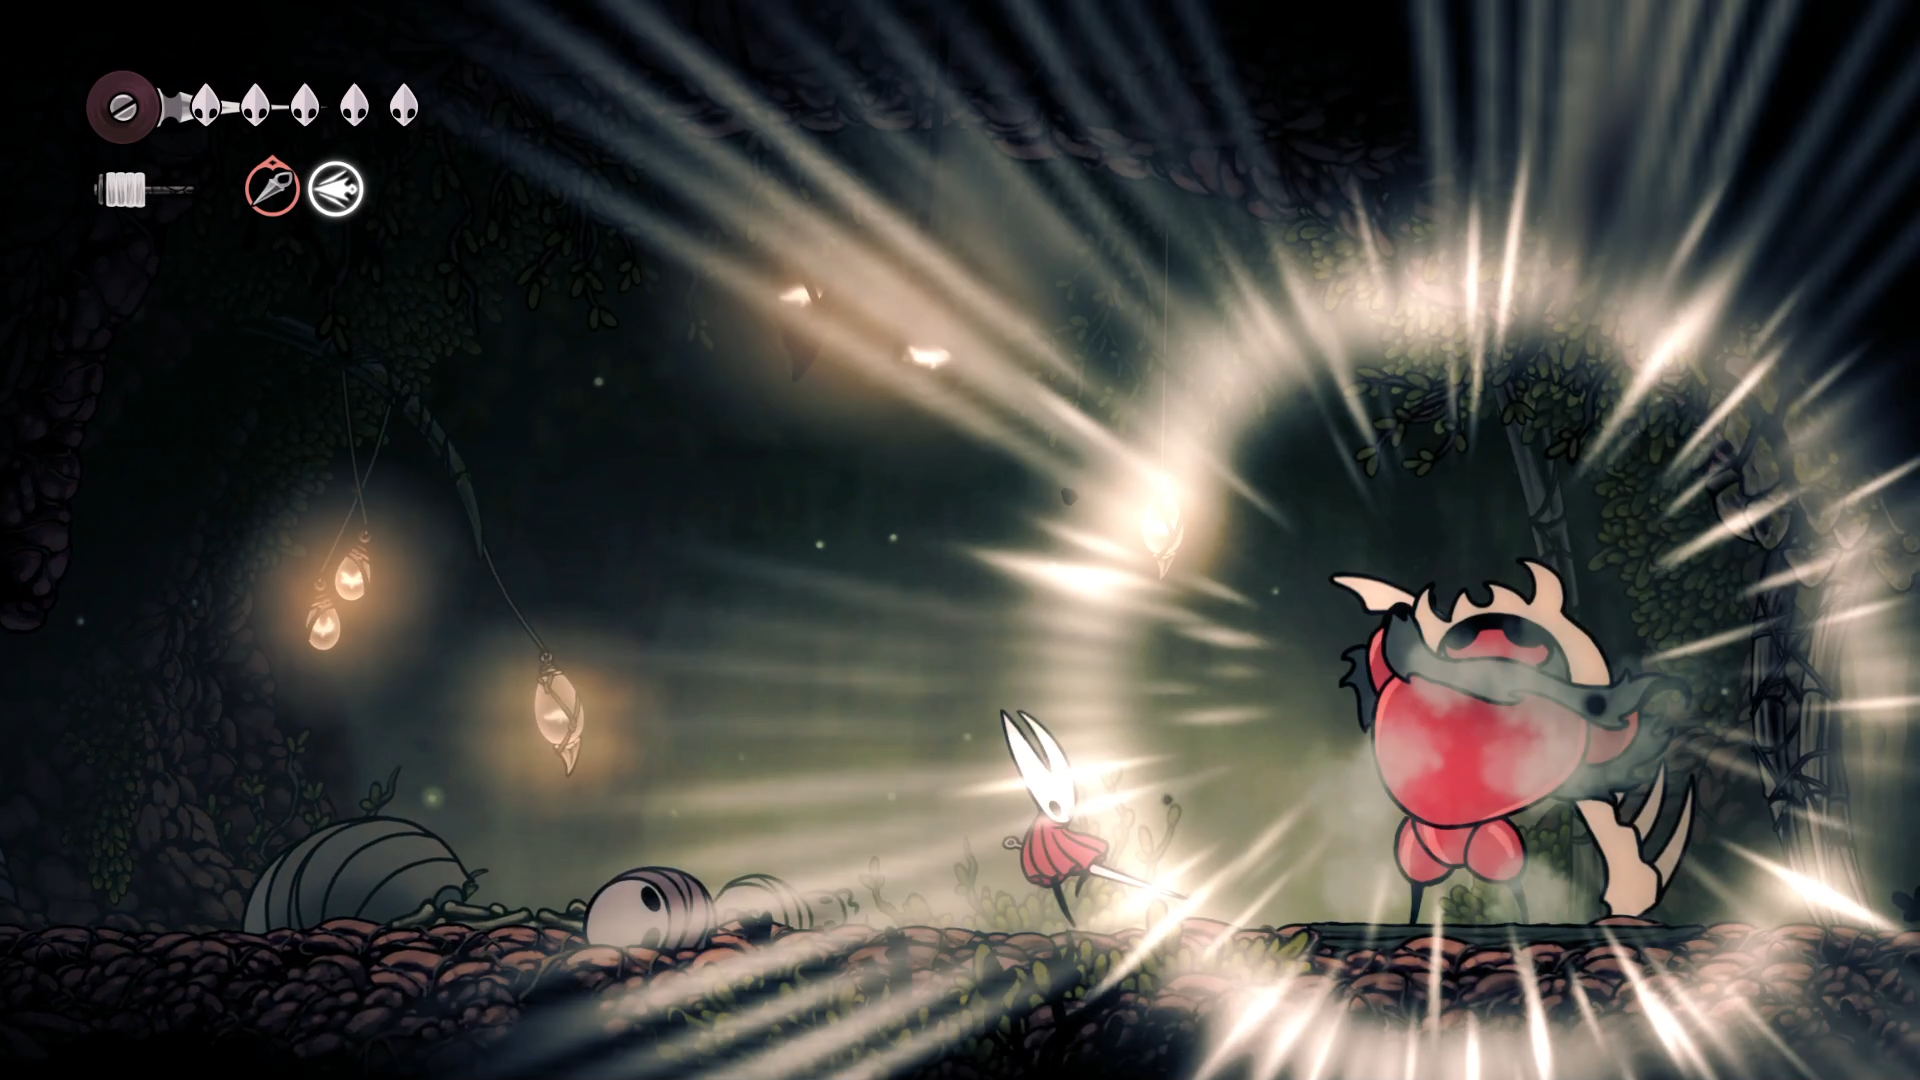
Hollow Knight Silksong has plenty of challenging bosses, but one of the earliest gatekeepers is the Skull Ant. It’s called Skarrgard, and while it’s not a true Miniboss, it is a pretty powerful sentinel guarding the entrance to the Hunter’s March.
Where to Find the Skull Ant

First things first, you’ll need to find this boss. Note that he can be encountered fairly early on your first trip through the Marrow, but he’s not required to defeat, so if he seems too tough, there’s no shame in waiting for later!
The Skull Ant is located at the far northeastern corner of The Marrow. You can first arrive it after getting the Silk Spear Skill, and defeating the Bell Beat to move to the Marrow’s far right side into a large vertical shaft room.
Note the bench just below the boss room. Make sure you rest there to give yourself an easy respawn point. Just above the jail area with the bench is another greener doorway leading into a cave where the miniboss awaits.
How to Beat the Skull Ant (Early)
It’s worth mentioning that there’s a reason this unmarked miniboss is so tough this early on – you’re being encouraged to go pick up a skill to help with Hornet’s mobility. We highly recommend doing so by traveling further south into the Deep Docks to get a new Dash skill. However, if you want to try defeating him early, read below!
As for the fight, the Skull Ant has two main moves. There’s a two-hit sweeping attack with his weapon, which has an incredibly impressive range.
The second move is a leaping attack that has even more range, and if you face him early on, trying to run backward is essentially unwinnable. Your only hope is to bait a short range jump, and run underneath him to the other side. Thankfully, there’s a tactic to negate this move.
Even though you confront the Skull Ant in a more open space, the best move is to backtrack into the narrow tunnel you took to get here. He won’t be able to jump in there, but his two-hit combo still has a lot of reach. Move back and forth, wait for him to pop out of the ground, back off, then close in with an attack of your choice.
Just be ready to back up again if he readies another swing. You can get in some cheap hits at the very beginning of the fight as he’s waking up, and if you’re feeling really brave, you can even sneak in a few more when he emerges from the ground. Otherwise, chip away between his swipes, and he’ll eventually go down.
Consider utilizing the offensive tool found in the prison below this room along with the bench, as you can use it at a distance to chip away at the bosses health rather quickly!
Defeating the Skull Ant (Later)
If you wait until you learn the dash ability, you’ll have a much easier time with this boss. You can afford to take things a lot easier, and simply dash in, strike, and dash out before he can retaliate.
Just make sure to watch his movements carefully if you fight in the open. Give yourself enough room to dash away from his jump attacks. If you’re already close you can easily dash under to score hits when he lands, or if you’re too far out, just dash backward to avoid the attack altogether.
What Is the Skull Ant Guarding?
So what was this tough guy guarding? Continue east, and you’ll reach the Hunter’s March. This red bug-filled area will test your pogo platforming skills, so be ready for that. Once you get the ability to ride air currents with some new clothing found in the Far Fields, you can fully explore the lower parts of this region to find the Chapel of the Beast, which hides the formidable Beast Crest to totally change how you attack! Speaking of which you might even want to change up your Crest to modify your downward air slash to help navigate this region first.