
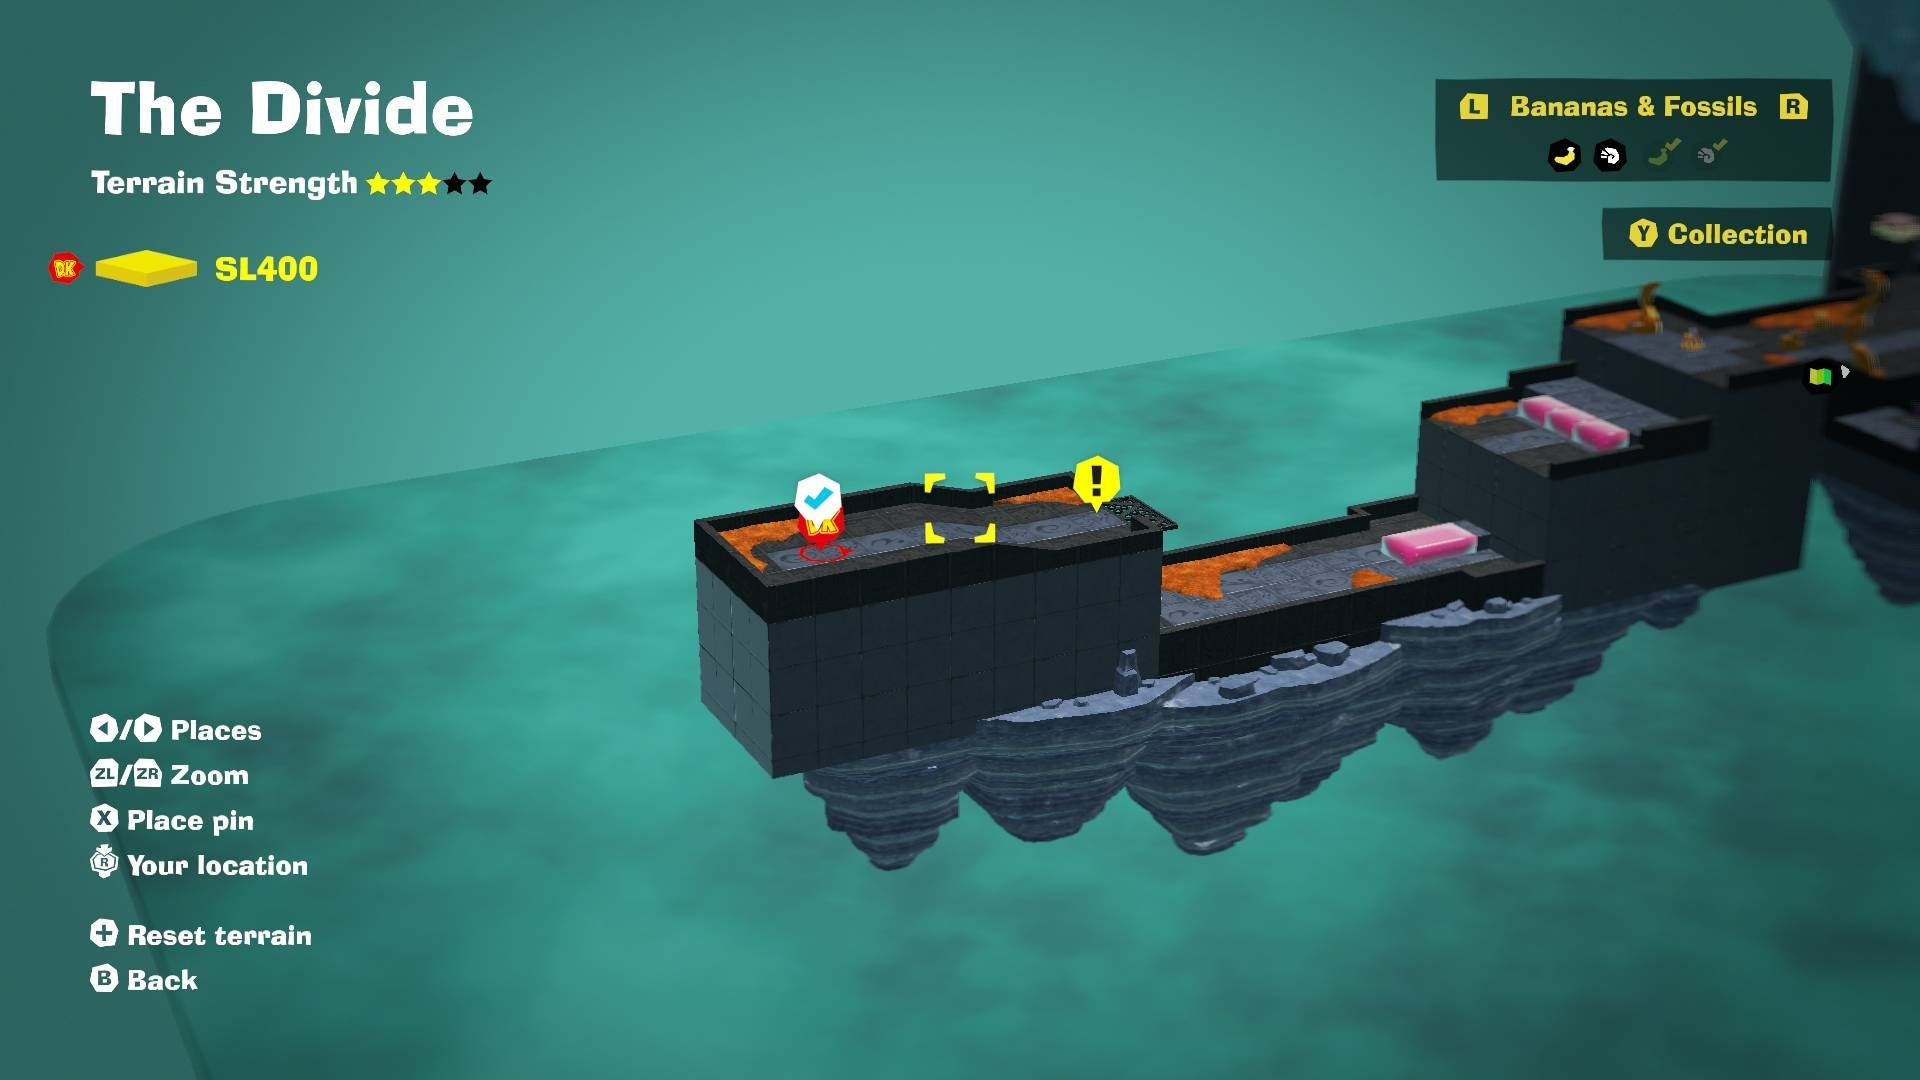
On this page, you will find the guide for all The Divide Layer Banandium Gems (or The Divide Layer Bananas), with the locations and positions of every Banandium Gem that you can find in this region while playing Donkey Kong Bananza.
This page is in-progress! Stay tuned after the Donkey Kong Bananza launch to watch us update this guide live.
Banandium Gems are collectible objects that are needed to power up Donkey Kong to acquire more Skill Points that you can invest in his Skill Tree to bolster his abilities and Bananza Mode transformations. Note that, unlike Super Mario Odyssey, Banandium Gems in Donkey Kong Bananaz are not technically required to advance the story.
There are a total of 10 Banandium Gems on The Divide Layer, with particular “bunches” being worth more points than others. Note that on your first arrival, the numbers of certain Banandium Gems will be missing from the Collection List. These Bananas can only be obtained after completing the Main Story and returning to this layer.
List of The Divide Layer Banandium Gems
Banandium Gems that can only be found after the main story is complete have their rows in Red, while cells in Blue are found in Challenge Courses, and cells in Green are in Combat Rooms. Below the table, you can find individual guides for each location.
The Divide Layer 1 – Stomped Stompenclomper!
For this Banandium Gem, it appears shortly after you clear the Canyon Layer and defeat the Stompenclomper. The Stompenclomper is a boss battle you have to clear to complete the Canyon Layer, progressing the main story of Donkey Kong Bananza.

When you land in The Divide Layer, the first Banandium Gem should appear a short distance in front of you. You can bypass it and continue the story, but you’re better off acquiring it and adding it to your collection as quickly as possible. You’ll receive three bananas, bringing you much closer to a Skill Point than other Bannadium Gems.
The Divide Layer 2 – A Switcheroo Boost
This is the first of three Banandium Gems you can find when attempting to complete The Divide Layer Challenge Course 1, the Great Switcheroo Hall. You can find the entrance to this challenge course when you reach the same platform next to the Warp Gong, next to the Fractones. On the left side is a small platform you can jump down to and locate the entrance. It’s covered in Void Company tape, which Donkey Kong and Pauline can remove by singing.
When you arrive at the beginning of the puzzle, you’ll have a red block on your right side. You need to smash through this block to get inside the inner wall, and make your way to the other side, where you can climb on top of the blue block to reach the next level.
You want to bypass enough of the blue block to climb it, but still be able to wiggle through. When you’re on the next layer, you’ll find the first Banandium Gem.
The Divide Layer 3 – A Switcheroo Breakthrough
This is the second of three Banandium Gems you can find in the Great Switcheroo Hall Challenge Course for The Divide. It appears halfway through the puzzle, after you reach the second layer. From here, you need to smash through the red block on the left side, creating a blue block on the right that you can climb to reach the larger red rectangle, close to the starting point.
After you have your initial blue building block, stand on it to reach the red rectangle and start smashing through it, creating a blue rectangle on the other side. You want to make a large enough layer, giving you room to climb it to reach the third and final level. We recommend doing as much as you can.
However, for the second Banandium Gem, it’s hidden behind this blue rectangle. There’s a partially weak wall on the left side. While on the blue rectangle, smash through it to reach this wall, and you’ll find the Banandium Gem on the other side, and a barrel that you can use to get to the layer above you.
The Divide Layer 4 – A Masterful Switcheroo Maneuver
You can find the third and final Banandium Gem for the Great Switcheroo Hall Challenge Course before you leave to return to The Divide Layer. It’s at the center, underneath the large red block. However, it’s surrounded by a cage, which only has an entrance on the bottom. You need to smash through the red block to create a blue block beneath you, and then climb that to reach the Banandium Gem.
We recommend focusing on the side closest to the exit, creating a blue platform that you can use as a base, allowing you to jump up and reach the banana. You don’t need to destroy all of the red block, especially the side close to the entrance. After you have enough of the blue block below you, jump down and climb up it, going underneath the cage to grab the Banandium Gem.
The Divide Layer 5 – Divide Quiz Master
There is a Quiz Master you can find in The Divide Layer who is willing to reward you with a Banandium Gem if you can answer all their questions. You can find them close to the center of The Divide, next to the Warp Gate. They might be tricky to spot on the left side, as they’re floating in the air. You’ll need to pick up a tile from the ground and fling it at the device they’re standing on, sending the Quiztone to the ground where you can speak with them.
You need to answer three questions correctly to receive the Banandium Gem. The first question is, “What do some of the salvager monkeys have attached to their fishing lines?” The answer is a magnet. The second question is, “What was running wild inside the Banandium Refinery?” The answer is a mixer. The third and final question is, “What gets restored when you sit on a chair or a bench?” The answer is health.
After answering all three questions, Quizone rewards you with a Banandium Gem for your collection.
The Divide Layer 6 – Switcheroo through the Wall
Here is another Banandium Gem you can find close to the center of The Divide Layer, underneath the Warp Gong. There’s a platform you can drop to on the left side of the gong, with three red blocks. Destroy all of those blocks, and then they reappear on the other side, creating blue blocks that staircase to a Banandium Gem. However, there’s a wall between you and your goal.
Once you’ve destroyed the red blocks, return to the top side and then make your way over to the right of the gong. There’s a platform you can fall down to, leading you toward the blue blocks you created and the Banandium Gem at the top.
The Divide Layer 7 – Safe-Landing Switcheroo
This can be a tricky Banandium Gem to track down. When you reach the Warp Gong, take a left and jump over the side to a small platform on the bottom, beneath the proper path. There’s a hidden area where you can climb onto the roof of this lower area, but the gap is too wide for you to bypass.
You have to destroy the red blocks to the left and right of the climbing path, replacing them with blue blocks, creating a platform for you to land on. When you’ve knocked out both red blocks, return to the center and drop down to walk across to grab this Banandium Gem.
The Divide Layer 8 – Battle: Uproot to the Brute
You can find a battle dais hidden behind the Warp Gong in The Divide Layer. To reach it, make your way to the left side of the Warp Gong and jump down to the bottom, where multiple red blocks will catch you. Follow the path and you’ll arrive at the battle dais, which Donkey Kong and Pauline need to sing at to remove the Void Company tape at the entrance.
When you enter the battle arena, your goal is to reach the Crockoid at the bottom, and you need to make it to the bottom. You can get it by pulling up the vegetables, revealing the floor underneath. The first layer has only one, but the second layer has three. You want to grab the one on the right side, and then make your way down to the final level, where you’ll face off against a Crockoid. You need to complete this before the 30-second timer runs out.
After you defeat the Crockoid, the Banandium Gem appears as your reward
The Divide Layer 9 – Cranky’s Divide Rant
For this Banandium Gem, it’s time to track down Cranky Kong to learn what he’s been dealing with while visiting The Divide Layer. You can find him above the Warp Gong. You’ll need to bash the red block to the left of the gong to create a path on the right, where a blue block allows you to climb to the top. He’s floating above the stone pedestal, which you can bring down by flinging a chunk of dirt at the bottom of the floating platform.
Speak with Cranky Kong after you bring the platform down. You’ll need to hear his entire conversation before he rewards you with the Banandium Gem.